Author:
Alice Brown
Date Of Creation:
26 May 2021
Update Date:
1 July 2024
Content
- Steps
- Method 1 of 3: Preparation and Planning
- Method 2 of 3: Removing the Old Water Heater
- Method 3 of 3: Installing a new water heater
- Tips
A water heater is an important household appliance designed to provide hot water in your home. If water starts flowing from the bottom of the water heater, then it's time to replace it. Leakage is a sign of tank wear and corrosion. Typically, water heaters last at least 10 years, and some can last for 20 years. The water heater should be replaced as soon as a leak is found to prevent flooding and the need for additional cleaning.
Steps
Method 1 of 3: Preparation and Planning
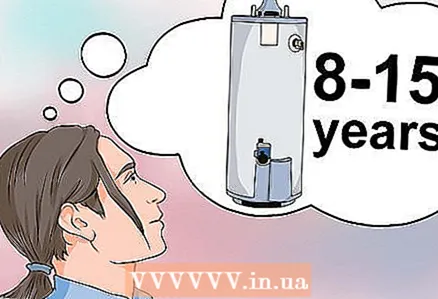 1 When to change the water heater. Typically, water heaters work for about 8 - 15 years. If suddenly it stopped working, then there is a fairly high probability that it will need to be replaced.
 - If you notice that water is dripping from the bottom of the tank or there is a rusty puddle underneath, then this may mean that the steel tank is rusted through. Such damage cannot be repaired and the reservoir will have to be replaced.
- If you are experiencing problems such as a shortage or lack of hot water, then your heater, apparently, needs to be repaired, not replaced. If you can't figure out what the problem is, get a professional plumber.
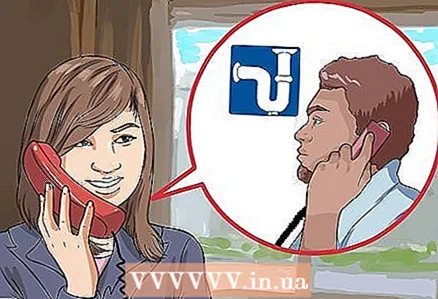 2 Call the local inspector from Vodokanal. Water supply standards may depend on the region of residence, so it is best to call Vodokanal and inquire about the special requirements for your area and the need to obtain permission to replace the water heater.
 - You can also provide a description of the new water heater and the materials that you plan to use during installation. The inspector can give you some hints or advice that will help you with the installation.
- If you are changing the water heater for the first time and are worried about safety, then you can call the local Vodokanal inspector or an electrician-controller to check the work done.
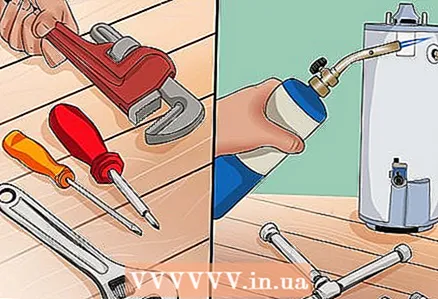 3 Tools and materials. To replace a water heater, you will need a lot of tools and materials. To save time and hassle, we recommend that you collect all the necessary funds before starting work. The exact list of tools and materials will depend on the type of heater, but the following are commonly used:
 - Tools: screwdriver, adjustable wrench, pipe wrench, pipe cutter, wire stripper / cutter, electrical tape, sealing tape, building level, tape measure, rags and goggles.
- Materials: new gas (or electric) water heater, gas and water pipes, fittings, solder, bypass valve, branch pipe, pipe thread compound, ventilation pipe and connectors.
Method 2 of 3: Removing the Old Water Heater
 1 Disconnect the gas supply. The first step is to turn off the gas supply. This may require closing the gas shut-off valve manually or with an adjustable wrench.
 - When the gas is off, the valve handle should be at right angles to the pipe. Check the burner to be sure.Make sure there is no smell of gas before proceeding.
- When replacing the electric heater, remove the fuse or turn off the circuit breaker to shut off the power to the heater.
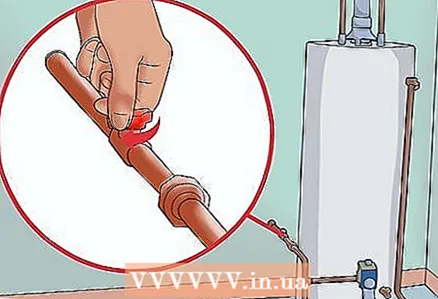
 2 Drain the reservoir. Shut off the water supply by turning the shut-off valve on the cold water supply.
 - To drain the water from the tank, open the hot water tap on the lowest floor of the house. A tank without water will become lighter and easier to move.
- Connect a hose to the drain cock on the tank and open the cock carefully. Drain water into a bucket or nearby drain.
- Be very careful as the water can be very hot.
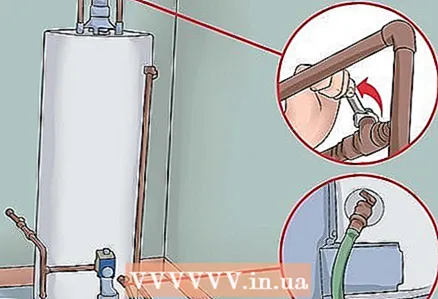
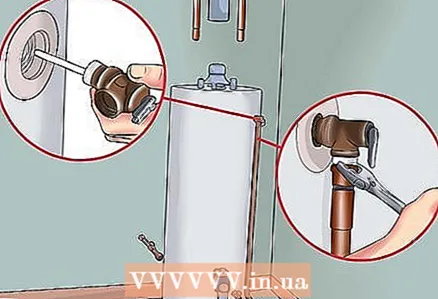
 3 Disconnect the gas and water supply pipes. After the tank has become empty, it's time to move on to disconnecting the gas and water supply pipes.
 - Use two adjustable wrenches to disconnect the gas pipe near the coupling or socket. Then, using an adjustable wrench, unscrew the pipe from the gas valve. If you have an electric water heater, then simply disconnect the electrical wiring.
- Disconnect cold and hot water lines. If the pipes are soldered, then they will need to be cut using a pipe cutter or a hacksaw for metal. The cut line should be as straight as possible.
- Disconnect the ventilation pipe from the water heater, unscrew the screws that connect them together. Push the tube out.
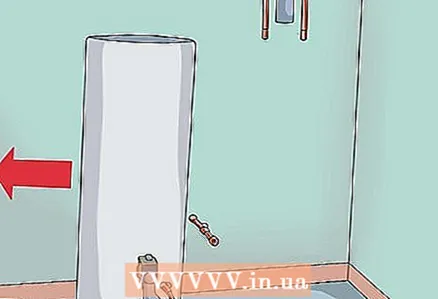 4 Dismantle the old tank. After disconnecting all communications, carefully move it aside.
 - You may need help as old water heaters often have a lot of sediment left over, making them very heavy. If your water heater is located in the basement, rent a trolley to lower the new heater and lift the old one.
- When disposing of an old heater, comply with legal and safety regulations. Contact your local waste disposal service to find out how to dispose of water heaters. Almost everywhere, laws prohibit the disposal of such household appliances in landfills.
Method 3 of 3: Installing a new water heater
 1 Install the new water heater in the desired location. Wipe off any spilled water from the floor, then install a new water heater in the desired location.
 - Unfold the heater so that the connections line up with the corresponding pipes.
- Use a building level to check the installation of the water heater. If necessary, use wooden planks to adjust the level.
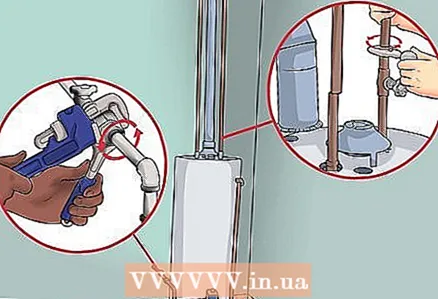
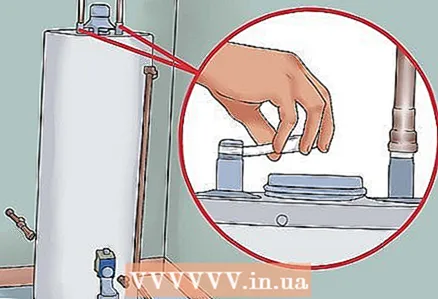
 2 Install a temperature and pressure relief valve. Wrap a couple of layers of sealing tape around the threads of the new temperature and pressure relief valve (supplied with your water heater) and secure with a pipe wrench or pliers. Connect the drain pipe.
 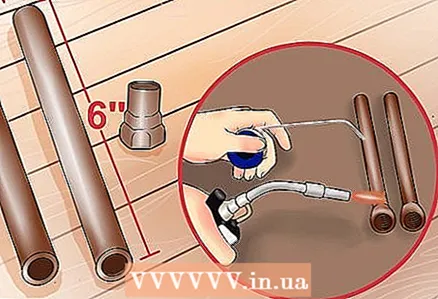 3 Secure the nipples. Take two pieces of 3/4-inch copper tubing and attach a new adapter to each.
 - Solder the adapters to pipes on a work surface away from the water heater, as there is no need to use a heat source near the tank.
- Connect the adapters to the hot water outlet and cold water inlet at the top of the tank using pipe joint compound or sealing tape.
- Some local codes also require plastic nipples to be attached to the bottom of each nipple. This avoids galvanic corrosion, which is very important in hard water areas.
 4 Connect hot and cold water lines. To connect the hot and cold water pipes, cut or lengthen the old pipes so that they reach the new pipes.
 - Solder the two ends of the pipe together using copper expansion or dielectric couplings (to prevent electrolysis).
- If you are having trouble aligning the old and new pipes correctly, use pieces of flexible copper tubing or 45 degree elbows to join them together.
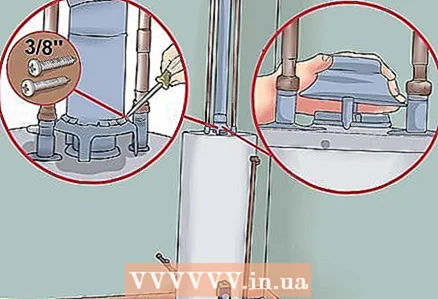 5 Reconnect the ventilation. Take a ventilation pipe and position it directly above the extractor hood of the water heater. Use 3/8 ”sheet metal screws to secure.
 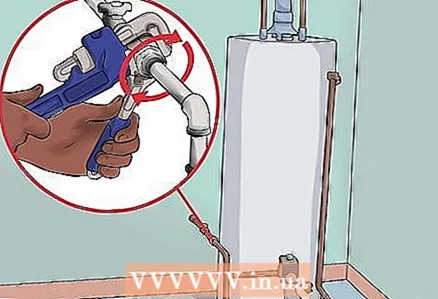 6 Gas pipeline connection. Before reconnecting the gas pipe, clean the threaded pipe ends with a wire brush or rags and then apply a small amount of mastic.
 - Use two pipe wrenches to screw the first fitting into the gas valve, then reassemble the remaining fittings.
- Last but not least, a double-ended fitting is installed, as it connects the new pipe to the old one. After completing the connection, you can turn on the gas supply.
- To connect the electrical heater to the power source, reconnect the wiring and ground cable to the junction box.
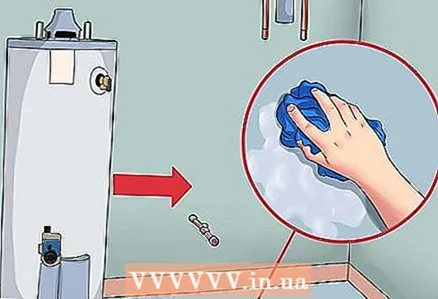
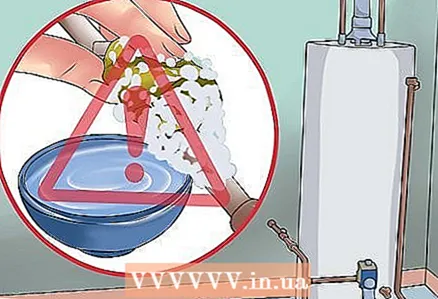 7 Checking for leaks. To check for leaks, soak a sponge in soapy water (use dish soap) and attach it to all new connections on the water heater.
 - If there is a leak, soap bubbles will form on the surface of the sponge. In this case, it will be necessary to tighten, re-connect or call a professional plumber.
- Bubble-free means all connections are secure and water and power can be turned on.
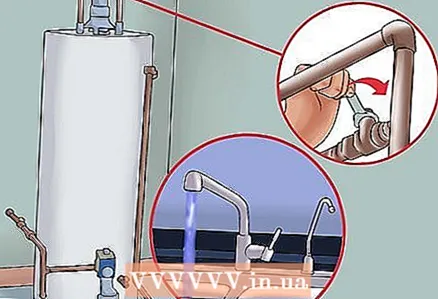 8 Filling the reservoir. Turn on the main tap and cold water valve to fill the tank. Turn on the remote hot water faucet - nothing will leak or splash at first. When a normal flow of water comes out of the tap, this means that the tank is full.
 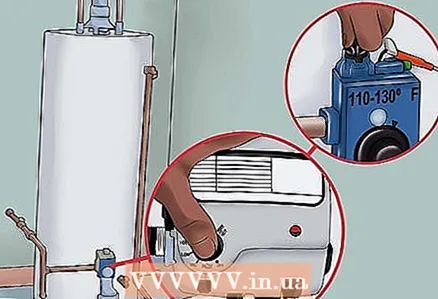 9 Turn on the power. To turn on the new water heater, light the burner and turn the control knob to the "ON" position. Set the temperature to around 45 - 55 degrees Celsius.
 - If you have an electric water heater, replace the fuse or turn on the circuit breaker on the power panel to turn on the power.
Tips
- Care must be taken when draining the water from the tank. It can be very hot and cause burns.
- If problems arise when dismantling an old or installing a new tank, it is best to call an experienced plumber or electrician.


