Author:
Morris Wright
Date Of Creation:
23 April 2021
Update Date:
1 July 2024

Content
- To step
- Part 1 of 3: Preparing for a test repair or replacement
- Part 2 of 3: Fixing a test
- Part 3 of 3: Replace a test
- Tips
- Warnings
This wikiHow teaches you how to fix a keyboard key that is not working. If cleaning the key slot and reseating the key doesn't solve the problem, then you probably need to replace the entire key.
To step
Part 1 of 3: Preparing for a test repair or replacement
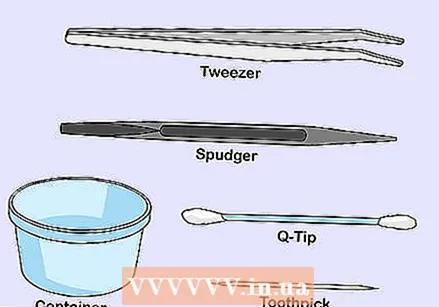 Get your repair equipment together. To try to fix a key on your laptop's keyboard, you'll need the following items:
 - Something to pry - something made of plastic, such as a credit card or an awl is best; you can use a butter knife or a flat screwdriver as an emergency solution.
- Cotton swab - is used to remove grit and dust from around the fingerboard.
- Toothpick - used to clean grooves around the fingerboard.
- Tweezers - is used to remove parts from the mounting plate. Not necessary for all computers, but useful.
- A bowl - is used to preserve the parts of the key during repair. You can use a bowl, plastic bag, or the like for this.
 Know the anatomy of a fingerboard. Most keyboard keys consist of three parts: the keycap (that's the key itself), the mounting plate (a flat piece of plastic on which the key sits), and the mat (a piece of rubber that sits between the key and the mounting plate).
 - Most MacBook keys do not have rubber pads.
- Many computer mounting plates consist of two or more pieces of plastic that fit together.
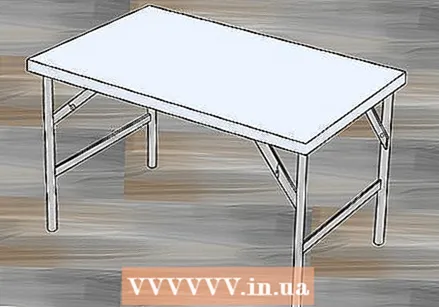 Find a clean workspace. It is best to have a flat and clean interior space, such as a kitchen table or a counter on which to make the repairs.
 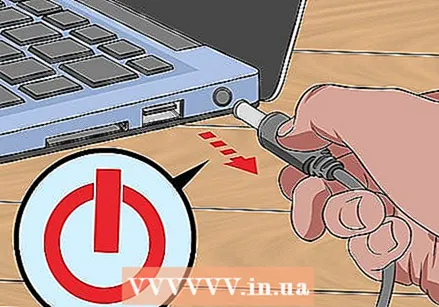 Shut down and unplug your computer. When removing a key, make sure your computer is turned off and unplugged from a power source.
 - You can also remove the battery from the computer if possible.
 Ground yourself before starting a repair. While repairing a key is unlikely to damage the inside of your computer with static electricity, grounding yourself only takes a second and is good practice when dealing with electronics in general.
Part 2 of 3: Fixing a test
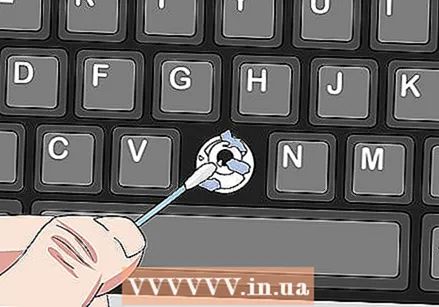
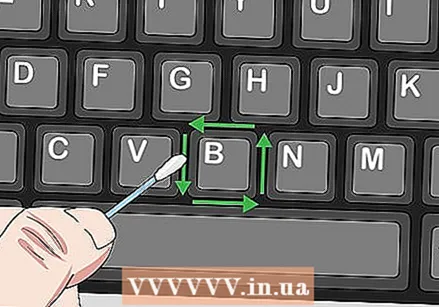 Clean the area around the fretboard. Use a damp cotton swab to wipe the space between the key you want to replace and the surrounding keys. This normally involves passing the cotton swab through the square around the fretboard.
 - If your keyboard is sticky or dirty, you can use a small amount of isopropyl alcohol on the cotton swab to remove the dirt.
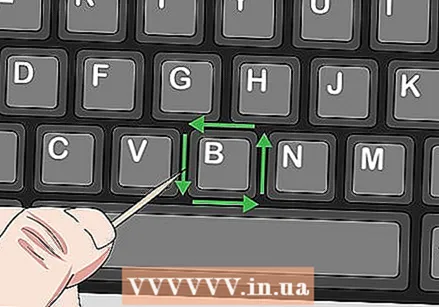 Clean the grooves under the fingerboard. Use the toothpick to gently scrape the space under and around the key. This prevents loose dust or grit from falling into the slot of the key.
 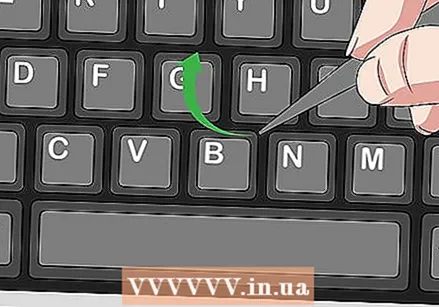 Take the test out. Pry up the bottom of the key at a 45-degree angle, then pull it away from the keyboard and put it in a safe place. EXPERT TIP
  Examine the mounting plate for bent parts or parts that are out of place. If the mounting plate does not lie flat or appears to be warped, gently press on the curved part to see if it snaps back into place.
 - Likewise, if the keycap is tilted or loose, press it to see if it snaps back into place.
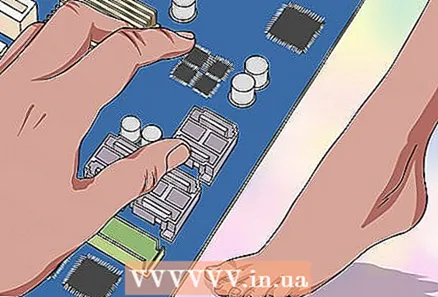
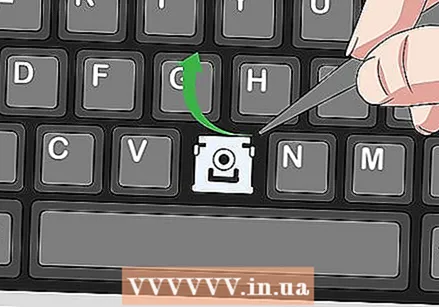 Remove the internal parts of the key. This includes the mounting plate and the rubber mat.
 - Note the location of the internal parts so that you can replace them later.
 Look for and remove obstacles. One of the most common reasons computer keys fail is foreign material in the area below the key. If you see any dust or residue, remove and clean the area.
  Replace the mounting plate and the mat of the key. Put both the mounting plate and the mat back into the slot of the fingerboard, as they were originally set. You may have to press on parts of the mounting plate to lock it in place.
 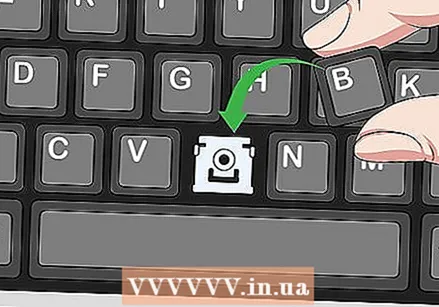 Put the key back into the slot. Insert the top of the key into the slot at a 45 degree angle and lower the rest of the key into the slot. As a result, the hooks that normally sit at the top of the key should catch when placed.
 - If there are no hooks at the top of the key, this will still bring the key into a natural horizontal resting position when you put it down.
 Firmly press the button. This clicks the button back into place. It should pop right back up after you remove your finger.
 - If the key is still broken (e.g., it doesn't jump back, the letters don't type, etc.), you should replace the key instead.
Part 3 of 3: Replace a test
 Find the model information from your computer. To find a replacement key for your computer, it is important to know the model type of your computer:
 - Windows - Open Start
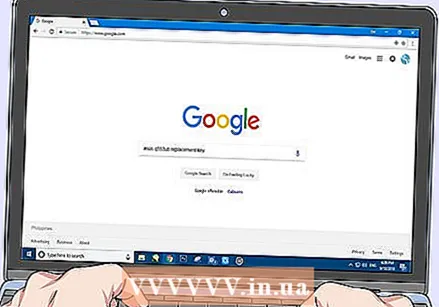 Find the replacement key on your computer. Type the manufacturer name and model number of your computer, followed by replacement key in Google and see the results.
 - For example, you can asus q553ub replacement key in Google.
 Order replacement keys. Depending on your computer model and location, your options for ordering tests will vary.
 - Places like eBay, Amazon and Best Buy and many other stores online stock replacement keys.
 Remove the key and internal parts. As with the previous test fix, make sure you know where the parts of the test are before taking them out so that you have a reference.
 - If you can take a photo for reference before removing the internal parts of the key, do so.
 Place the mounting plate of the replacement key into the slot. It must be positioned in exactly the same way as the previous mounting plate was placed.
  Click the mat into place. Push the mat into the center of the mounting plate and then push down until it clicks or snaps into the mounting plate.
 - Skip this step for a MacBook or another keyboard that doesn't use mats.
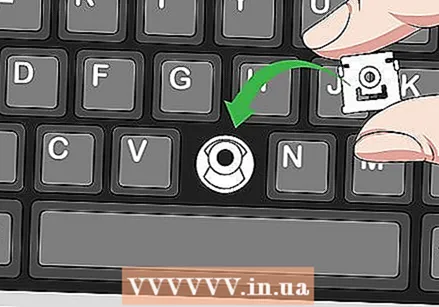
 Place the replacement key in the slot. Insert the top of the key into the slot at a 45 degree angle and lower the rest of the key into the slot.
  Firmly press the button. The key should click into place and it should spring up immediately after you remove your finger.
 - Try the test before throwing the receipt away.
- Windows - Open Start
Tips
- Not all keyboards are the same, so make sure the model of key you get works on your specific computer model by doing as much research as possible before purchasing it.
Warnings
- If the key still doesn't work after replacement, then your keyboard circuit board is probably the problem. In general, having a laptop circuit board replaced is a task that is best left to a technical department (for example the Apple Store or a place like Best Buy).


