Author:
Virginia Floyd
Date Of Creation:
6 August 2021
Update Date:
22 June 2024
Content
- Steps
- Method 1 of 3: Applying the first coat of putty
- Method 2 of 3: Applying a second coat of putty
- Method 3 of 3: Applying a third coat of putty
- Tips
- What do you need
Drywall finishing should be understood as the processing of the seams between the sheets and preparation for painting. This process cannot be called complicated, it consists of gluing the seams with tape, applying putty and sanding until a smooth surface is obtained. A good result requires a certain amount of patience and skill, although it eliminates the need for complex tools or operations. Subject to the instructions and due care, even a beginner is able to finish drywall with an acceptable result. So let's get started.
Steps
Method 1 of 3: Applying the first coat of putty
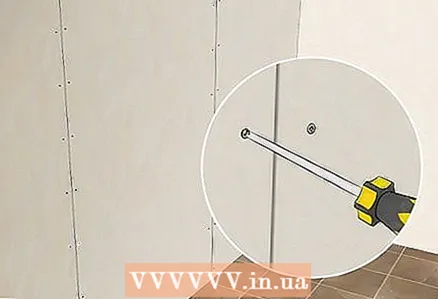 1 The drywall must be ready for finishing. After installing the panels, you need to find all the screws that protrude from the wall. Tighten them to drown them a little. Remove any remnants of the outer paper layer of the gypsum board. This is necessary so that they do not mix with the putty and do not appear on the finished surface.
 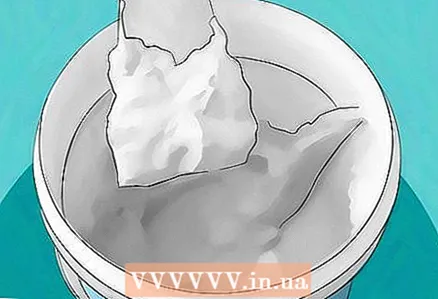 2 Stir the putty. Plasterboard filler is sold in large buckets. Remove the cover and make sure there is a layer of water above the putty. If there is water, stir the filler thoroughly with a drill and stirrer. If there is no water in the bucket, no mixing is required.
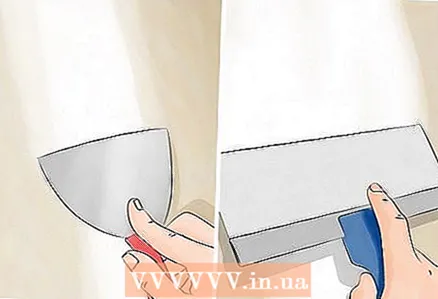
 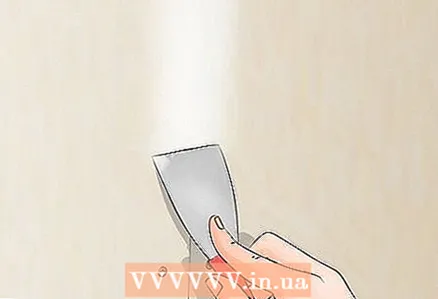 3 Putting on self-tapping screws and joints. Pour the filler into a small container using a suitable 125 mm trowel. Put putty on a putty knife and fill in the gaps between the drywall sheets. Also apply putty to the recessed screw heads.
 - After filling all slots and recessed heads, go over the area with a spatula to smooth the applied putty. The more evenly you level the putty now, the less you will need to do when applying the second or third coat.
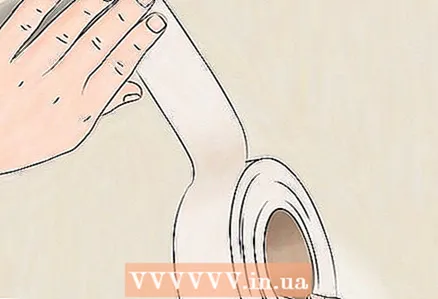 4 Apply sealing tape to all seams. Unwind a couple of meters of tape and apply it to all seams over the freshly applied putty. Carefully press the tape into the seam. Continue bridging the seams until you reach the end of the wall. For a straight edge, press down on the tape with a trowel and tear off.
 - When gluing the inner corner, you must first fold the tape with a corner. First cut the tape lengthwise, then fold the edges towards you. Stick the tape into the corner, pressing down gently with a spatula.
 5 Smooth the tape with a spatula. Hold the trowel at a slight angle to the sealing strip. In one continuous motion, pull the putty knife along the joint, pressing the tape into the putty. Excess filler can be collected in a container with a spatula.
 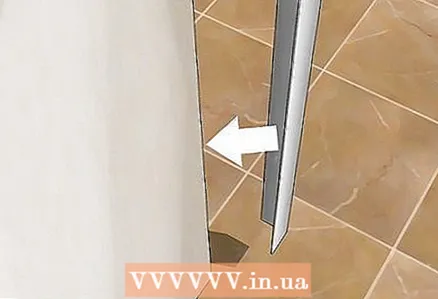 6 Apply putty to the outer corners. Outside corners do not require tape as they are reinforced with corner brackets.Apply putty to each side of the pad, leveling it with one pass with a trowel.
 - Metal or plastic outside corner pieces are sold in 3m sections, so you will probably need metal scissors to cut them to size. Such adjustments perfectly protect the outer corners from kinking of the drywall sheet and other damage for many years.
 7 Let the putty dry for 24 hours. At this stage, after applying the first coat, your surface still looks patchy. Do not worry about pieces of sealing tape visible in some areas or unevenness of the putty surface. At least one more layer of putty will be applied to the drywall; soon all these shortcomings will be eliminated.
 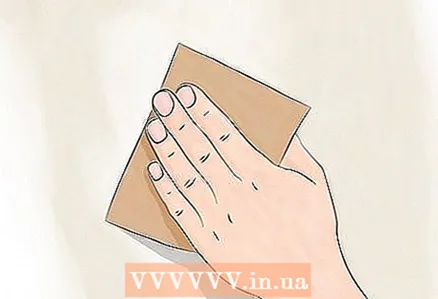 8 Sanding the first layer of putty. Careful sanding should be done 24 hours after application. Use paper with a medium grain size and do not use heavy sanding. The joint putty is soft enough that, if sanding too much, it will quickly wear off and expose the sealing tape.
 - A small sanding block is good for inside corners, and a sanding pad with a handle is effective for sanding seams and outside corners.
Method 2 of 3: Applying a second coat of putty
 1 Start by knocking down the excess with a 15 cm wide spatula. Churning involves scraping and removing residues of putty or slugs that have dried unevenly. Churning allows a second coat of putty to be applied more evenly and also helps to give the final finish a proper look.
 - Particular attention should be paid to the lower sections of the walls and outer corners (overlays), where the greatest concentration of influxes and other layers occurs.
 2 Use a 25 or 30 cm wide spatula to remove thinning of the sheet. Thinning usually occurs at the junction of two sheets of drywall, i.e. at the seam. As a result, a small void appears on the surface of the drywall. The good news is that these voids are easier to remove with putty than the protrusions.
 - Simply take a 25 or 30 cm wide trowel and apply a thin layer of filler along the thinning line of the sheet. The swept width of the thinning seams should also be between 25 and 30 cm.
 3 Use a variety of suitable trowels in different widths to smooth butt joints: from small to 35 cm. If the seams with thinning are depressions, then the butt seams are protrusions. Butt seams are more difficult to hide because it requires removing the ledge rather than filling the gap.
 - Determine the center of the butt joint. On one side of the joint, start applying the putty with a 20 cm wide trowel. Gradually move to a 35 cm wide trowel, leveling only one side of the butt joint.
- Start again with a 20 cm wide trowel and gradually work over to a wider one, leveling the opposite side of the butt joint.
- When you're done, you should have a layer of 60 to 71 cm wide putty along the entire length of the butt joint.
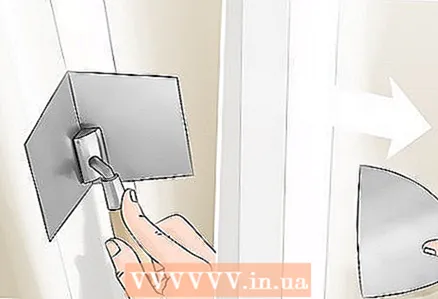 4 Use a 15 cm wide trowel to level the corners. Align with a spatula only one side of the corner and let it dry. After 24 hours, smooth the other side of the corner with the same trowel. If you try to finish both sides of a corner on the same day, while pressing the trowel down in the corner, you will pry the putty on the opposite side.
 - If desired, instead of alternately finishing the two sides of the corner, you can use a special tool for the inner corners. Such a tool is a trowel with a 90 ° bent in the middle, which is excellent for filling inside corners. Please note that the appropriate skill is required to use such a tool.
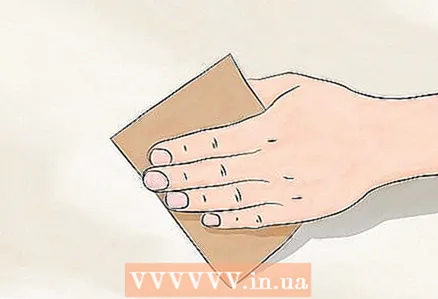 5 Sanding the second layer of putty. Careful sanding should be done 24 hours after application. Use fine grain paper and do not use heavy sanding.You only need to sand down the rough putty a little, and not remove the entire top layer of drywall.
Method 3 of 3: Applying a third coat of putty
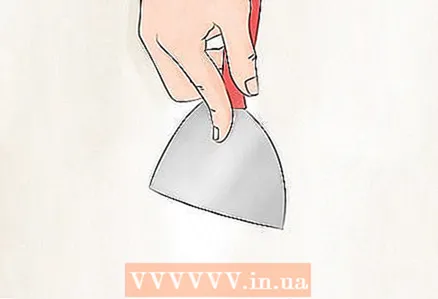 1 Start again by knocking down. Using a small trowel, go over yesterday's putty and knock off any layers or protrusions that remain after leveling with a wide trowel. Literally 15-20 minutes - and you will change the final result beyond recognition.
 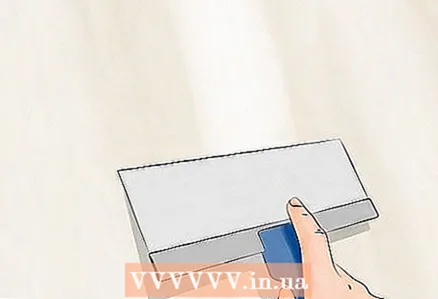 2 Apply the third and final coat of putty. If you do not apply the third layer, then you may be left with areas without putty at all and areas with several layers (for example, butt seams). The surface texture of areas without putty looks and feels very different than areas with putty. The third layer removes these differences so that the entire wall has the same and even texture.
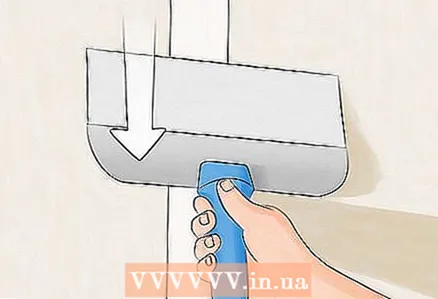
 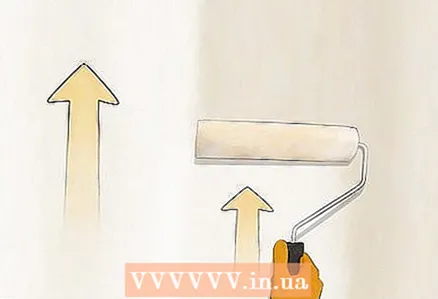 3 Apply a light putty to the entire surface of the drywall using a 2 cm nap roller. Take a roller, dip it into the putty and start applying lightly to the surface, working in sections. Work carefully, evenly distributing the putty.
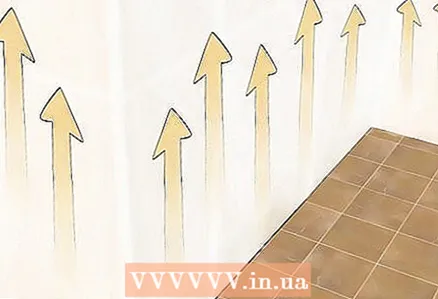
 - When applying putty to drywall, start at the bottom and work your way up. This will prevent the putty from dripping onto the floor.
- Break the surface into comfortable areas. You will have to remove most of the putty, so apply it in small patches to prevent it from drying out.
- Apply the filler in a sufficient layer. If applied in a thin layer, the filler can dry quickly. In this case, removing the putty threatens to become an overwhelming task.
 4 Don't touch the corners, but grab the seams. The corners are already sufficiently covered with putty, it is hardly necessary to apply an additional layer on them. But the seams would be nice to hide better, for this, an additional layer of putty is applied.
 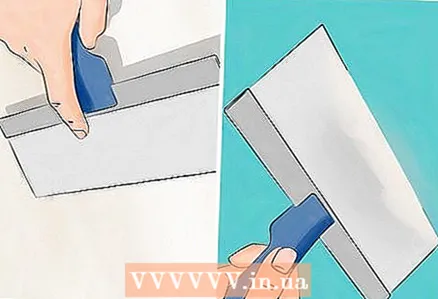 5 Remove as much plaster as possible from the drywall, working in small areas. Using a wide trowel, scrape off as much of the putty as possible from the wall. You don't need a finishing or top coat of plaster, you just need to smooth out the drywall texture with a thin layer of putty.
  6 Continue to apply and remove the putty on the areas. Thus, process the entire wall. When finished, leave the putty to dry for 24 hours, and then do a final sanding to prepare the plasterboard for primer.
Tips
- The sealing tape is paper and reinforced. Reinforced tape is usually thinner and easier to putty over.
What do you need
- Drill
- Putty
- Mixer
- Small container
- Spatula 125 mm wide
- Sealing tape
- Spatula 25 cm wide
- Sanding block
- Sanding element with handle
- Medium to fine grit sandpaper


