Author:
Gregory Harris
Date Of Creation:
15 August 2021
Update Date:
1 July 2024

Content
Laying out a brick path is easy and will add beauty to your outdoor life. You can choose from many different types and colors of bricks. Brick paths are not difficult to lay out, but can be time-consuming, depending on the size and design.
Steps
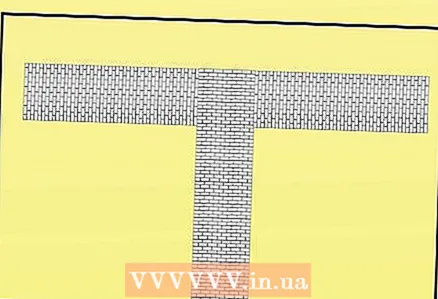 1 Make some sketches for the track to come up with a design idea before you start doing anything. Some people like straight paths, while others like to add imagination to the design and use bricks of different sizes and types.
  2 Use a garden hose to lay out a rough outline for your brick path. The garden hose is long and flexible for easy modification.
 - Keep the track straight unless you have the talent for cutting the bricks to fit them for a curved design.
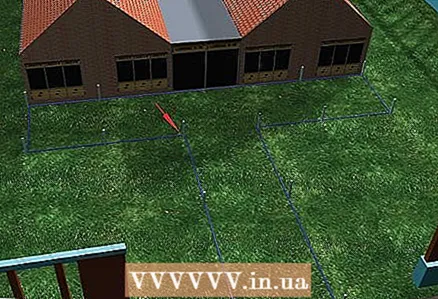 3 Peg your path to avoid accidentally shifting the original lines as you work. You should mark each side of the track with stakes.
 - Tie a colored string from peg to peg, creating straight lines to guide you when you start digging.
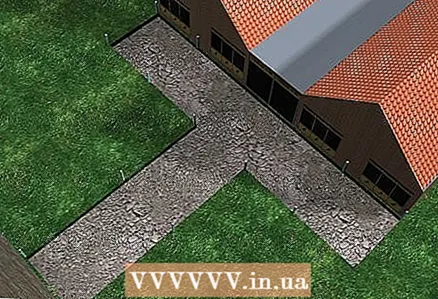 4 Use a garden shovel to cut through the grass and soil to create perfectly straight vertical lines. Follow the path and go about 20 cm into the ground.
 - The depth of your walkway should be constant throughout its length.
 5 Remove grass and dirt from your walkway with a rounded shovel. This type of shovel is great for digging through tough soil and grass.
 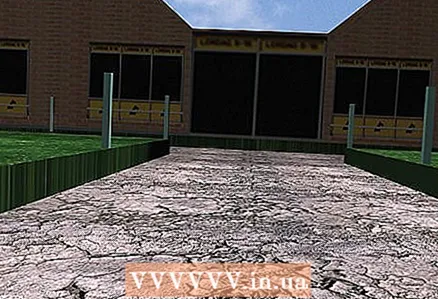 6 Level the ground properly for your walkway. Since the path needs to be leveled, the ground must have a gentle slope towards the edges of the path to act as a drain for rain and snow.
 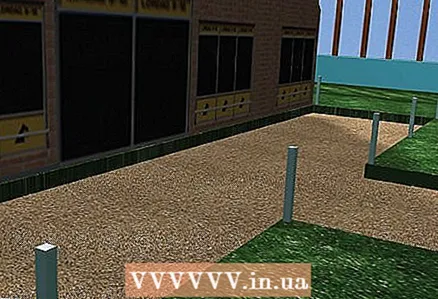 7 Place about a 10 cm layer of gravel inside the walkway and tamp it down. Make sure you spread the gravel evenly all over the path.
 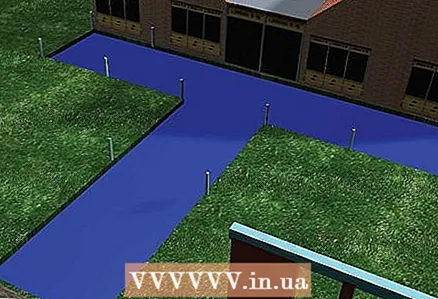 8 Place plastic molds on the track to mark the edges. They will stand in the ground and serve as a permanent support for the bricks. Your bricks should fit into shapes that are flexible enough to compensate for any bends at the edge of your walkway.
 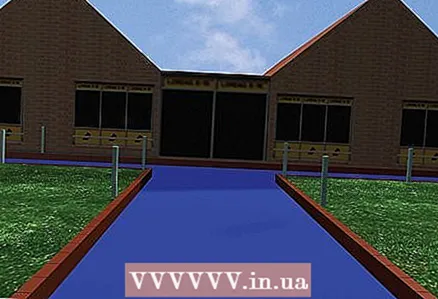 9 Place bricks or laying tiles end-to-end, edge to edge, if you plan to delimit your path.
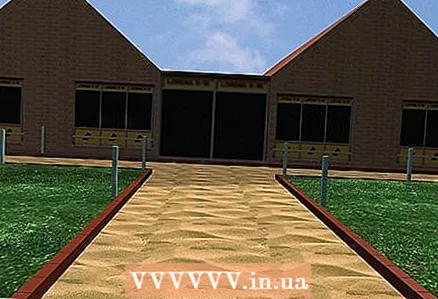 10 Fill the bed of your walkway about 1 inch (2.5 cm) with stone dust. It fits perfectly under the brick and acts like concrete if you water it and let it dry.
 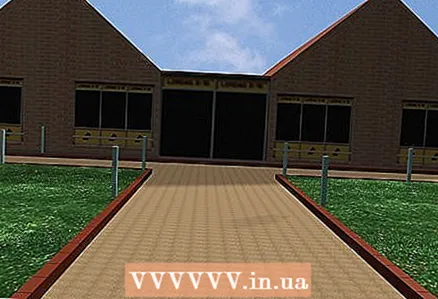 11 Tamp and level the stone dust. Check every few decimeters of the track with a level to be sure you maintain the correct height and curve.
 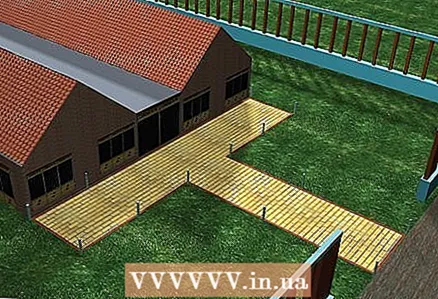 12 Lay your bricks or laying tiles on the stone dust. Using a rubber mallet, tamp each brick into place where you place it.
 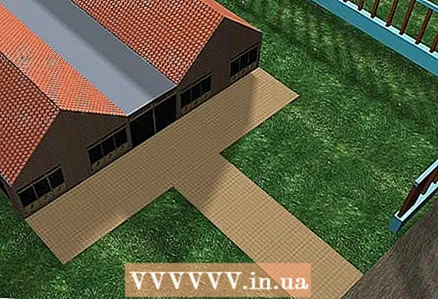 13 Cover your bricks with another layer of stone dust after you have installed all the bricks or tiles.
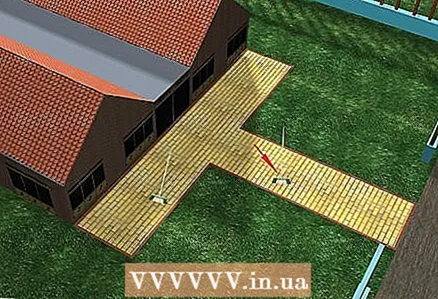 14 Notice stone dust in all cracks and between each brick. Make sure to sweep dust along the edges of all bricks with a soft broom.
 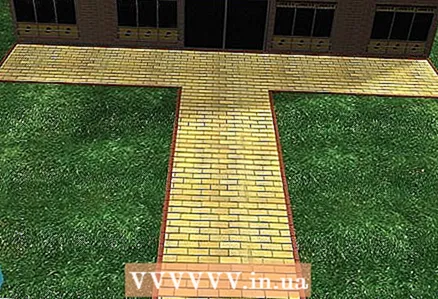 15 Hose the walkway with water to seal or anchor the bricks in the stone dust. The stone dust will harden over time and hold the bricks in place.
Tips
- Make sure to take into account the thickness of the bricks. Use only enough rock dust to level the bricks to the surrounding ground.
Warnings
- Never use a conventional hammer to tamp bricks into the walkway. This can easily damage your bricks, leave potholes, marks or splits on them.
What do you need
- garden hose
- Pegs
- Colored lace
- Garden shovel
- Rounded shovel
- Level
- Gravel
- Rammer
- Plastic molds
- Bricks
- Stone dust
- Rubber hammer
- Soft brush
- Water


