Author:
Janice Evans
Date Of Creation:
1 July 2021
Update Date:
1 July 2024
Content
- Steps
- Method 1 of 5: Standing tree
- Method 2 of 5: Wood on the wall
- Method 3 of 5: Build a Christmas tree
- Method 4 of 5: Make a palm tree
- Method 5 of 5: Make a real tree
- Tips
- Warnings
- What do you need
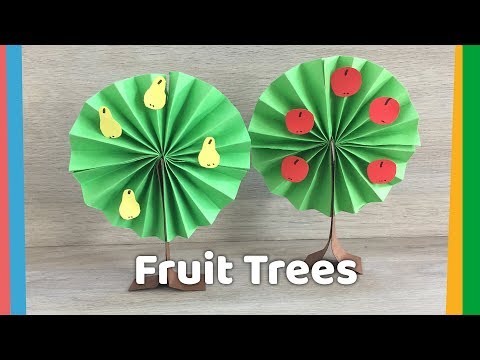
You can make many different types of paper trees. These can be Christmas trees or life-size trees on the wall. It doesn't matter what you want to create, this site will help you. Start at step 1 or browse the sections below to find the tree you would like to make.
Steps
Method 1 of 5: Standing tree
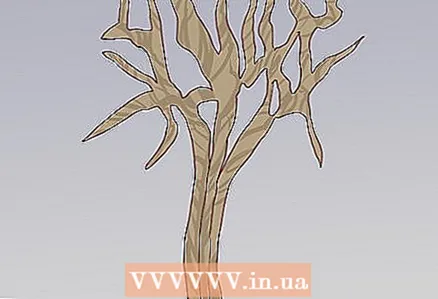
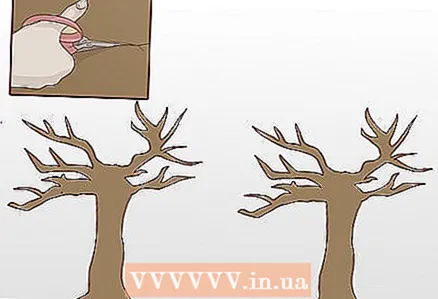 1 Make two trunks. Draw two trunks with branches on cardboard and cut them out. You may need the help of an adult to cut it out, as it can be quite difficult and unsafe.
 - Make sure the tree expands at the bottom of the trunk, like roots growing in the ground. This will help the tree stand.
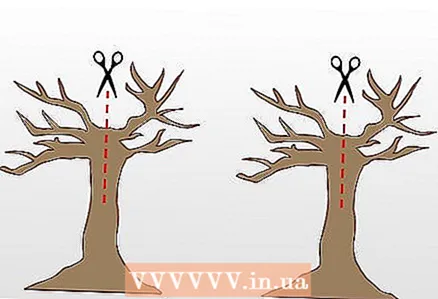 2 Make a cut in the center. Make an incision in one of the trunks from the top (from where the branches begin to grow) to the middle. Then, on the second trunk, make a similar cut from the middle to the bottom.
 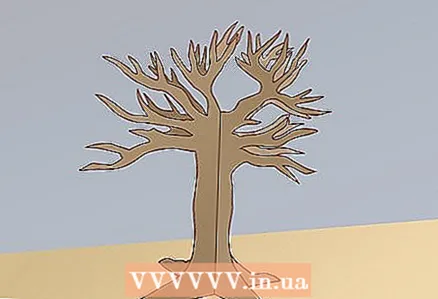 3 Connect the trunks. Now you can connect the two barrels together. A tree cut from below must fit into a tree cut from above. The tree can now stand!
 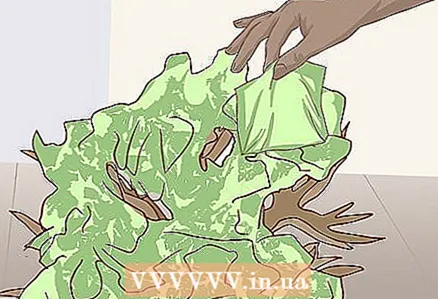 4 Make leaves. Apply a small amount of glue to the center of the small squares of colored napkins and stick them to the tree branches. Continue until you feel like your tree is ready. You can make it really lush!
 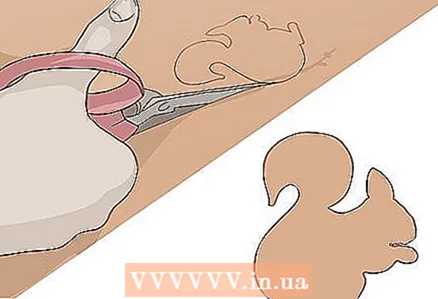 5 Decorate and enjoy! Once you've added all the leaves, you can make your tree even more unique by adding decorations. Draw and cut out a squirrel to keep your tree company, or make a bird's nest out of paper.
Method 2 of 5: Wood on the wall
 1 Make a trunk. Take crinkled brown paper bags and glue them to the wall in the shape of a tree trunk and twigs. You can make it as large as you like. If you want the tree to be really big, you may need the help of an adult. Let an adult climb the ladder and reach the upper branches.
 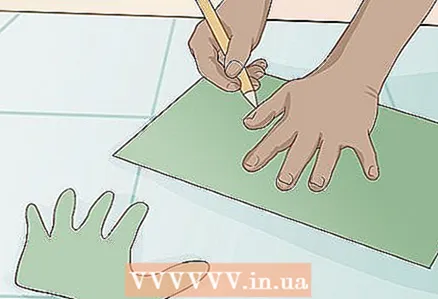 2 Make leaves. Then make leaves for your tree. You can trace the outline of your hands on colored cardboard and then cut them out. Think about which colors will best reflect a particular time of year. What color are the leaves in the autumn? In the spring? Make more leaves for your tree.
 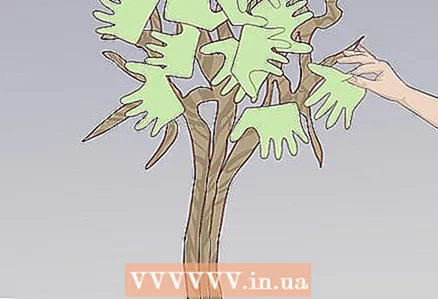 3 Add leaves to your tree. Glue the leaves to the branches or to the wall next to the branches. Ask an adult to help you with the higher parts of your tree.
 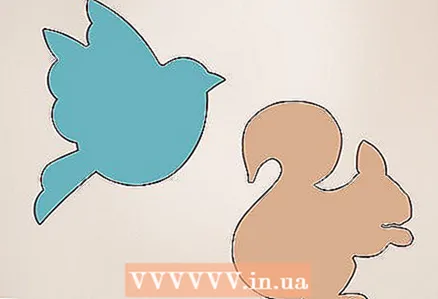 4 Add other decorations. You can add various decorations to your tree! Glue birds or squirrels to the tree, or flowers growing under the tree.
Method 3 of 5: Build a Christmas tree
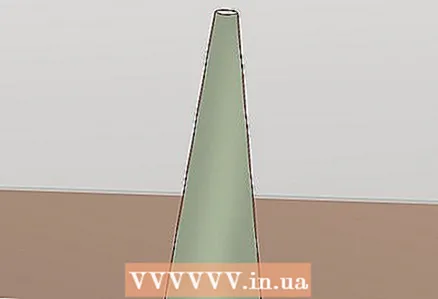 1 Make a trunk. Make a barrel out of green cardboard; make a long, narrow cone out of it, as tall as your Christmas tree should be.
 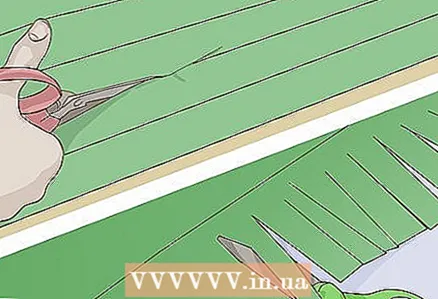 2 Cut out strips for the branches. Cut long strips about 5-8 cm wide from green cardboard. Make cuts close to each other along the bottom edge, leaving about 1.5 cm at the top to create fringe on the branches.
 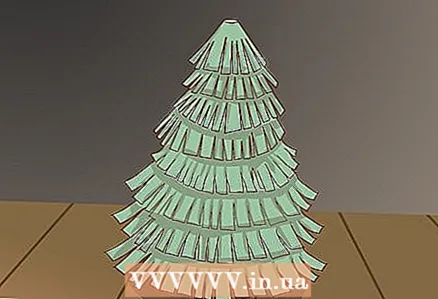 3 Add branches. Starting at the bottom and working your way up in rows, glue the strips, bordered side down, around the tree.
 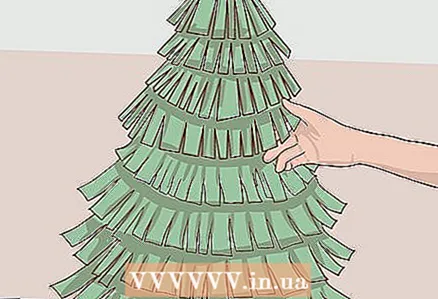 4 Fluff up the branches. Once you've added all the stripes, fluff up the fringe (especially at the bottom) to make your tree look fluffier.
 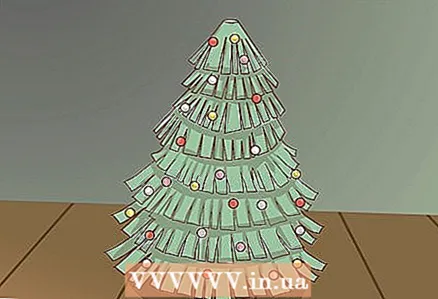 5 Decorate your tree. You can use glitter, beads, cotton balls, pipe cleaners, or anything else to decorate your tree. Don't forget to top it off!
Method 4 of 5: Make a palm tree
 1 Find a newspaper. Take 4-8 pages from the newspaper.
  2 Roll up the paper. Start rolling the newspaper around the pencil; then you can remove the pencil.
  3 Add a leaf. About 5 cm from the edge, add another sheet of newspaper to the edge and continue folding the paper until about 5 cm remains from the edge. Don't fold the paper too tight, you'll see why later.
 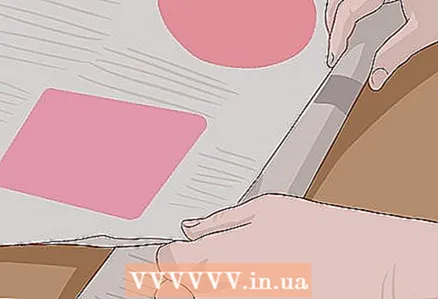 4 Repeat. Repeat step 3 until you have folded all the sheets of the newspaper.
 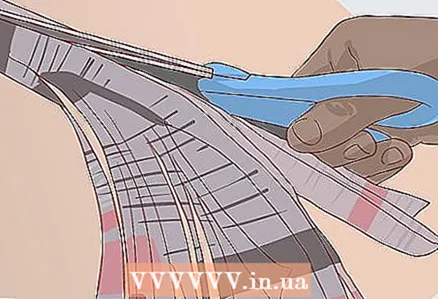 5 Cut the paper tube. Make 4 equal cuts at one end of the pipe, about 15 cm long (you can either cut with scissors or tear).
  6 Pull the ends up. Hold the pipe with your left hand, and with your right hand slowly pull it from the middle to the cut ends. Your paper tree will be 240-270 cm tall.
 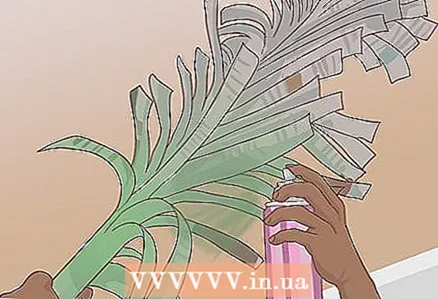 7 Color the leaves however you like. If you like, use green spray paint to color your leaves.
 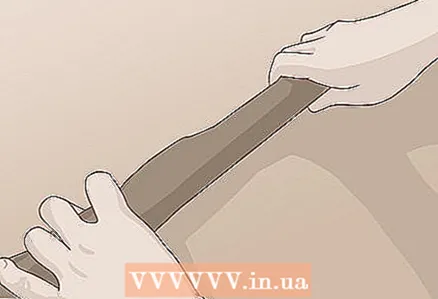 8 Build a trunk. Wrap brown paper around the base of the tree and glue it down.
 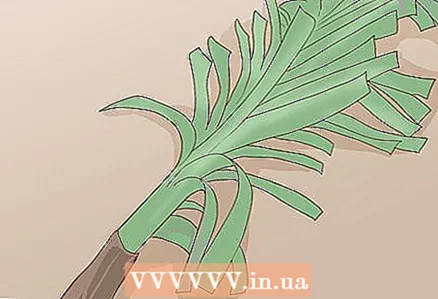 9 Ready. If you want your tree to look solid (like a pineapple tree), build a base for your tree with crumpled newsprint, then stain it brown.
Method 5 of 5: Make a real tree
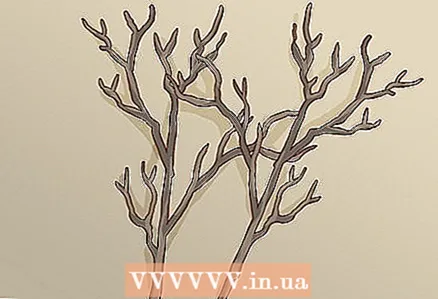 1 Collect winter branches. Gather 4-7 clean twigs (with fallen leaves) about 60-120 cm long.
 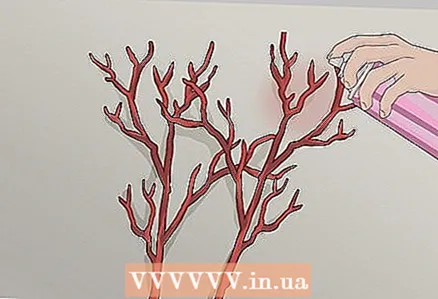 2 Color the branches. Color the branches in silver, gold, red, or whatever you like. It may be easier to use paint in a spray can, but in this case you will need to ask an adult for help.
 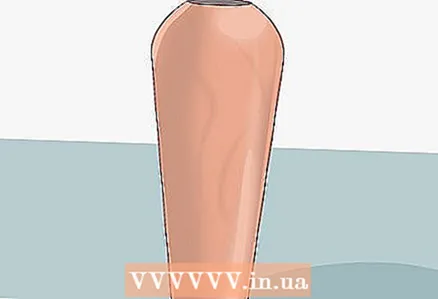 3 Find a large pot or vase. Find a large pot or vase that is stable enough to support the branches you find.
 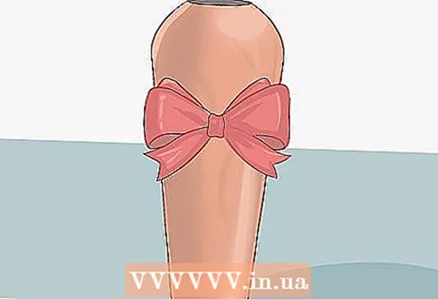 4 Tie a bow around the vase. Find a colored twisted cord or lots of gift ties and tie them around the neck of the vase to make it look more festive.
 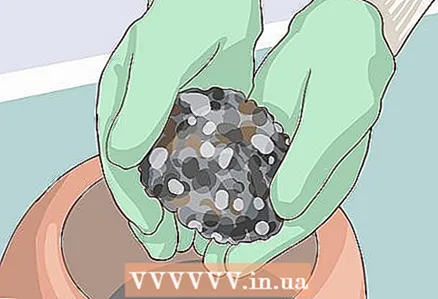 5 Fill the pot. Fill a pot or vase with river rocks or gravel. This will help the vase to be stable and hold the branches.
 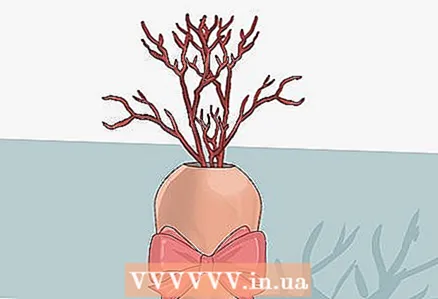 6 Place your branches. Place the branches in the pot by burying them in the stones or gravel that you put on the bottom.
 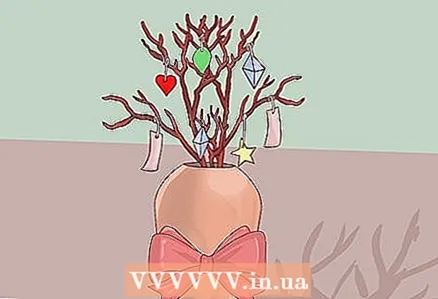 7 Decorate your tree. You can paint by hand, add paper leaves, cards or wishes to the branches.
Tips
- If the middle does not stretch, then you have pulled the cylinder too tight.
- For a super effect, cast the spell before planting your tree.
Warnings
- Keep away from open flames as the newspaper can easily catch fire.
- If you are working with a small child, use child-safe scissors.
What do you need
- Paper scissors
- Paper
- Markers
- Glue
- Stickers
- Stones
- Decorations


