Author:
Clyde Lopez
Date Of Creation:
20 June 2021
Update Date:
1 July 2024
Content
- Steps
- Method 1 of 4: How to clear shared caches
- Method 2 of 4: How to Delete Program Data Files
- Method 3 of 4: How to Delete Internet Explorer Temporary Files
- Method 4 of 4: How to clear the DNS cache
- Tips
- Warnings
This article will show you how to clear various caches of data and temporary files on your Windows 7 computer.
Steps
Method 1 of 4: How to clear shared caches
 1 Open the start menu
  . Click on the Windows logo in the lower left corner of the screen.
  2 In the start menu search bar, type disk cleanup. This will search for Disk Cleanup.
 - If there is no cursor in the Start menu search bar, first click that bar.
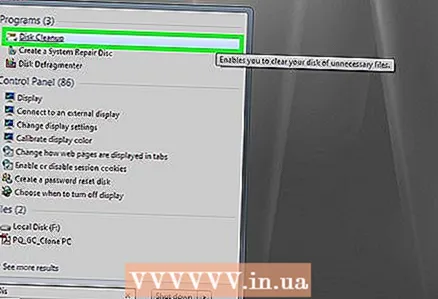 3 Click on Disk cleanup. The program's flash drive and brush icon appears at the top of the Start menu. The Disk Cleanup window opens.
 - You may have to click the Disk Cleanup icon as soon as it appears at the bottom of the screen to open the Disk Cleanup window.
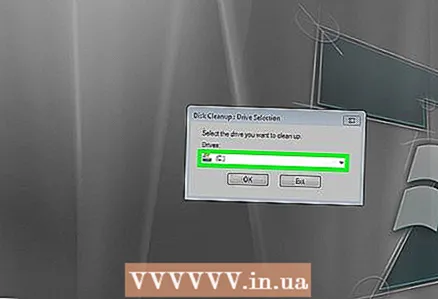 4 Select all options in the Disk Cleanup window. Check the box next to each option in the Disk Cleanup window, scrolling down the list of options and browsing for additional options.
  5 Click on OK. This button is at the bottom of the window.
 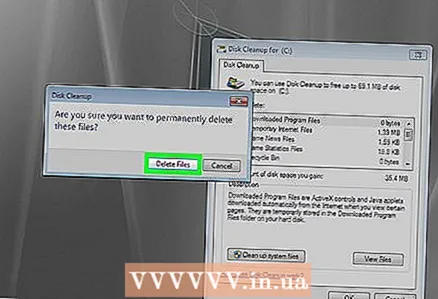 6 Click on Delete fileswhen prompted. Disk Cleanup will remove temporary files from, for example, the thumbnail cache or the Recycle Bin cache.
 - When the file deletion process is complete, the Disk Cleanup window will close.
Method 2 of 4: How to Delete Program Data Files
 1 Open the start menu . Click on the Windows logo in the lower left corner of the screen.
 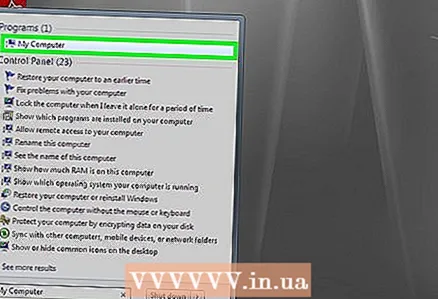 2 Click on Computer. It's an option on the right side of the Start menu. The "Computer" window will open.
 - If you don't see the Computer option, enter computer in the Start menu search bar, and then click Computer at the top of the Start menu.
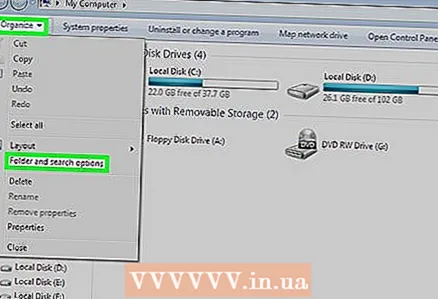 3 Show hidden files and folders. To do this, in the "Computer" window:
 - open the "Arrange" menu in the upper left corner of the window;
- select "Folder and Search Options" from the menu;
- go to the "View" tab;
- check the box next to "Show hidden files, folders and drives" in the "Hidden files and folders" subsection of the "Files and folders" section;
- click "OK" at the bottom of the window.
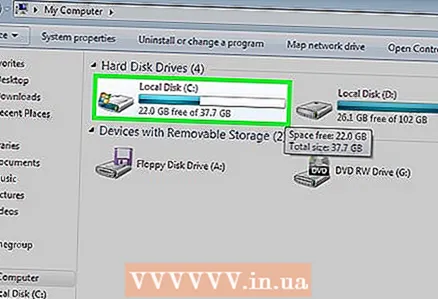 4 Double click on the name of your hard drive. In the "Hard Drives" section, double-click on "Local Disk".
 - As a rule, the system drive with programs is designated by the letter "C:".
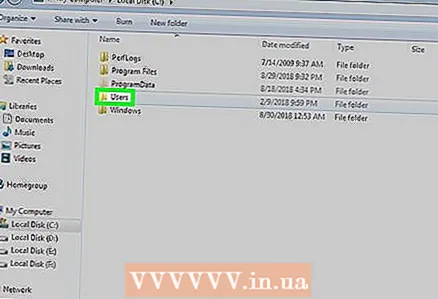 5 Double click on the folder Users. You will find it at the top of the window.
 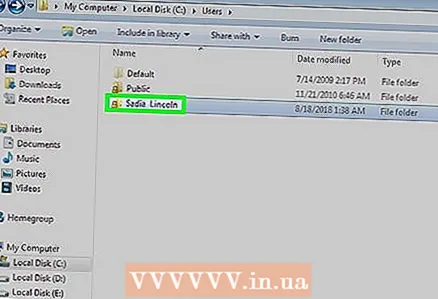 6 Double click on a specific user folder. Typically, the folder name matches the username or Microsoft account.
 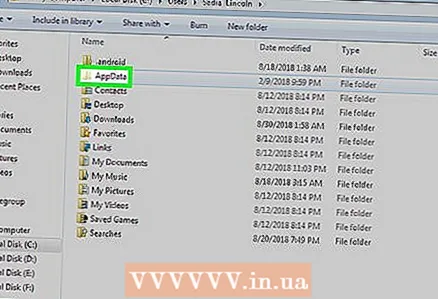 7 Double click on the folder AppData. It's in the middle of the window, but you may have to scroll down to find this folder (unless the window is maximized to full screen).
 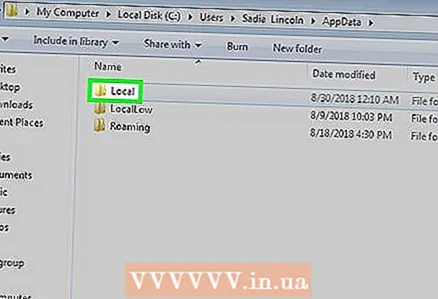 8 Double click on the folder Local. You will find it at the top of the window.
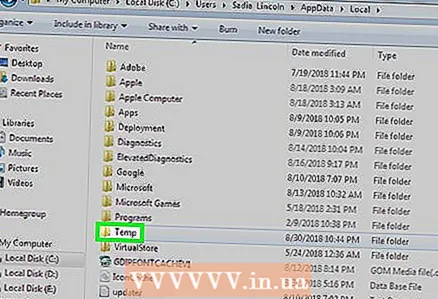
 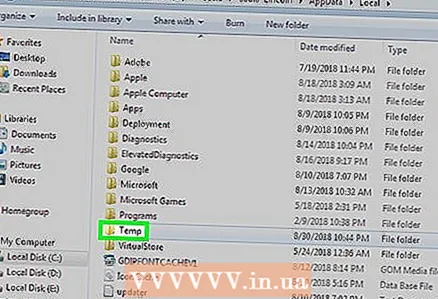 9 Scroll down and select a folder Temp. To do this, click on the folder.
 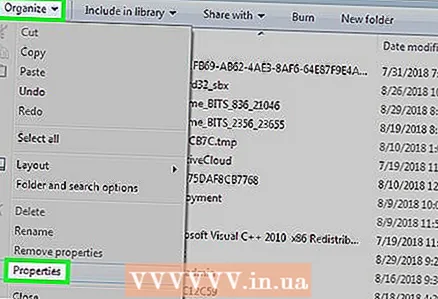 10 Get rid of the read-only protection. For this:
 - open the "Arrange" menu;
- click "Properties";
- uncheck the "Read only" box;
- click "Apply";
- click "OK" when prompted;
- click "OK".
 11 Double click on the folder Tempto open it.
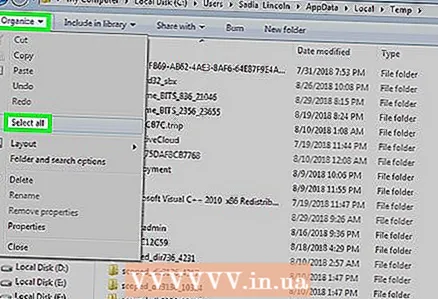 12 Highlight the contents of the folder. Click on any item in the folder and then click Ctrl+A... Alternatively, you can click Arrange> Select All.
 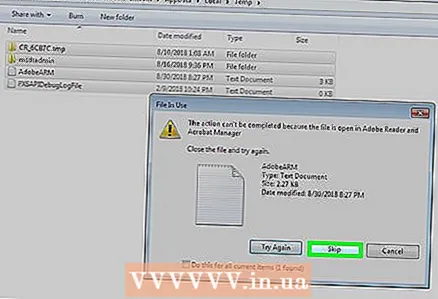 13 Delete the contents of the folder. Press the key Del on keyboard.
 - Some of the files stored in the Temp folder are used by the system or programs, so you cannot delete these files. If prompted, check the box next to "Do this for the following items" and click "Skip".
 14 Empty the trash. This will permanently get rid of deleted files.
Method 3 of 4: How to Delete Internet Explorer Temporary Files
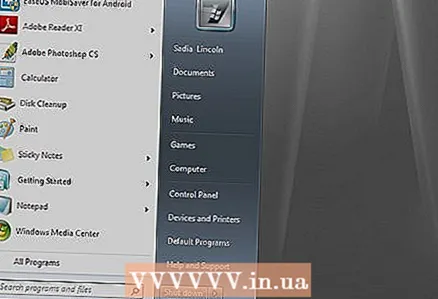 1 Open the start menu . Click on the Windows logo in the lower left corner of the screen.
 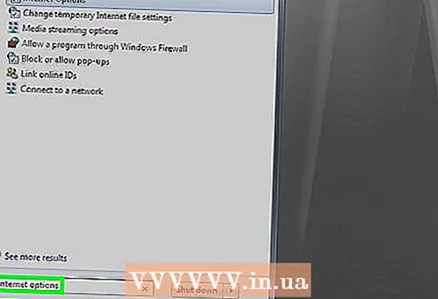 2 In the start menu search bar, type browser properties. This will search for the Browser Properties program.
 - If there is no cursor in the Start menu search bar, first click that bar.
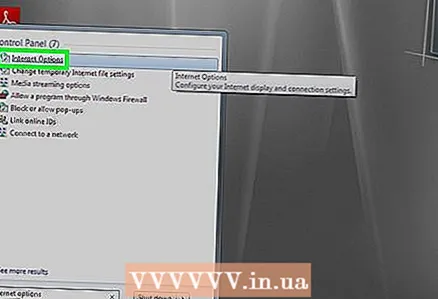 3 Click on Internet options. This program appears at the top of the Start menu. The Internet Options window will open.
 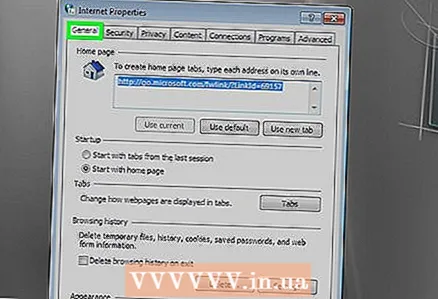 4 Click on the tab General. It's at the top of the window.
 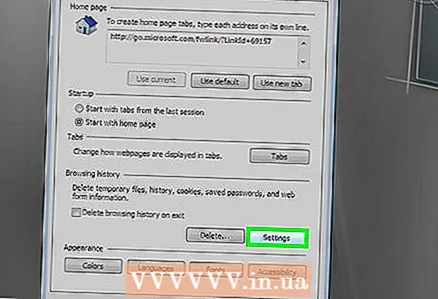 5 Click on Parameters. It's in the Browsing History section.
 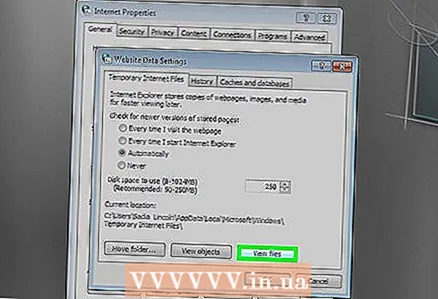 6 Click on Show files. This button is located in the lower right side of the window. A new window will open listing all the files that are in the Internet Explorer cache.
 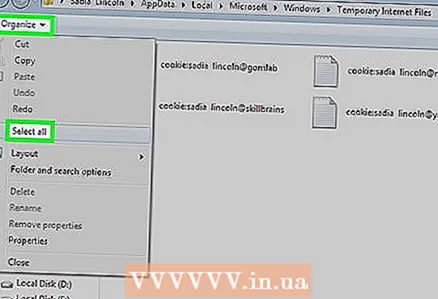 7 Highlight the contents of the folder. Click on any item in the folder and then click Ctrl+A... Or click Arrange> Select All.
 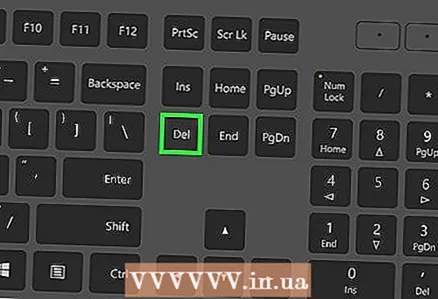 8 Delete the contents of the folder. Press the key Del on keyboard.
 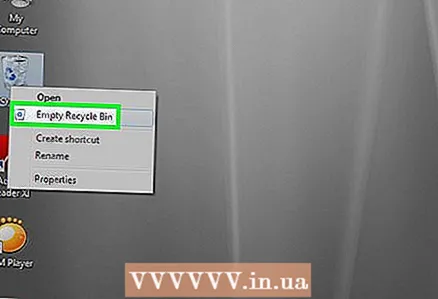 9 Empty the trash. This will permanently get rid of deleted files.
Method 4 of 4: How to clear the DNS cache
 1 Open the start menu . Click on the Windows logo in the lower left corner of the screen.
 - Clearing the DNS cache can help solve problems with the browser, for example, when sites do not open.
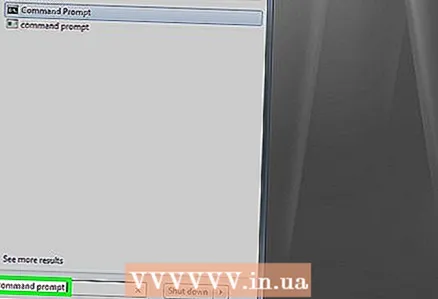 2 In the start menu search bar, type command line. This will search for the Command Line program.
 - If there is no cursor in the Start menu search bar, first click that bar.
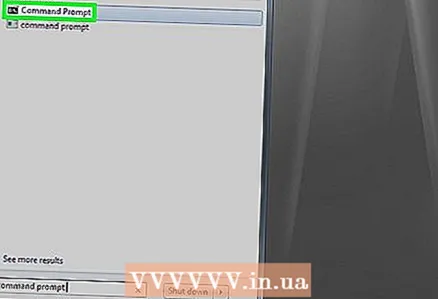 3 Right click on the Command Prompt icon
  . It will appear at the top of the Start menu. A dropdown menu will open.
 - If your mouse does not have a right button, click on the right side of the mouse or click on it with two fingers.
- For a trackpad, click on it with two fingers, or click on the bottom right of the trackpad.
 4 Click on Run as administrator. It's in the drop-down menu. A command prompt will open with administrator rights.
 - If the Command Prompt does not open, you are logged in as a guest.
- If prompted, click Yes.
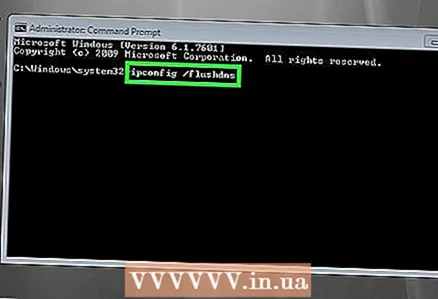 5 Enter the command to flush the DNS cache. Enter ipconfig / flushdns and press ↵ Enter.
 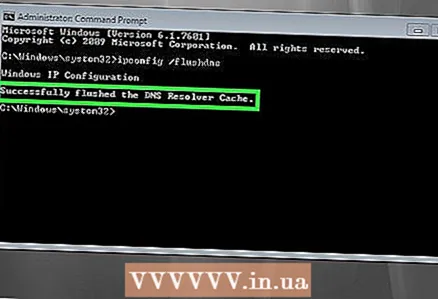 6 Wait for the results of the team's work. If everything is in order, the message “DNS cache cleared successfully” (or similar text) will be displayed on the screen.
 - You may need to restart your computer for the changes to take effect.
Tips
- To clear your browser's cache, open that browser's settings.
Warnings
- Some "temporary" program files cannot be deleted because they are used by the Windows operating system. Typically, these files are only a few kilobytes in size.


