Author:
Robert Simon
Date Of Creation:
18 June 2021
Update Date:
24 June 2024

Content
Do you have a lot of files to back up? Want to keep your data on CDs and DVDs from loss when the disc is scratched or the disc is lost? ISO file can help you, ISO can store files and folders and is very easy to move and backup. You can create ISO files from files and folders on your computer, or from discs such as CDs, DVDs, and Blu-ray discs. You can refer to instructions for creating ISO file below.
Steps
Method 1 of 3: Create ISO File from CD / DVD / BD
Download ISO compiler. There are many free or commercially available compilers that will let you create ISO files from CD, DVD, or Blu-ray (BD). Some of the most commonly used compilers are MagicISO, ISO Recorder, and ImgBurn.
- The compiler should only be downloaded directly from the developer. Because if you download the compiler from another site, you run the risk of getting infected with malware or adware.

Install ISO compiler. You can usually keep most of the default options as they were. However, some programs, such as ImgBurn, come with lots of adware that need to be disabled during installation, so make sure you read every message that shows up on your screen first. when press continue.
Place the disc where you want to split the data into the drive. Copying a disc to the ISO format is known as a "ripping", and allows you to make a perfect backup of any disc into a single file. Make sure that your drive supports the disc you want to split data from. For example, you cannot rip the data of a Blu-ray disc in a DVD drive, but you can split the data of a DVD disc in a Blu Ray drive.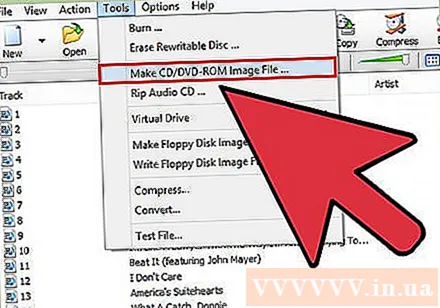
Start the splitting process. Find the "Create Image from Disc" button. The name of this button can be changed depending on the program you are using. For example, it might be "Copy to Image". Usually on this button's icon will display an image of the disc to denote that the ISO from the disc's data.- This may require you to specify the source to copy. Make sure to choose the appropriate drive.
Locate you want to save the file. You will need to save the file somewhere on your computer while you are creating it. Note, the ISO files will be the same size as the original disk, so make sure your hard disk has enough free space for storage. This is especially important for BDs, as these discs can go up to 50 GB.
- The name of the file should be easy to remember or recognize.
Wait until the splitting is complete. After you have set where to save the file, splitting will begin. This can be time consuming, especially for BD discs. When the process is complete, the ISO file will save in the location you specified earlier, and you can now copy or install the ISO file. advertisement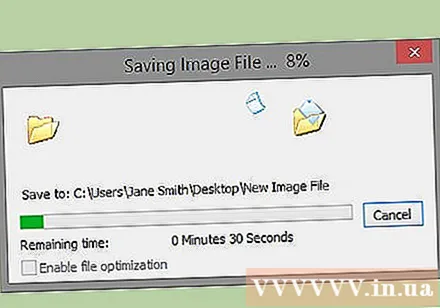
Method 2 of 3: Create ISO File from Hard Drive
Download ISO compiler. There are many free or commercially available compilers that will let you create ISO files from CD, DVD, or Blu-ray (BD). Some of the most commonly used compilers are MagicISO, ISO Recorder, and ImgBurn.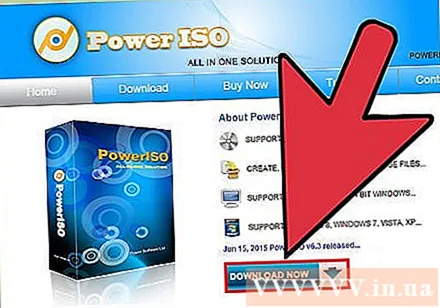
- The compiler should only be downloaded directly from the developer. Because if you download the compiler from another site, there is a risk of infection with malware or adware.
Install ISO compiler. You can usually keep most of the default options as they were. Some programs, such as ImgBurn, come with a lot of adware that needs to be disabled during installation, so make sure you read the message displayed on your screen carefully before continuing. profanity.
Create a new ISO project. Click the "Create image file from files / folders" button or "Make ISO" button to start creating this project. This will let you select the files and folders you want to add. Creating ISO from file is a great way to easily move or backup multiple folders and files.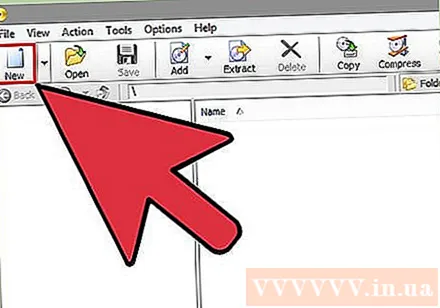
- You should name the project exactly or follow the document description so you can know what the ISO file contains.
Add files and folders to the project. The exact execution process varies depending on the type of program, but normally you can drag and drop files and folders into the window, or use the built-in browser to navigate through. all folders on the computer.
Start creating ISO file. Click the "Build" button or the "Copy" button to begin creating the ISO containing the file and directory of your choice. The time it takes to create an ISO file depends on the size of the file and the speed of your computer.
Save or move ISO file. When the ISO file is complete, the file is ready to be copied to a disc, either uploaded to an online archive, or installed on a computer for access.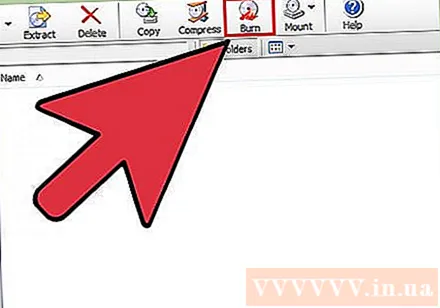
- If your ISO file is too large, then you cannot burn it to disc. CDs can hold about 700MB, while DVDs can hold 4.7GB, and Blu-ray discs can hold up to 50GB.
Method 3 of 3: Create ISO File using WinRar
Download the WinRar program. Once downloaded, start installing this program. WinRar is a paid program but you can use the beta version to create ISO files.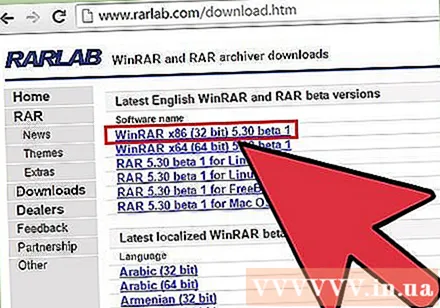
Collect all the files you want to archive. You have to select all the files at once, making it easier to move them all to the same location. Select all files by pressing a key combination Ctrl+A.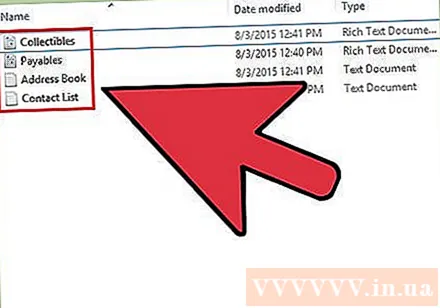
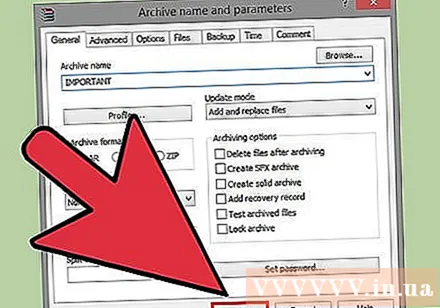
Right click on the selected files. Click the "Add to archive ..." option.
Archive archive. After you click on the option above, a new window will appear. Name the archive, and make sure the archive is stored as .iso.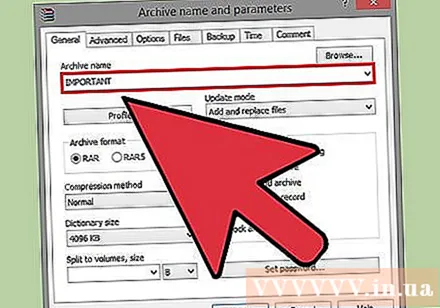
Click OK to create the ISO file. This may take a few minutes, especially if there are many large files added to the ISO file. advertisement