Author:
Robert Simon
Date Of Creation:
18 June 2021
Update Date:
1 July 2024
Content
This article will show you how to reduce video size, including the final file resolution and size on Windows and Mac computers, as well as on iPhone or iPad.
Steps
Method 1 of 5: Windows
Access in the browser. Handbrake is a free program that allows you to re-encode your video to reduce the resolution or file size.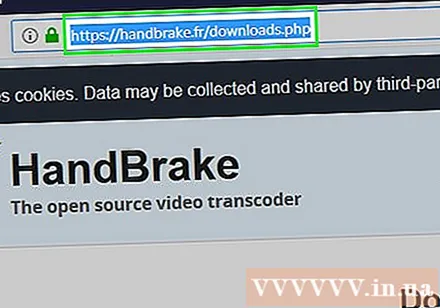
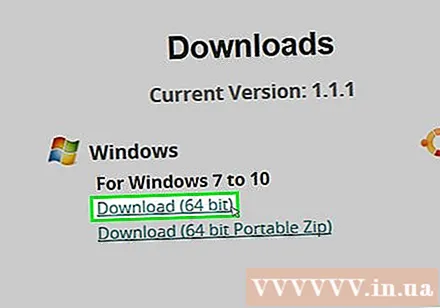
Press the button Download Handbrake.
Click on the installer. You will see it in the bottom corner of the browser. You can also look in the Downloads folder.
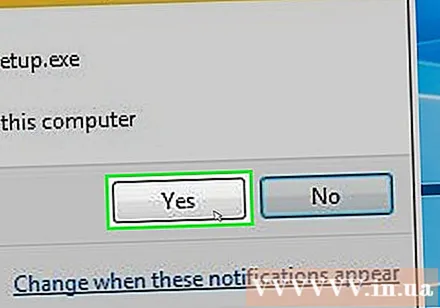
Press the button Yes (Agree) when Windows announces.
Press the button next (Next) to proceed with the installation.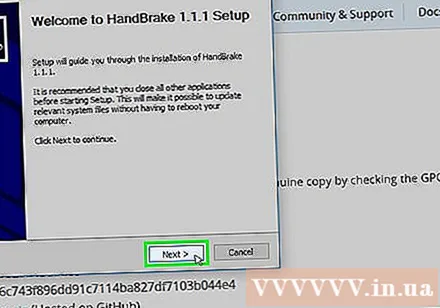
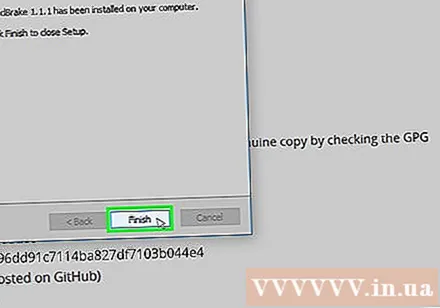
Press the button finish (Completed) after the installation is complete.
Double-click the Handbrake icon on the desktop.
Press the button Source (Source). You can find it in the upper left corner of the Handbrake window.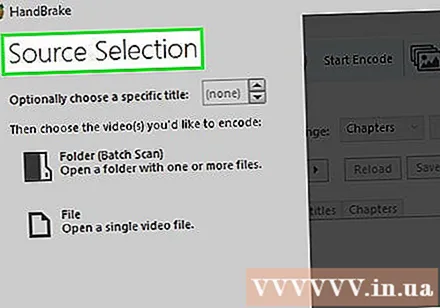
Press the button File (File).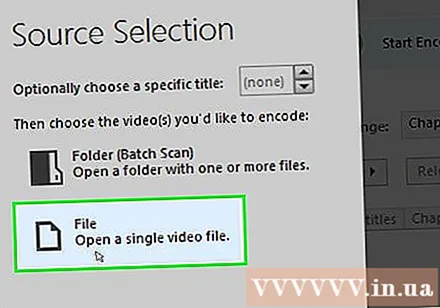
Browse for the file you want to reduce the size of.
Press the button Open after selecting the file.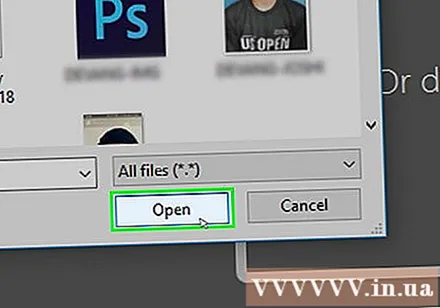
Press the button Browse (Access) in the Destination section.
Set where you want to save the output file.
Find the Size in the tab Picture (Picture).
Enter the smaller parameter in the field Width (Width). This is a way to reduce the video resolution, which means reducing the file size. For example, changing the value from 1920 to 1280 changes the video resolution from 1080p to 720p, resulting in a much smaller file. The change in resolution is easy to notice when viewed on a large screen.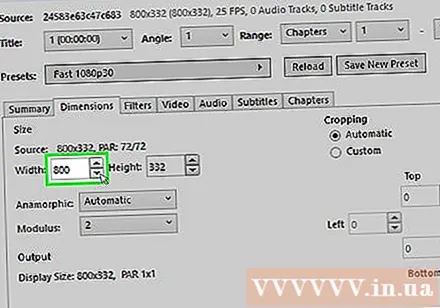
- You can enter the values 1024, 1152, 1366, 1600, and 1920 to resize them but keep the aspect ratio unchanged. Note that this is a common resolution for videos widescreen. If your video ratio is of a different type, such as mobile vertical, you need to use different values.
Click the tab Video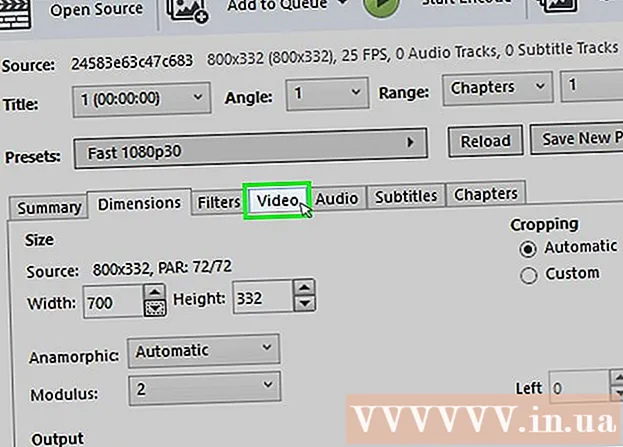
Click and drag the slider Constant Quality on the left side. Increasing the value reduces quality, leading to a decrease in the file size.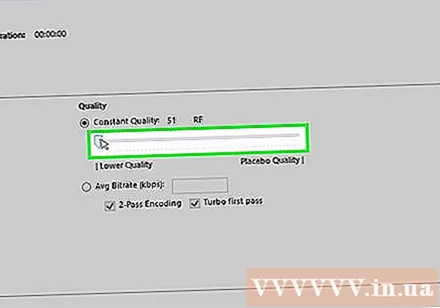
- DVD quality is 20. If you are going to watch a video on a small screen, it can be set to 30. On a big screen, it should be set to 22-25.
Click and drag the slider x264 Preset to the right. The slower you set, the smaller the output file will be output. Set the lowest level you can handle.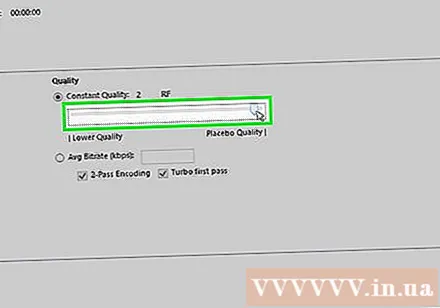
Press the button Preview. You will see this button above the window.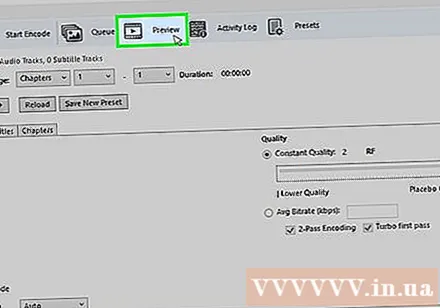
Check the box Use system default player (Use the default movie player software).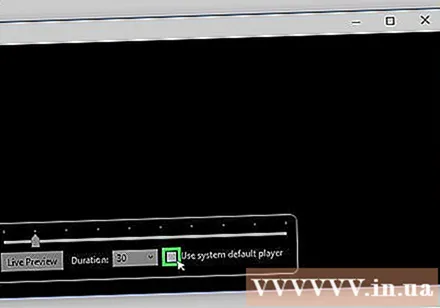
Press the button Play (Run).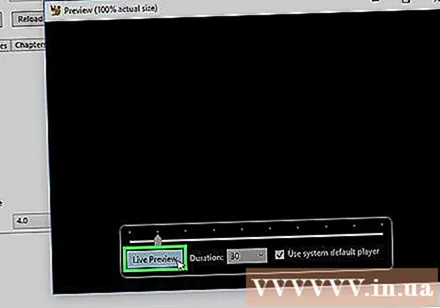
Watch the trailer to decide video quality.
Adjust it again if you want and then watch another movie.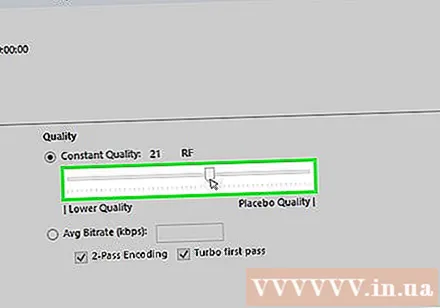
Press the button Start after satisfied. The encryption process will begin. The encoding time depends on the video size, settings, and computer performance.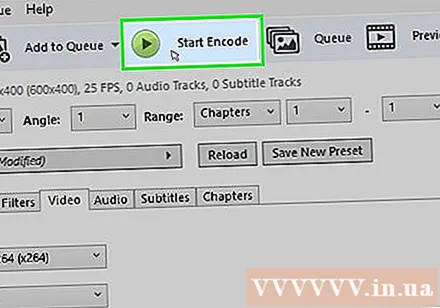
Open the encrypted file. You will see the new video in the location you set up earlier. Play the video to check the quality and make sure that the encoding goes smoothly. You will see a big change in the file size. advertisement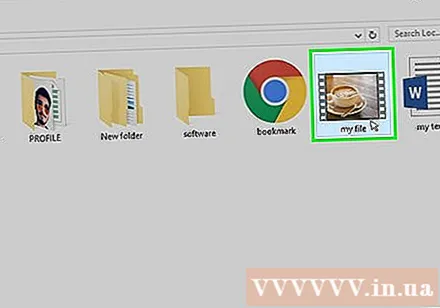
Method 2 of 5: Mac (Handbrake)
Access on a web browser. This is the free Handbrake add-on website you use to change your video file size.
Press the button Download Handbrake (Download Handbrake). This will download the Handbrake installer to your computer.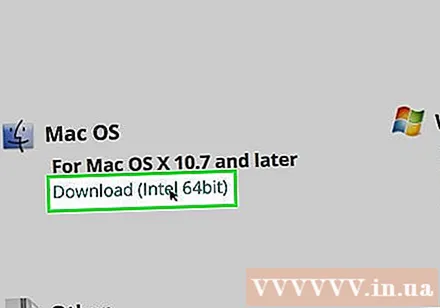
Click on the installer after downloading. You will see it in the lower right corner of the desktop. You can also look in the Downloads folder.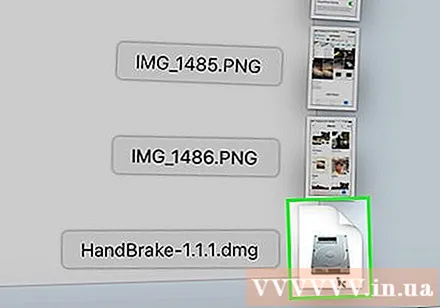
Drag Handbrake to the desktop or into the Applications folder.
Double click on Handbrake.
Press the button Open (Open).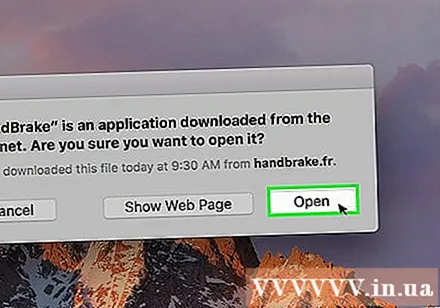
Access the video you want to convert. The file explorer window will appear as soon as you start Handbrake.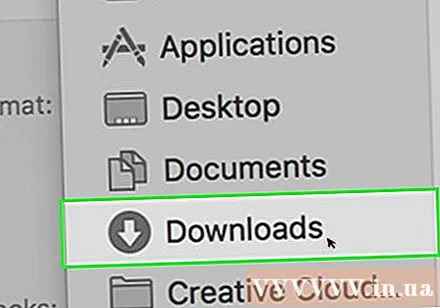
Select the file and press Open.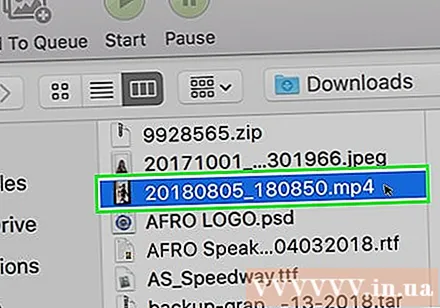
Enter a new name for the converted file in the item Destination (Destination). If you don't rename it, Handbrake will overwrite the original video file.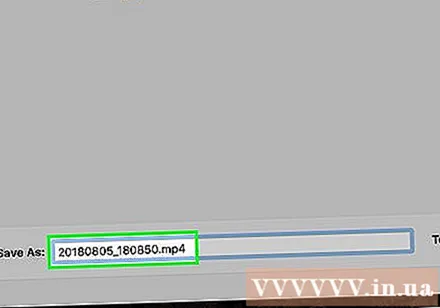
Press the button Picture Settings (Picture Settings). You should see this button at the top of the program window).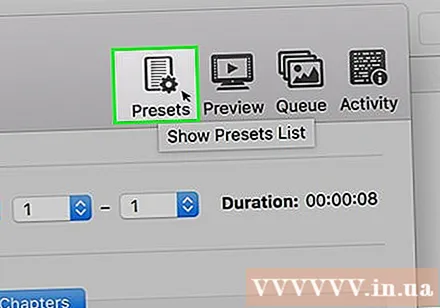
Enter a lower resolution in the Width field. Changing the resolution makes the video appear smaller on the screen, while reducing the file size. You will not notice any changes in resolution if viewed on a mobile device, so this is an effective way to reduce the file size.
- If the width is "1920", try lowering it to "1280".The effect change is from 1080p video to 720p. The width values corresponding to the video screen widths include 1024, 1152, 1366, 1600, and 1920.
- Don't forget to check the "Keep Aspect Ratio" checkbox. The program will automatically change the video height to match the width so that the proportions do not change.
Press the button X. This closes the Image Settings window and saves your changes.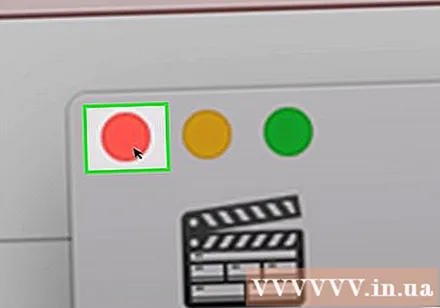
- Changing the video resolution is not really necessary if you want to reduce the file size, but it also has a big effect.
Click and drag the slider Constant Quality (Constant Quality) on the left side. The larger the number, the lower the video quality and the smaller the file size. You can try adjusting the settings a few times until you like them.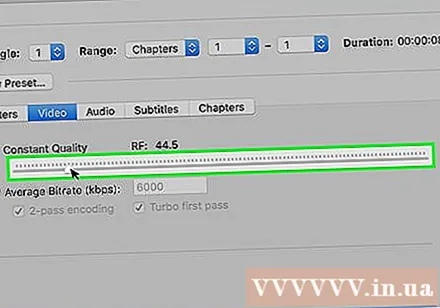
- DVD quality is 20. You can drag the slider to 30 and still be able to watch the video on the small screen.
- If you plan to watch the video on the big screen, you should only drag the slider at 22-25.
Click and drag the slider Encoder Options Preset (Encoding Setting Option) to Slow. If possible, choose a slower rate than Slow. The slower the compression setting, the smaller the output file size will be.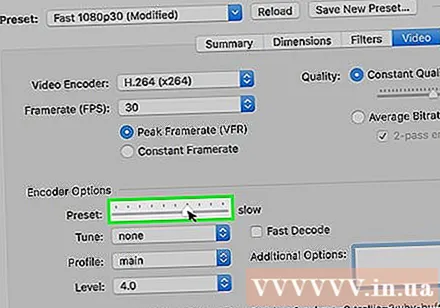
Press the button Preview Window (Preview Window).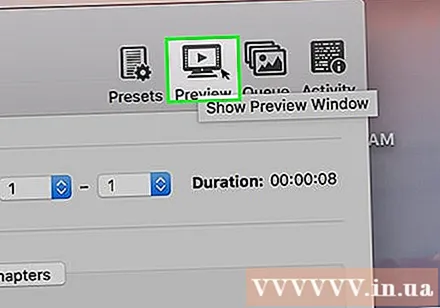
Press the button Live Preview (Preview).
Watch the trailer after coding.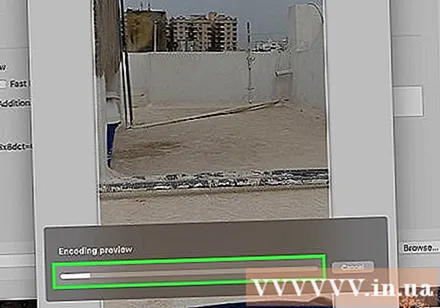
Adjust settings if desired. Depending on the quality of the trailer, you can go back and adjust the settings as needed.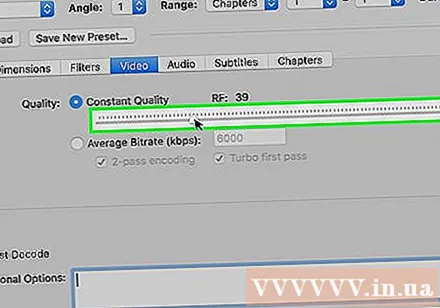
Press the button Start (Begin). This will start the video encoding process with your chosen settings. The completion time depends on the video length and the quality set. advertisement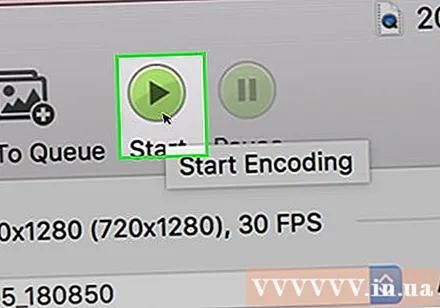
Method 3 of 5: Mac (iMovie)
Open iMovie. iMovie is a video editing software in the Mac operating system. You can find iMovie in the Applications folder.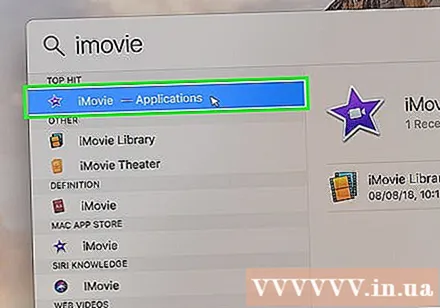
Click the Project button.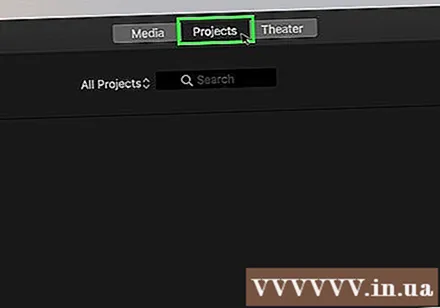
Press the + button.
Click (Movie).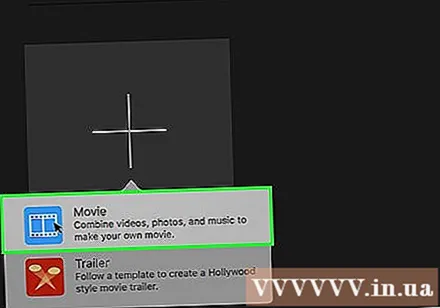
Click No Theme.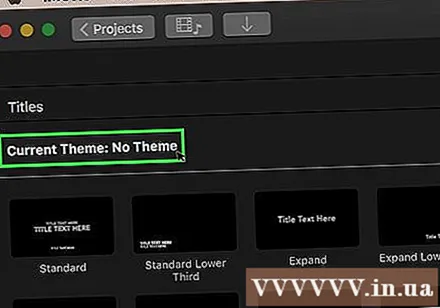
Enter a new file name.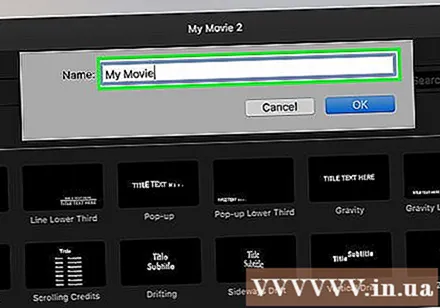
Open the folder containing the video file.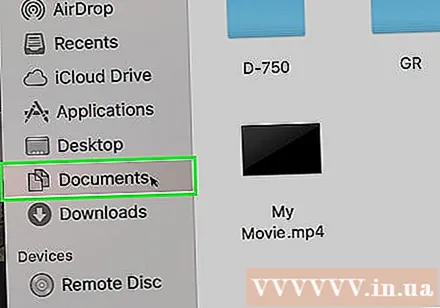
Drag the video file into the upper left frame of the iMovie window.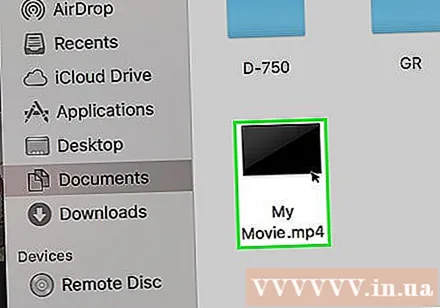
Drag the video down to the timeline section.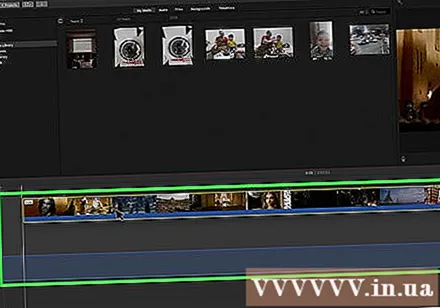
Click the File menu.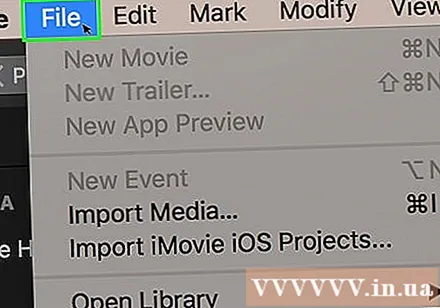
Select Share → File (File_.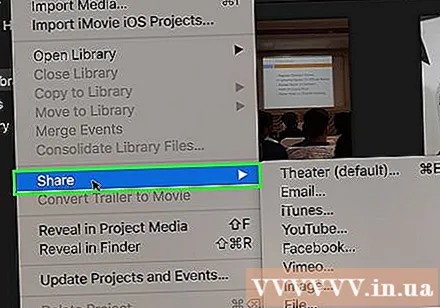
Click the Resolution menu and choose a smaller resolution. This is how to reduce the actual size of the frame, as well as reduce the file size. You won't notice a resolution difference if viewed on a small screen.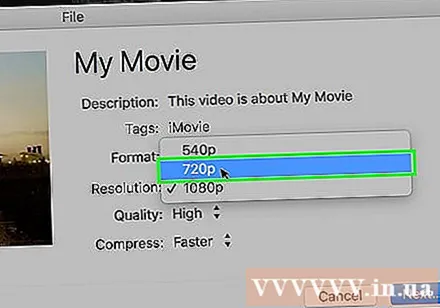
Click the Quality menu, then choose a lower quality. This is a way to reduce the display quality of the video, leading to reduced size.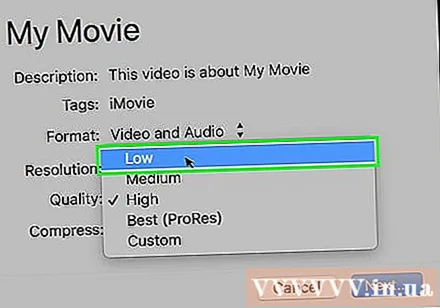
Click the Compress menu and choose a smaller file.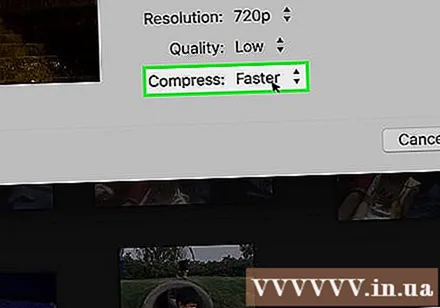
Select Next.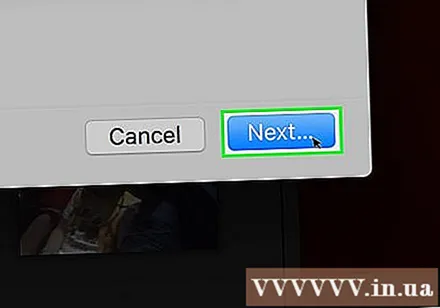
Enter a file name.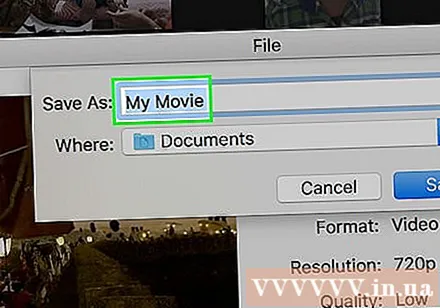
Select Save (Save_.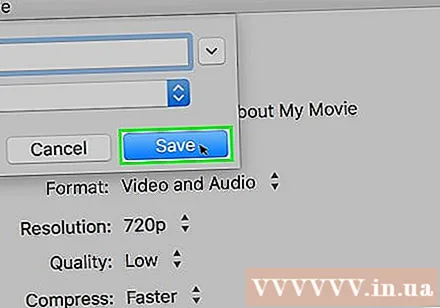
Wait for the file to convert. This can take longer for large videos. advertisement
Method 4 of 5: Android
Open the Play Store on your Android device. You will see it in the application list or on the desktop. The app icon resembles a shopping bag with the Google Play logo.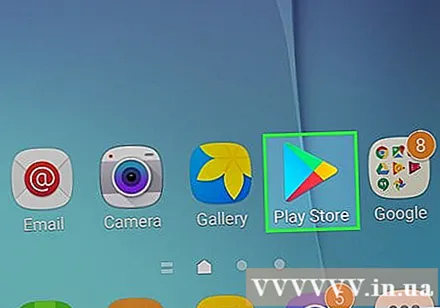
Into the bar Search (Search).
Type video compress (Video compression).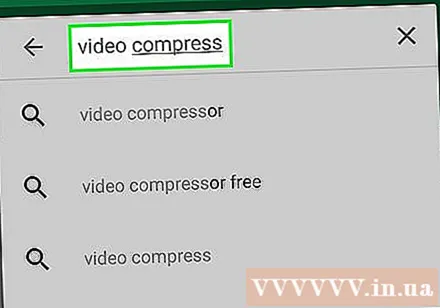
Choose Video Compress (Video compression) in the result list.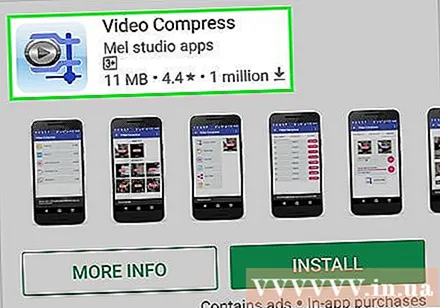
Choose Install (Setting).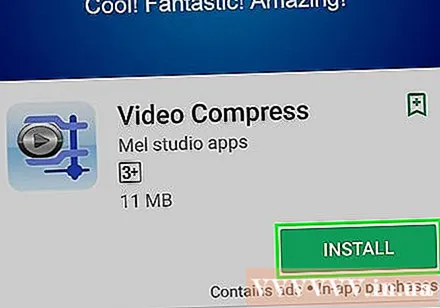
Choose Open (Open). This button will appear after you download and install the app.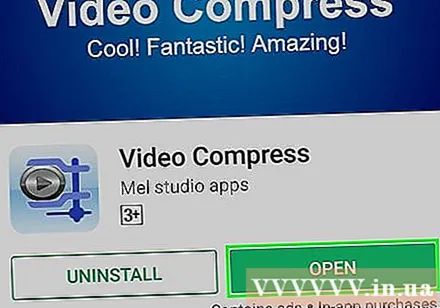
Press the button Allow (Allow). This is the step to access the video file.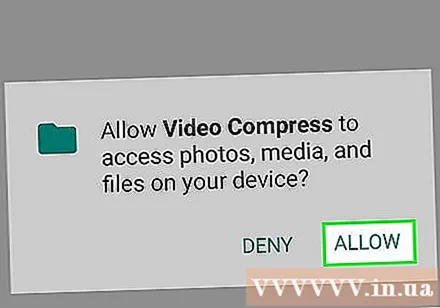
Access the directory containing the file. Usually in the "Camera" folder.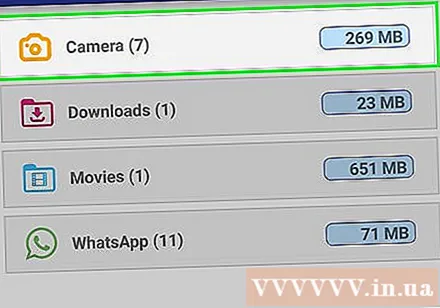
Select the video you want to shrink.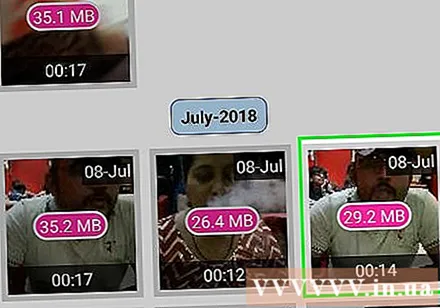
Press the button Compress Video (Video compression).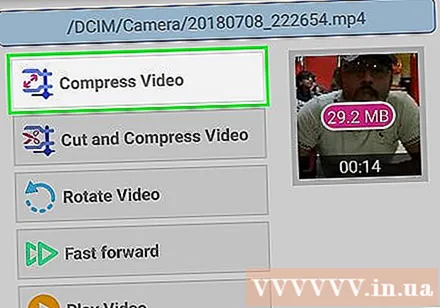
Enter the file size you want to export. You will see the new resolution and file size displayed on each option.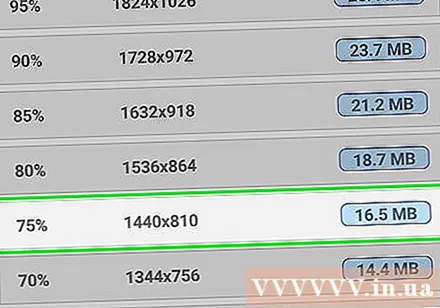
Wait for the file to be compressed.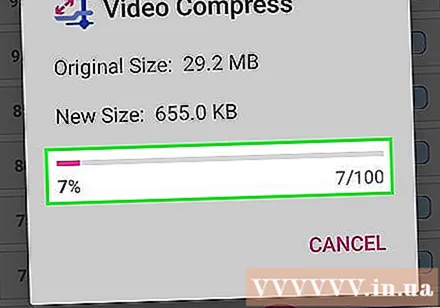
Find new videos. The compressed file is saved in the Super Video Compressor folder on the device's storage. The new video name is the name of the original file plus "video compress" in the front. advertisement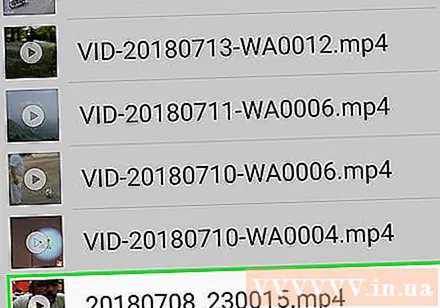
Method 5 of 5: iPhone and iPad
Open the App Store.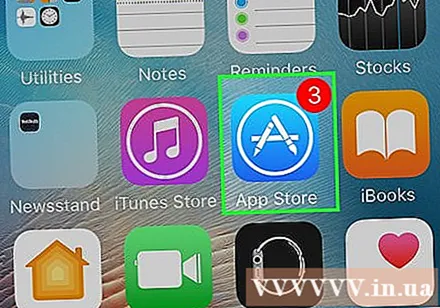
Click the tab Search (Search).
Type compress video (compress the video) into the search field.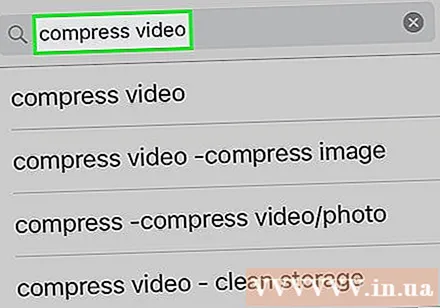
Press the button Get (Download) next to Video Compression (Video Compressor).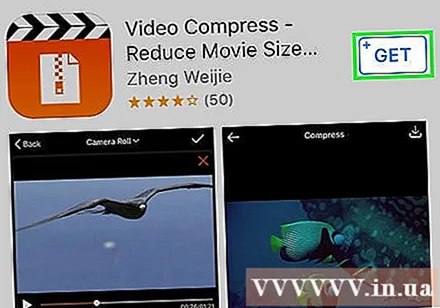
Press the button Install (Setting).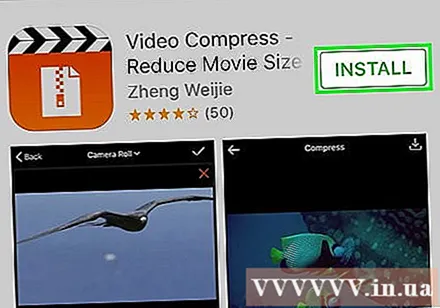
Press the button Open (Open). You can touch the Compress app on the desktop.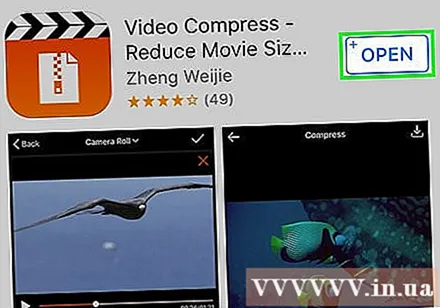
Press the button OK to allow video access.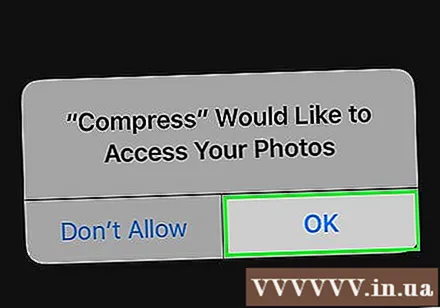
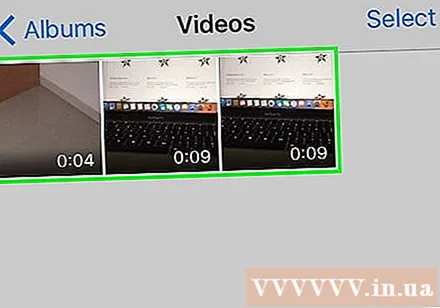
Select the video you want to compress.
Press the button Choose (Choose).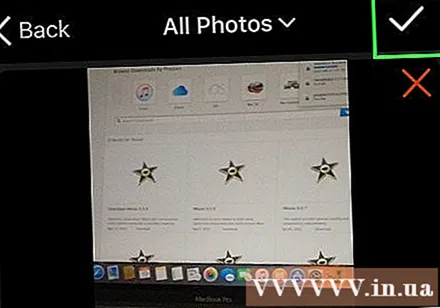
Touch and drag the slider Target Size (Final Capacity). By default, the application will let the last capacity decrease by 50%. When you drag the slider, you'll see the estimated final capacity.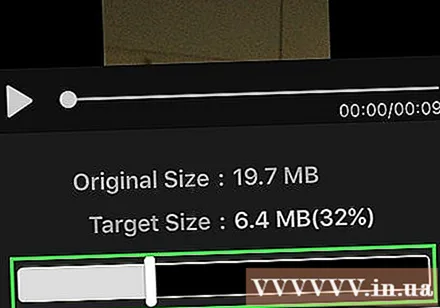
Press nsut Save (Save).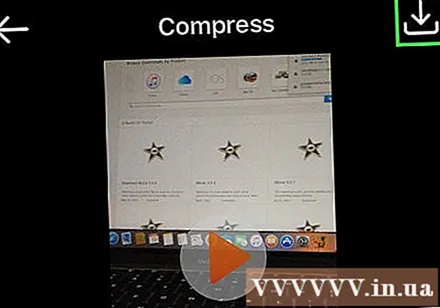
Wait for the video to process. You can monitor progress in the top corner of the screen.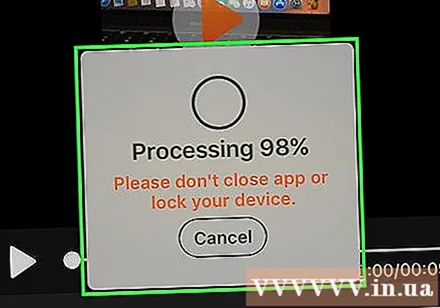
Find the compressed video. The compressed video will be in the photo library. advertisement