Author:
Lewis Jackson
Date Of Creation:
6 May 2021
Update Date:
1 July 2024
Content
When Google Drive was first introduced, this software acts as a place to store data in the Cloud folder so you can access them anywhere. As the Drive software improved, it synced all the functions of Google Docs and became a hub for Google document creation and Office tools. You can even install multiple apps onto Drive for broader feature development. Check out the following guide to get the most out of Google Drive.
Steps
Part 1 of 4: Installation
Sign in to the Google Drive website with your Google account. If you don't have a Google account, you can create a Gmail account for free. Google Drive allows you to store data in the Cloud folder, as well as create documents and various types of documents through the Google Drive web interface.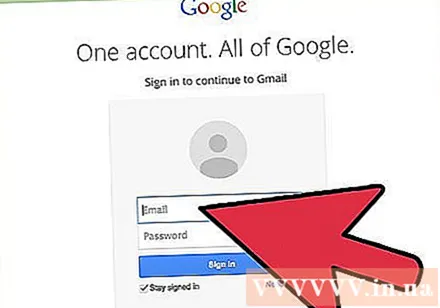
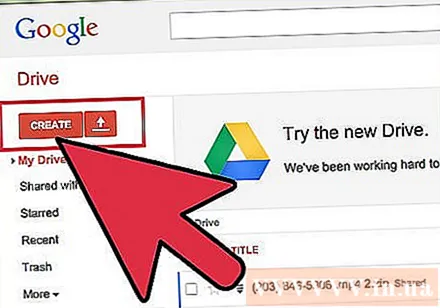
Add data to the Drive software. There are 2 ways to add data to Drive. You can create Google Drive documents, or download data from your computer. To create a new data, press the CREATE button. To upload a data, press the “Up Arrow” button next to the CREATE button.
Change the display of data. You can choose to display data by grid or list (List). List mode will let you see who owns the text and when it was last modified. Grid mode will show you the first page preview of each data. You can change your view by pressing the buttons next to the gear icon in the upper right corner of the page.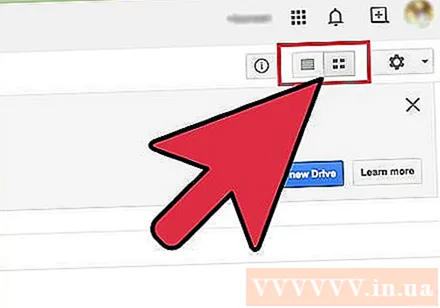
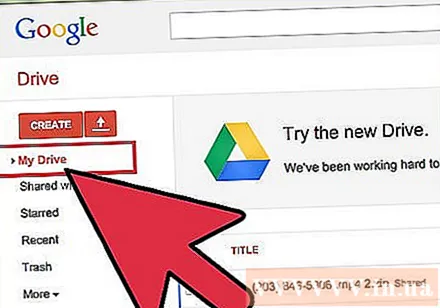
Use the navigation bar on the left side to find data. “My Drive” is the place to store all the data and folders you have uploaded. "Shared with Me" is documents and data shared with you by others using Drive. The "Starred" data is marked as important data, and the "Recent" data is the data you edited most recently.- You can drag and drop data and folders around Drive to organize them appropriately.
- Select the check box (check box) to select multiple data and folders. You can perform multiple actions on selected data by pressing buttons at the top of the page. If you are using the large icon view, check boxes appear when hovering over the text. There are more options in the "More" menu.
- Click the Folder icon to go with the "+" sign to create a new folder in your Drive. You can create subfolders in other folders to organize the data.
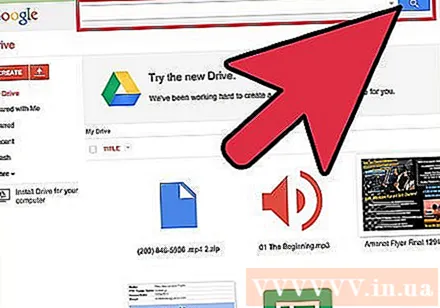
Search for data. You can search for documents in the same Google Drive folder using the search bar at the top of the web page. Google Drive will track by title, content, and other users. If a data is found with an exact word with the title, it will appear under the search bar as you type search so you can quickly make a selection.
Download the app for a mobile device. The Google Drive app can be downloaded for Android or iOS devices allowing you to access your data from your phone or tablet. The app can be downloaded for free from the app store. The mobile app probably won't have some of the same features as the web browser version. advertisement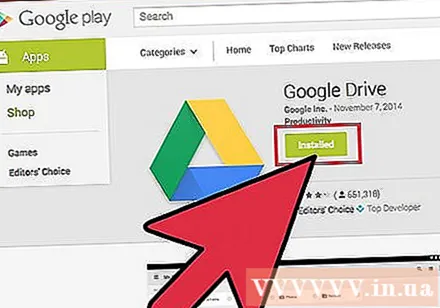
Part 2 of 4: Text
Press the CREATE button. A menu will appear allowing you to choose the type of text you want to create. You have many default options, and for more options, click on the "Connect more app" link below the menu: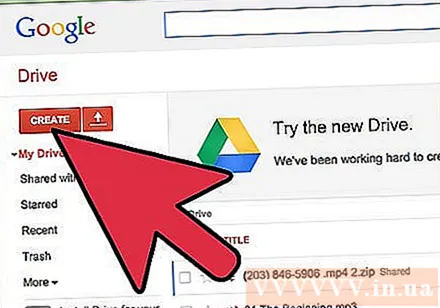
- Folder - Create a folder in My Drive to organize your data.
- Document - Create a new word-processing document. You can adjust page formatting and setup using the tools and menus at the top of the text. Text can be exported in Microsoft Word, OpenOffice, PDF, and other formats.
- Presentation - Opens Google Drive similar to Microsoft PowerPoint.Data can be exported as Microsoft PowerPoint, PDF, JPG, and other formats.
- Spreadsheet - Create a new spreadsheet. Spreadsheets can be exported in Microsoft Excel, Open Office, PDF, CSV, and other formats.
- Form - Allows you to create text templates to fill out online. Forms can be exported as CSV data.
Create new data. Once you have selected the text format, the new document to create will appear. If you choose Presentation or Form, the instructions to set up each step in the form of a wizard will help you shape the text.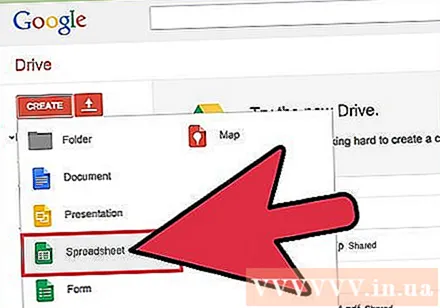
Name the data. At the top of the web page, hit the italic gray word “Untitled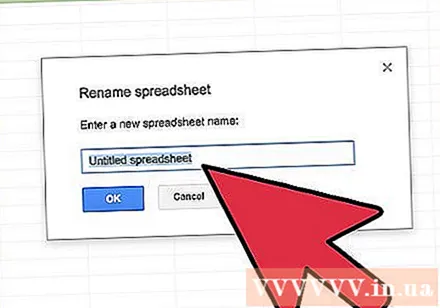
" (Unnamed ). When you click on it, a “Rename document” window will appear, allowing you to change the data name.
Edit text. Start writing commercial-style text. You may realize that Google Drive has most of the basic features, but some advanced features are probably not available.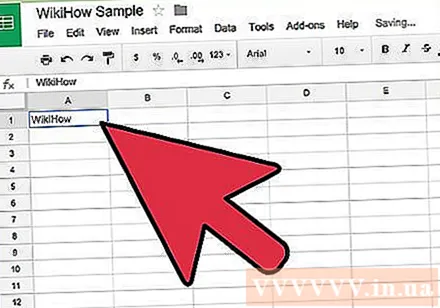
- The text is automatically saved while performing the operation.
Export and convert data. If you want the data to be compatible with a particular program, select File and place an arrow on the "Download As" button. A menu appears with a full range of available formats. Choose the format that suits your needs. You will be asked to name the text and choose where to download it. When the data is loaded, it will appear as the selected text.
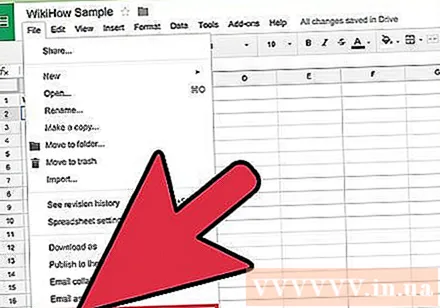
Share documents. Click File and select Share, or press the blue Share button on the top-right corner of the web page to open the Sharing settings. You can specify who can view the data and edit it.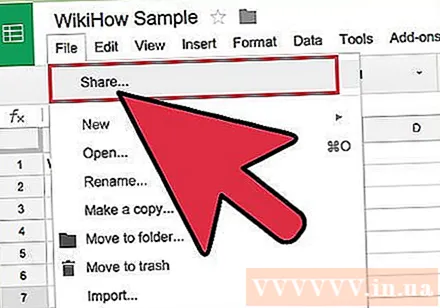
- Send the link above to the people you want to share data with. You can use the buttons below for quick sharing via Gmail, Google+, Facebook, or Twitter.
- Change who has access to the text by clicking the "Change ..." link. By default, the text is private, and you have to invite someone to grant them access. You can change this, to allow everyone to have the path, to open the document and be found on the entire Internet system.
- Invite others to edit the text by entering their contact information in the “Invite people” area. Invited users must sign in to Google Drive to access the text.
- Change other people's permissions by clicking the blue link next to their name. You can let them edit the text or just view it.
Text export. To export a document, spreadsheet, or presentation, click File and select "Publish to the web". Export Google Drive documents to make a copy that anyone can see. The copy becomes a separate web page without leading to the original text. This allows you to share documents with anyone without changing sharing settings.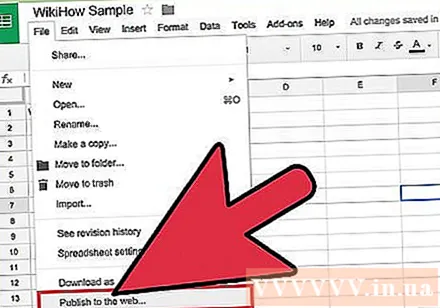
- An output document cannot be edited. You can re-edit the remaining original document in Google Drive.
Print text. If you have your printer set up or you can access a Google Cloud printer, you can print the document. Click the File menu and select Print from the bottom of the list.- Print settings. You can specify which page to print, as well as the format of the printed page. Click Print to go to the next screen.
- The print review page will open, and you can select the printer by pressing the Change button. This comes in handy if you try to access your Google Cloud printer at home while working or studying.
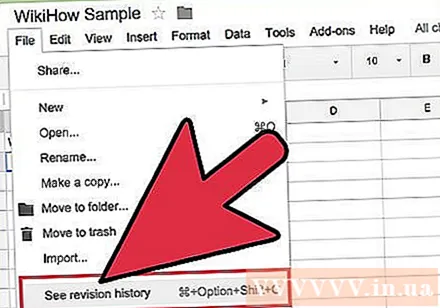
Convert text to an older version. If you make bulk changes to a document and find you need to convert it to an old version, you can use the Revision History tool to go through the old copies. Open the text and click the File menu. Select “See revision history” and a list of read-back panels will open on the right side of the web page.- You can select individual readings in the list to view the text in the main window.
- When you find the reading you want to keep, click “Restore this revision link” below its item in the list.
Part 3 of 4: Data
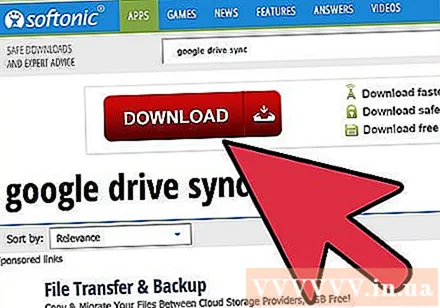
Download the Google Drive sync program for your computer. This step is optional, but may make it easier to sync special files with Google Drive. If you want to set up the program, find the download link from the main Google Drive website. The path will download the correct installation program for your operating system.- Once downloaded, install it now and log in with your Google account. A folder will be created on your desktop allowing you to access all of your Google Drive data.
- Drag any data you want to add to your Google Drive archive in the folder and they'll automatically upload. When a data has been successfully uploaded, it will display a green check mark right in the icon.
Upload settings. Hit the gear icon in the top right corner of the web page and move your mouse over the “Upload settings” option. You can choose Google Drive to automatically convert uploaded data such as Word or Excel documents into Drive format, and you can use Drive to convert PDF data into editable text data.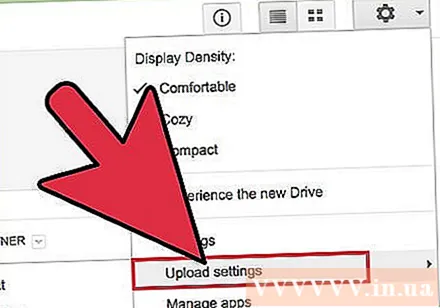
- You can choose to remind each time to do this, or you can choose to automatically.
- Unconverted data will not be able to open in Google Drive unless you convert. Otherwise, you will need to download them to a device that has a program to open the data.
Click Upload. A menu will appear allowing you to upload individual data or entire folders. Find the data or folder you want to upload to Drive. The data conversion settings initially set will take effect, and you can see the upload progress in the window that appears.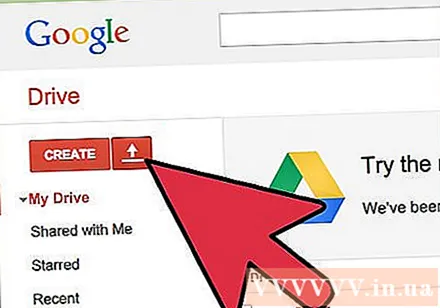
- The free Google Drive account helps you store 15GB of uploaded data. The archive will be shared with your Gmail account. Any data created in Drive does not affect your storage capacity. You can see which items are taking up storage space by clicking the “Manage” link in the bottom left corner of the Drive page.
- The uploaded data appears in the My Drive folder. You can move them within the directory system if you want.
Download data from Google Drive to your computer. If you want to download a data or lots of data to your personal computer, select the check box for the data you want to download. Click the More button at the top of the web page and select Download.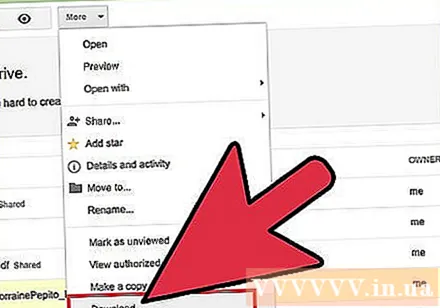
- While downloading Google Drive data, you will be asked which data format you want to convert. Otherwise, the data will start downloading automatically.
Delete data you don't need. To delete data and folders, select the data tick box you want to delete. Click the Trash button at the top of the web page. You can cancel the deletion by clicking the Undo link, or go to Trash in the menu on the left.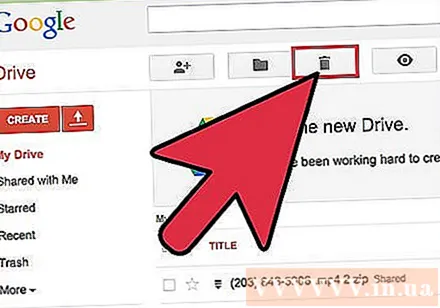
- Remember, text created on Google Drive does not affect storage.
Part 4 of 4: Other features
Edit photos uploaded to Drive. You can use the free Pixlr app to edit any image uploaded directly to Drive. Press the CREATE button and select “Connect more apps”. Pixlr search and install it for free.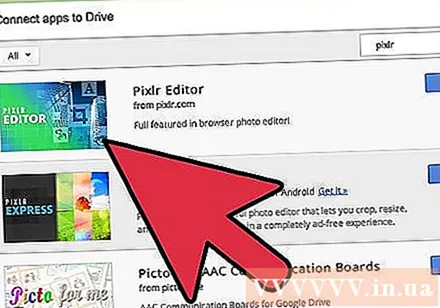
- Once Pixlr is installed, right-click on an image in Drive and select “Open with”. Select Pixlr from the menu and the image will open in a new tab. You can start editing with Pixlr.
Listen to stored music data. If you are using Google Drive to store MP3 music data, you need to download them first to enjoy. With the Drive Music Chrome app, you can use the Google Chrome search page to listen to music stored in Drive. The app can be downloaded for free from the Chrome online store.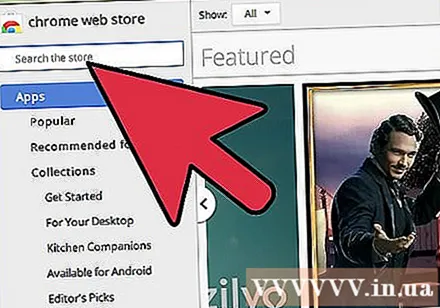
Draw a picture with Drive. You can add the Drawing application to Drive, the software will install a basic image creation program. Use it to draw pictures for other documents, or create professional sketches by sharing the drawings with others.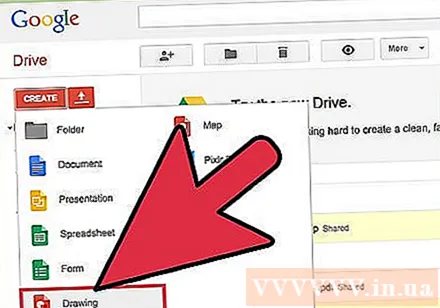
Combine PDF data. Installing PDF Merge app for Google Drive helps you quickly combine PDF data stored in Drive. You can drag and drop commands to arrange final PDF data. The application will upload the PDF data to the server, combine them, and then return the final combined data. advertisement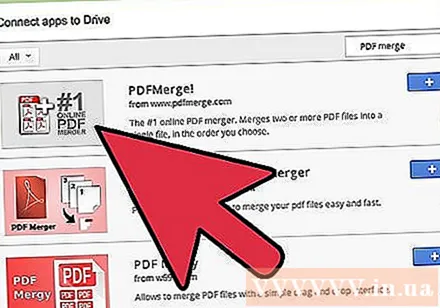
Advice
- Carefully read the safety tips for using Google Drive online to make sure your information is safe. See: https://www.google.com.vn/safetycenter/
- When uploading data to the Android Google Drive app, it is recommended to use a Wi-Fi connection for better speed and to reduce data costs.
- You can use Google Drive to store important data in your computer.
Warning
- Never give out a password to anyone, it creates the risk of losing your account data.
- Don't download Google Drive for Android from unknown sources. Recommended to use the Google Play Store, Amazon app store, or similar services.
- If you move the Drive folder, move to a new computer, or have to replace the hard drive that holds your folder, you'll need to reload everything from Cloud. There will be no support or action from Google for this. Search for the article about “This is not your original Google Drive folder” for more information. This can really be a problem if there is a lot of data in the connection.
- Do not share data with strangers. You can choose privacy settings.


