Author:
Monica Porter
Date Of Creation:
17 March 2021
Update Date:
1 July 2024
Content
While QuickTime 7 Pro is no longer available in the market, you can still convert MOV files to MP4 in many ways. The easiest way to convert most MOV files is to simply rename the extension to MP4. If you have QuickTime 7 Pro, you can use the Export feature. If not, there are other free programs that can convert files quickly.
Steps
Method 1 of 3: Rename the file
Open the folder containing the MOV files. The fastest way to convert MOV files to MP4 is to rename the extension. MP4 is a sub format of MOV, so you don't have to do the conversion.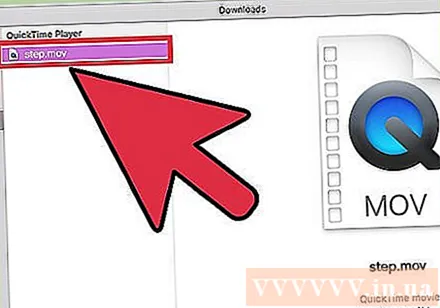
- This works on all operating systems and requires no additional software. Since QuickTime 7 Pro is no longer released, this free method is very convenient for you.
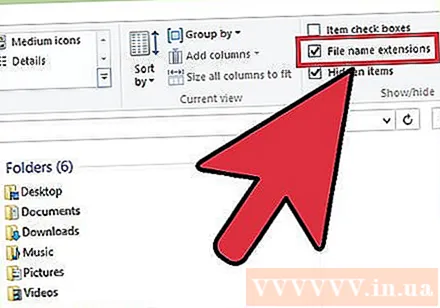
You need to make sure that the extension is visible (Windows only). Windows may hide file extensions. The extension needs to be visible for you to make changes.- Windows 8 and 10 - Click the "View" tab at the top of Explorer windows and check the box for "File name extensions".
- Windows 7 and earlier - Open the Control Panel and select "Folder Options". Click the "View" tab and uncheck the "Hide extensions for known file types" box.
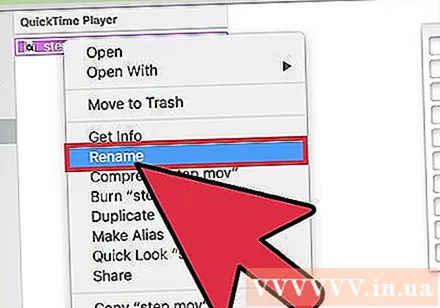
Right click on the MOV file and choose "Rename". This option will allow you to change the file's name and extension.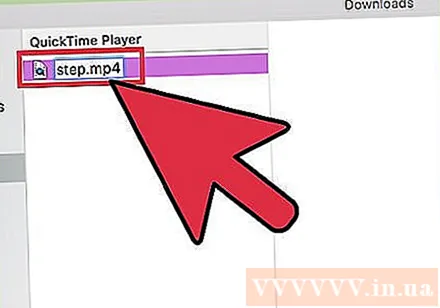
Change the tail .mov at the end of the file name to .mp4. When you press ↵ Enter or ⏎ Return, the computer will ask if you want to change the extension.
Confirm that you want to change the extension. The system warns that changing the filename could make the file unreadable. You can ignore this warning and continue.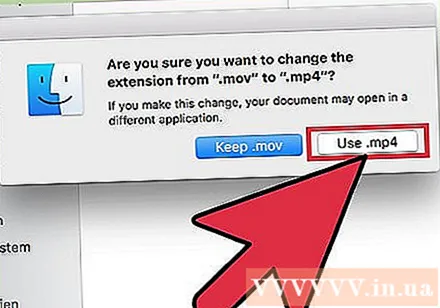
- On macOS, click "Use.mp4" in the window that appears.
- On Windows, click "Yes" in the window that appears.
Check file. Double-click the renamed file to check if it opens in the media player. The current file is MP4 and this can be played on any supported media player or device.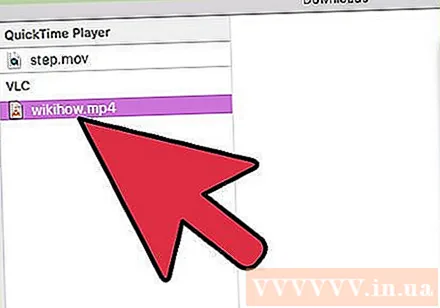
- You can still change the extension back to .ov at any time to convert the file back to its original format.
- This way works with 99% of the MOV files you encounter. If not, continue on to one of the following.
Method 2 of 3: Use QuickTime 7 Pro
Install QuickTime 7 Pro. QuickTime Pro can no longer activate from the macOS built-in QuickTime Player. You need to download the previous version of QuickTime 7, then enter the Pro subscription key to activate the Pro (premium) features.
- Download QuickTime 7 from Apple and install it. You can download it here.
- Open the Utilities folder and launch QuickTime Player 7.
- Click the "QuickTime Player 7" menu and select "Registration".
- Enter the Pro subscription key to unlock Pro features.
Open the MOV file on QuickTime 7 Pro. For the default MOV file to open in QuickTime Player X, you need to right-click on the file, click "Open With" and choose QuickTime 7 Pro.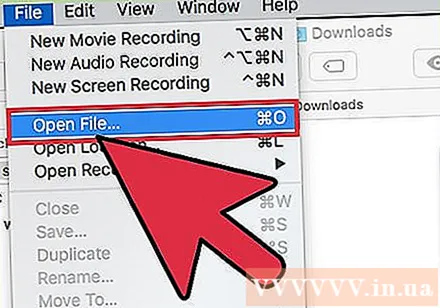
Click the "File" menu and choose "Export.’ This feature requires a registered version of QuickTime Pro.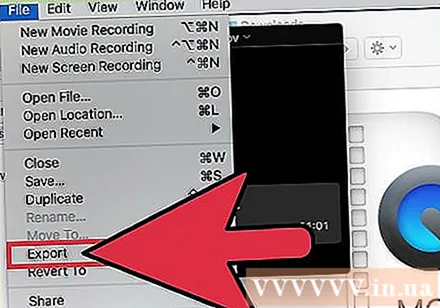
Click the "Export" menu and choose "Movie to MPEG-4.’ This allows you to save the video to MP4 format.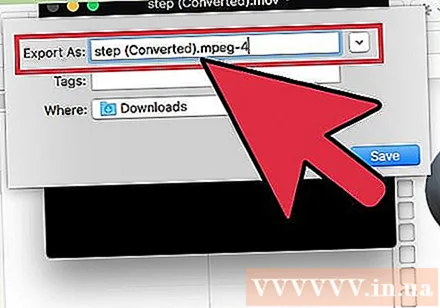
Click "Save" to create an MP4 copy of the file. The file will export to MP4 format, which may take a few minutes due to larger MP4 movie size. advertisement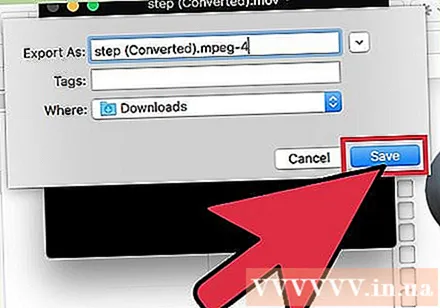
Method 3 of 3: Use an adapter
Download and install the Adapter from Macroplant. This is a free, ad-free program that converts video files to another format. You can download the version available for Windows and Mac at.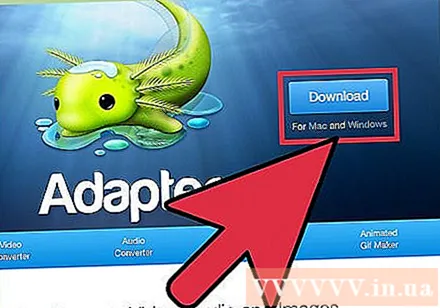
- After downloading the installation program, launch to install the Adapter. You can keep the default program settings. Just make sure the "FFmpeg" setting is enabled as this is necessary for video conversion.
Launch the Adapter after the installation. The program will be located in the Start menu (on Windows) or in the Applications folder (on the Mac). Maybe the Adapter will run by itself right after the installation is complete.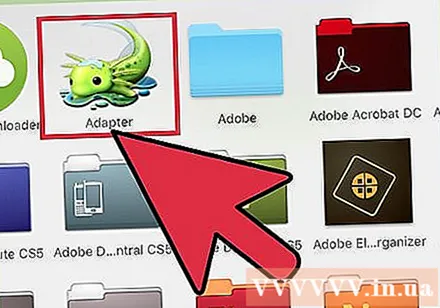
Drag the MOV file onto the Adapter window. The file will be added to the conversion queue. You can also click the "Browse" button on the Adapter and navigate to the file.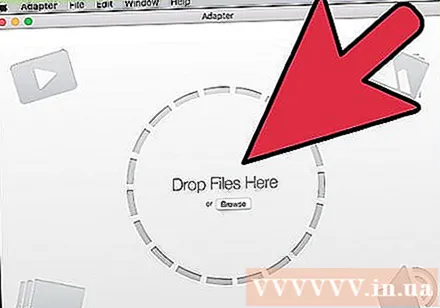
- Occasionally the Adapter may give an "Error" error when you add a file. Once there, simply right-click on the file and choose "Remove", then try adding again. Often the problem will be fixed.
Click the drop-down menu at the bottom of the Adapter window. You will be able to choose a different format for the conversion.
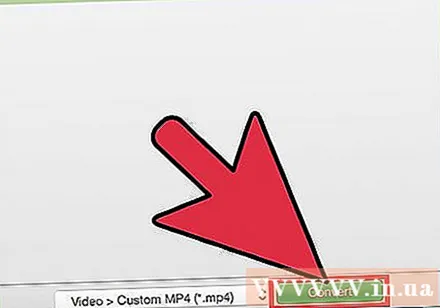
Select "Video" → "General" → "Custom MP4". Or, if you are converting files for a specific device, you can choose from the Video menu.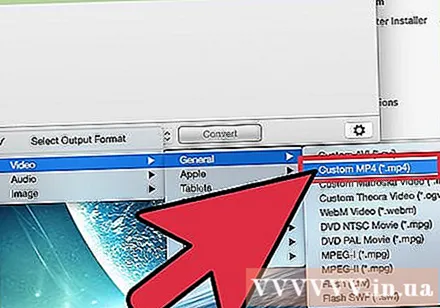
Select quality setting (custom). After selecting Custom MP4, a number of different options will appear in the right pane of the window. You can change the "Quality" drop-down menu in the "Resolution" section to "Very High (Lossless)" to maintain the original video quality.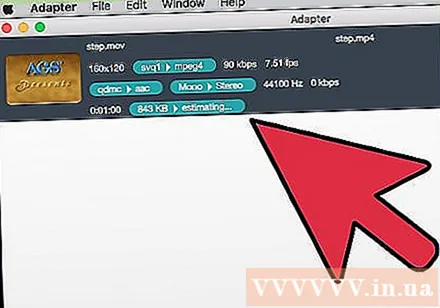
Click "Convert" to convert MOV files to MP4. The time of the process depends on the file size of the original video. By default, the new file will be in the same folder, with the same name as the original file, only with the MP4 extension. The original file remains unchanged. advertisement