Author:
John Pratt
Date Of Creation:
10 April 2021
Update Date:
1 July 2024
Content
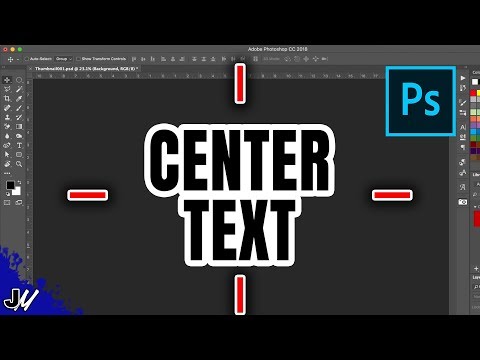
Centering text in Photoshop is similar to centering text in Microsoft Word. However, Photoshop has some extra features that allow you to get the perfect look for your text, by centering the text box, centering the text itself, or just horizontally or vertically.
To step
Method 1 of 2: Center text on the canvas
 Write your text with the "Text Tool" (T). Open the image and put your text on the page. It doesn't matter what you write, because any amount of text can be placed right in the center of the image.
 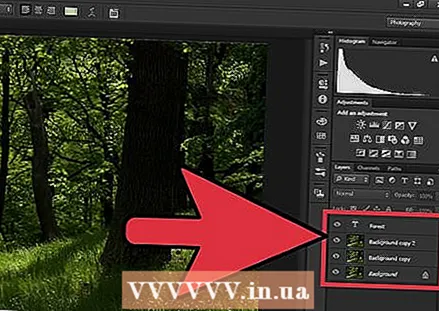 Separate everything you want to center in a separate layer. This method will center everything in the layer you selected. So if you have five different layers that you want to center, you either have to do this by hand or make it one. Work with one coat for now.
 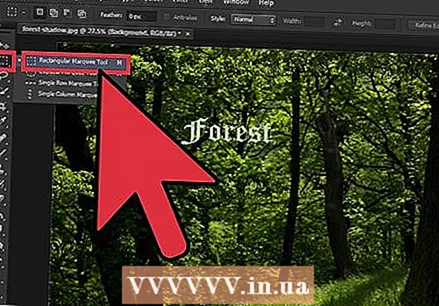 Switch to the "Rectangular Marquee" (M) and select the entire canvas. This is the second highest tool in your toolbar; the small dotted square with a small triangle in the bottom corner. Once selected, click and drag from the top left corner until the entire canvas is selected.
 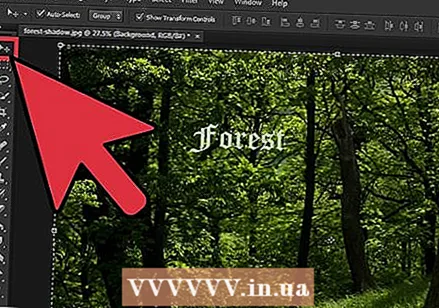 Switch back to the "Move Tool" (V). This is simply the normal cursor and the top tool in your toolbar on the left side of the screen. Not how the screen at the top of Photoshop changes with every tool - the centering tools are in this menu.
 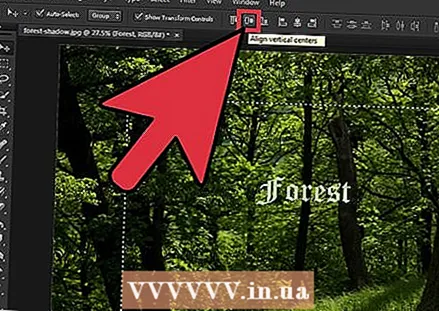 Use the "alignment" buttons at the top of the screen to center the text however you want. There is a series of lines and boxes to the right of "Show Transformation Tools." These are the alignment tools. By moving your mouse over each tool you know what they are doing. Pay particular attention to the following two:
 - Align vertically: The second button - two squares with a horizontal line through the center. This will equalize the space above and below the text.
- Horizontal alignment: The penultimate button - two squares with a vertical line through the center. This will equalize the space on either side of the text.
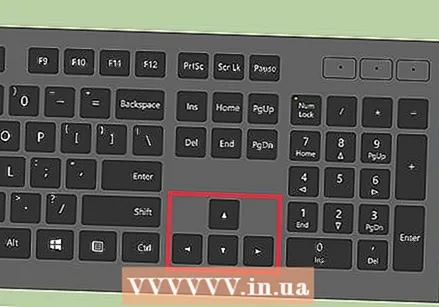 Use the arrow keys to move the text along the straight lines, while maintaining your centering. Clicking and dragging the text will make it nearly impossible to hit the center. If you've centered multiple text boxes or images, but you still need to space them, use the arrow keys to move them perfectly along the straight lines. For example, if you only press the down arrow, you keep your horizontal centering.
 - Use Ctrl-click (PC) or Cmd-click (Mac) to move the text in smaller, more precise steps.
- These movements are always the same. If you click the down arrow twice and click the up arrow twice, you will return exactly to where you started.
Method 2 of 2: Center the text
 Open the desired image in Photoshop. If you're just trying to test something out, open a blank new image and put some basic text on the page.
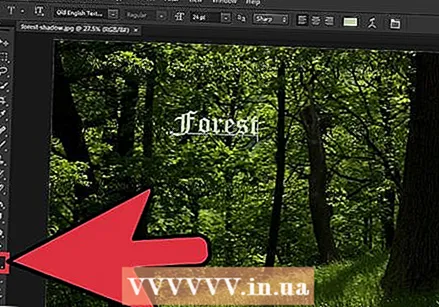
 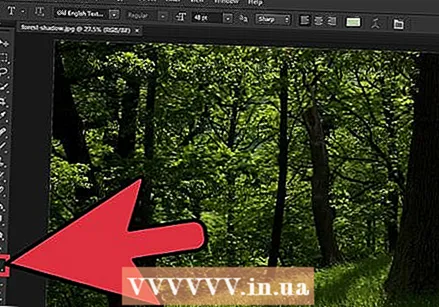 Click the "T" in the leftmost toolbar. You can also press the T button to get to the text option. You should see a new toolbar appear at the top of the screen with font options, size, line spacing, etc.
 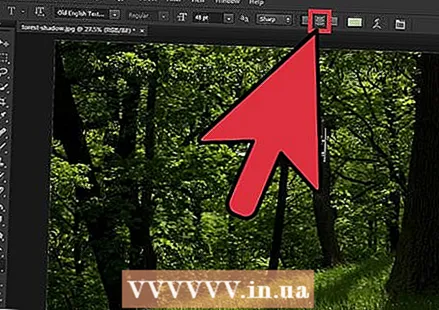 Press the "Center text" button to center the text. With your text selected, find the set of three sets of lines, which represent the lines of text on a page. Hover over the second option called "Center text". Click on it to center the text.
Tips
- It's usually easiest to group, merge, and then center all the elements you want to center when you're done.
Necessities
- Photoshop
- An image to open in Photoshop


