Author:
Eugene Taylor
Date Of Creation:
9 August 2021
Update Date:
1 July 2024
Content
- To step
- Method 1 of 2: Adjust the background color of the workspace
- Method 2 of 2: Adjust the background color of an image
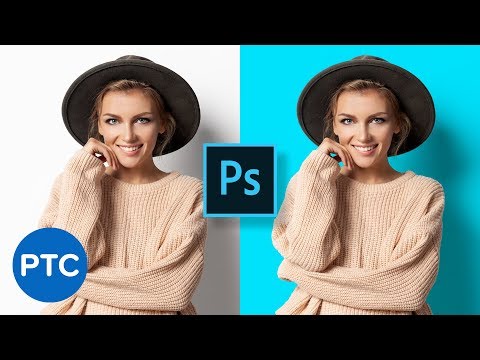
With the Photoshop program from Adobe you can edit and adjust images to your taste. You can adjust image backgrounds or change the background of the entire workspace. In this article, we'll show you how to change the background color in Photoshop CS5 using two methods: workspace and image. The location of tools and the effectiveness of this method may vary by version of Photoshop.
To step
Method 1 of 2: Adjust the background color of the workspace
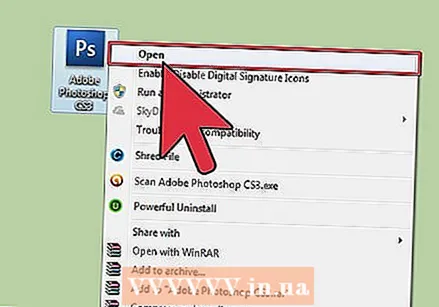 Start Adobe Photoshop on your computer.
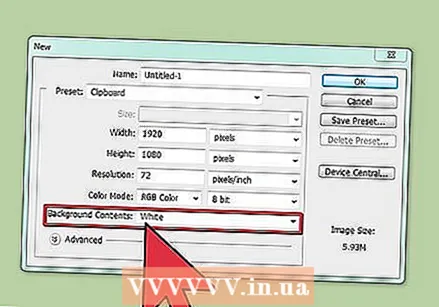 Right-click on the workspace. The standard color is gray.
 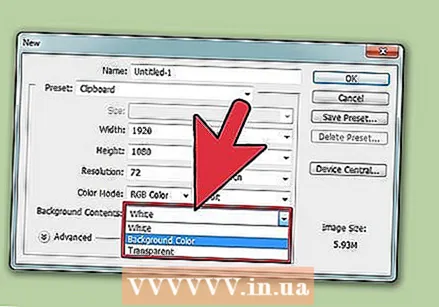 Select "Gray", "Black" or "Custom".
- Drag to the bottom choice to immediately select your custom color.
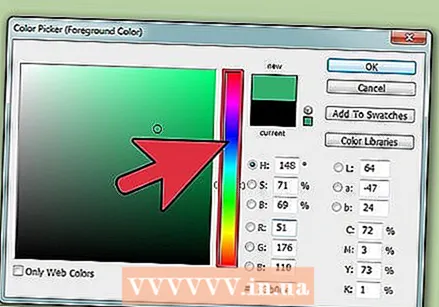 Choose your custom color in the "Color Picker" dialog box.
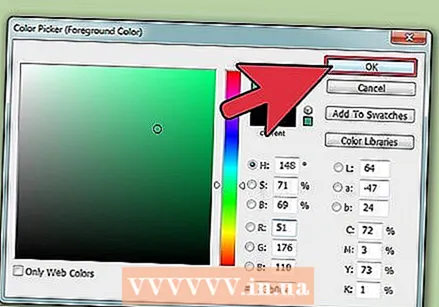 Click "OK" when you are done. Your workspace background color should now change.
Method 2 of 2: Adjust the background color of an image
 Start Adobe Photoshop on your computer.
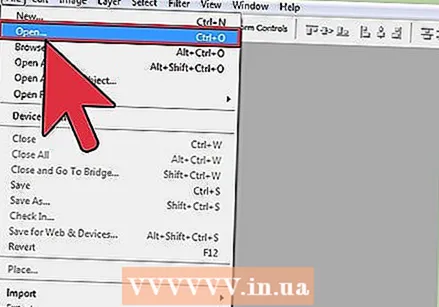 Open a document you want to change, or open an image in Adobe Photoshop.
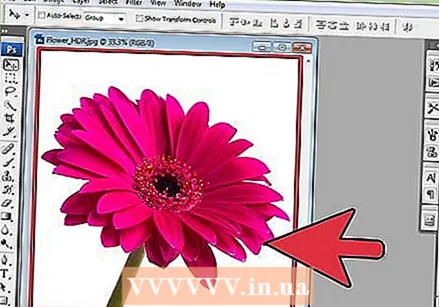 Click on "Image".
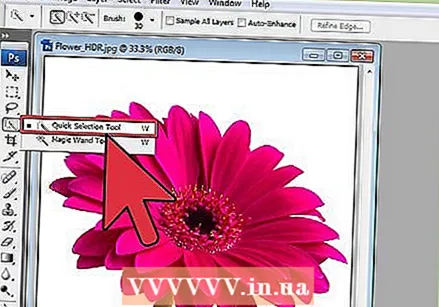 Select the "Quick Selection" tool from the toolbar. You will use this to separate the background from the objects in the foreground.
 - The "Quick Selection" tool looks like a paintbrush with a circle of dotted lines around it.
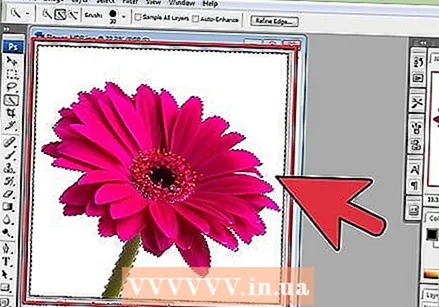 Place your cursor at the top of the object in the foreground. Select and drag the object over the image.
 - If the image is very detailed, it is better to select and drag smaller areas.
- After you have selected a part of the image, you can click on the bottom of the selected part and adjust the selection.
- Do this until there is a dotted line around the outline of the image in the foreground.
- If the "Quick Selection" tool selects an area outside the image, click the brush at the top of the window to "remove from a selection".
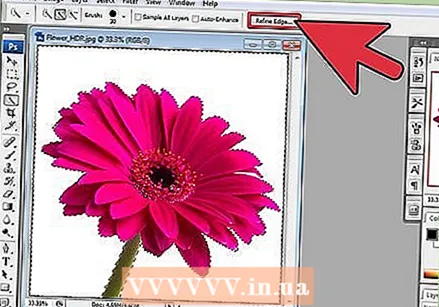 Use the "Refine Edge" button at the top of the window. If you click on it, a dialog box will appear.
 - Select "Smart Beam".
- Move the beam to the left or right, keeping a close eye on how it looks in the image.
- When the border has been fine-tuned to your liking, you can click "OK".
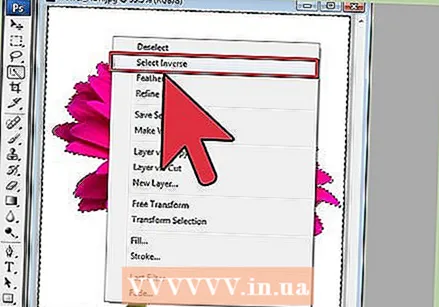 Right-click on the background of the image. Select "Invert Selection".
 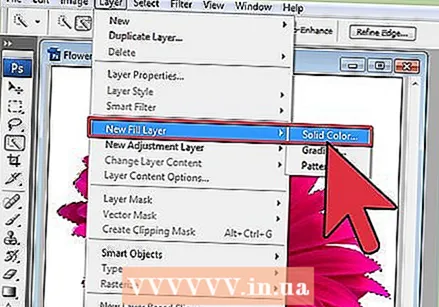 Click the "Layers" menu in the top bar. Select "New Fill Layer" then "Solid Color".
 - You can also choose "Gradient" or "Pattern" depending on your preferences.
- A color menu opens.
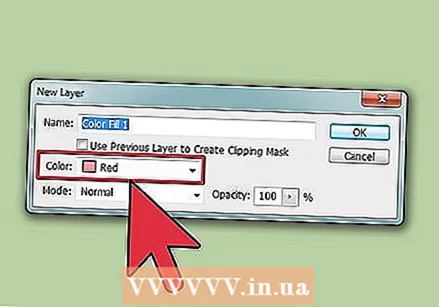 Choose a new background color. Click on "OK", the background color should now change.
 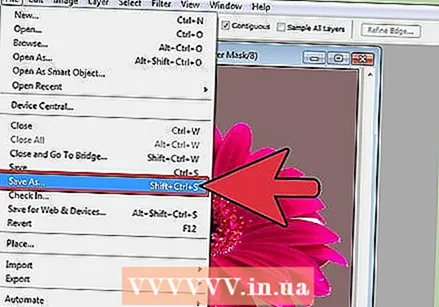 Save the image from the "File" menu (Windows) or "File" (Mac).


