Author:
Charles Brown
Date Of Creation:
6 February 2021
Update Date:
1 July 2024

Content
Concrete walls are used for multiple purposes. They can be used to brighten up a square or garden, as a retaining wall for soil or water or to indicate the boundaries of your own land. Many people choose to build concrete walls block by block, but the safest way, which also produces the strongest result, is pouring the concrete into a mold. This article will show you how to make versatile concrete walls.
To step
 Measure out the area of your wall and drive stakes into the ground where the corners will be. Thread between the stakes so you know where to dig.
 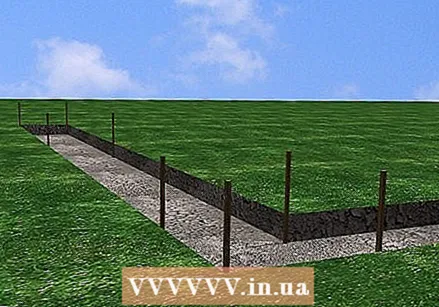 Dig the soil away where your wall will be. You should dig below the frost line, which is usually about two feet deep. If you are building a retaining wall on a slope, the bottom of the hole you dug should be flat.
 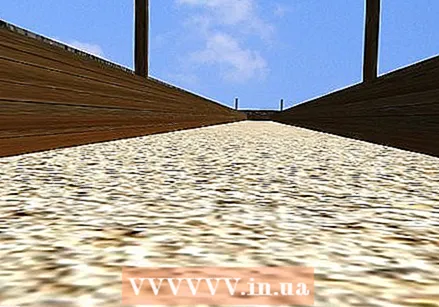 Measure and cut pieces of plywood. To make it easier for yourself to finish the top edge of the wall, the plywood should reach exactly the same height as your wall. With the pieces of plywood you make a shape for your entire wall.
 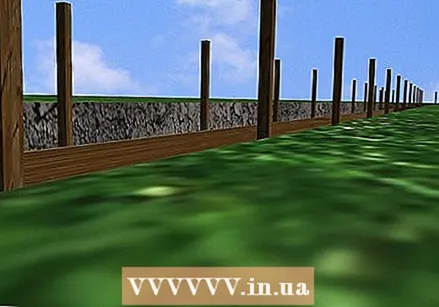 Place small blocks of wood against the inside of the plywood form, always at a distance of 60 cm from each other. The placement of these blocks is necessary to control the formation of cracks in the concrete wall after it has been poured and the mold removed.
  Install rebar or tension metal cables before connecting both walls of the mold. Then place the mold in the hole, over the reinforcement or cables. Make sure the shape is level. Secure the mold in the ground with stakes. It must be secured enough that it will stay firm when you stand on it. Concrete is very heavy and your shape will need to be very sturdy to stay upright when you start pouring the concrete into it. The shape must be propped up vertically, horizontally and between the two longest sides. At this point, most people underestimate how sturdy the wall should be.
 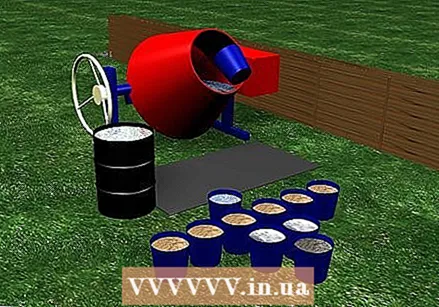 Mix the concrete. The type and amount of concrete mix you will need will depend on the type of wall you want to build and its size.
 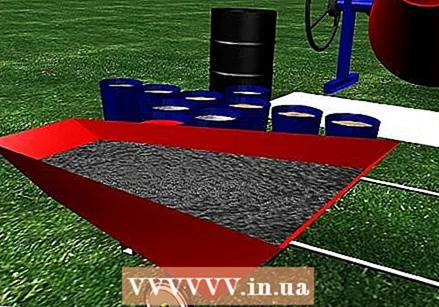 Pour the concrete from the wheelbarrow into the mold.
- If your wall is large, a self-propelled concrete mixer and concrete pump may be useful.
- Have a fresh batch of concrete mix ready at all times. Pour the concrete as quickly and evenly as you can so that no part of the wall dries much earlier than any other part.
- If the top of the wall will be concrete, you will need to brush out the surface to create a nice texture. If you want to use a different material, such as stone, for the top of the wall, add it while the concrete is still wet.
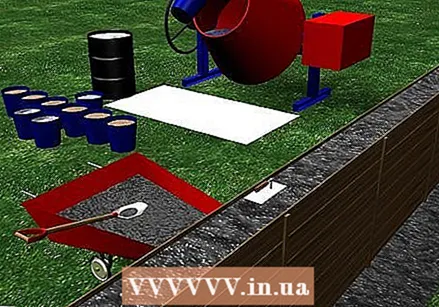 Once you have reached the top of the wall, smooth the concrete with a trowel.
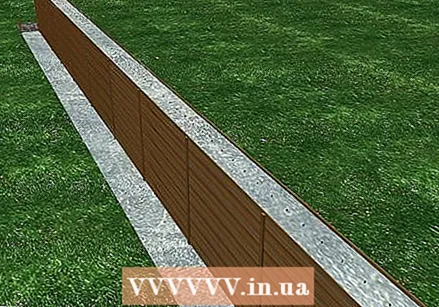 Do not let the concrete dry too quickly. This can cause more cracks. Let the concrete dry for two days before removing the wooden form. Keep the wall damp with water all the time to slow down the drying process.
  Remove the mold.
Tips
- If you are building a retaining wall on a slope, you need to prop up the frame with planks, which in turn are propped up with beams anchored firmly to the level ground. This prevents the frame from sagging during the pouring of the concrete.
- If you're building a high wall, build a scaffolding for the wheelbarrow next to it to make it easier to pour from above. If your wall is too big to pour in one go, divide the hole in half with a piece of plywood so you can pour the wall in two.
- Use the trowel to press and smooth the concrete as you pour so that the water is evenly distributed and air bubbles are avoided.
- Lubricating the surface of the wooden frame with motor oil will make it easier to remove.
Necessities
- Concrete mix
- Wheelbarrow
- Scoop
- Trowel
- Pieces of plywood
- Small logs
- To strike
- Wire


