Author:
Joan Hall
Date Of Creation:
1 July 2021
Update Date:
1 July 2024

Content
- Steps
- Part 1 of 3: Technical Details
- Part 2 of 3: Preparing for Filming
- Part 3 of 3: Production of the video
An educational video can be a great learning tool or a new way to share your knowledge with others.With the ubiquity and popularity of sites like YouTube (over 1 billion users), educational videos have become a way to communicate your knowledge. The video is based on a soundtrack and a video sequence, so educational videos are especially useful for people with auditory and visual perception of information. This method will allow you to reach out not only to a multi-million audience of Internet users, but also to primary school students in the most effective and memorable way.
Steps
Part 1 of 3: Technical Details
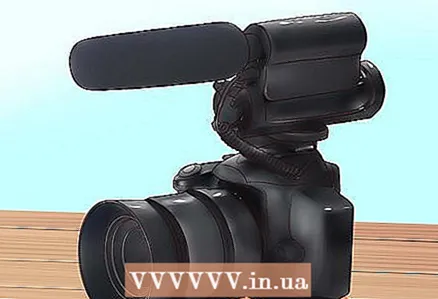 1 Select the equipment you need. Do you want to shoot your educational video on a smartphone, digital camera or modern camcorder with an external microphone? If you think about this before filming, then the whole process will go off without a hitch.
 - Pay attention to the lighting. Proper lighting is very important, so it's best to shoot in a place with good natural light during daylight hours or use lighting fixtures on the set to keep your video bright and bright.
- Find a good microphone. A high-quality microphone will help you convey the essence of the educational video clearly and distinctly. Even a small microphone will greatly improve the sound quality.
- Consider the goals and objectives of the video. Is your video intended to be shown at professional seminars or in the classroom? In this case, it is better to purchase a professional camcorder for high quality recording. If you just want to have fun, then the video can be filmed using the equipment available to you, such as a tablet camera or smartphone.
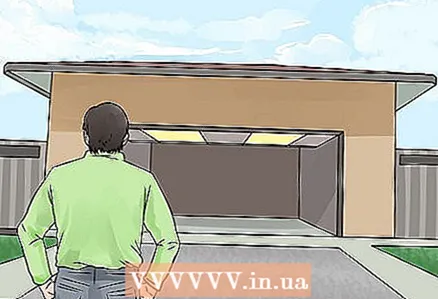 2 Choose a location for filming. An optimal shooting location is a place where you will feel comfortable and will be able to arrange all the necessary equipment. In this case, do not forget that it is better to choose a place with a minimum level of ambient noise so that extraneous sounds do not drown out your speech.
 - It is better to inspect the location before filming begins. Pay attention to the noise level at different times of the day and choose a suitable background.
 3 Explore video editing software. After filming, you will have to use a video processing program. Video editing can be done in Windows Movie Maker (for PC) or iMovie (for Mac). These programs allow you to import and edit video sequences, add and edit sound, as well as upload finished videos on the Internet.
 - You can also use additional technical tools to add unusual details to the video. Tools like Go! Animate (lets you create cartoons), Google Story Builder (lets you create short video clips and video stories), or Stupeflix (lets you create slideshows from images and videos) give your video a professional look.
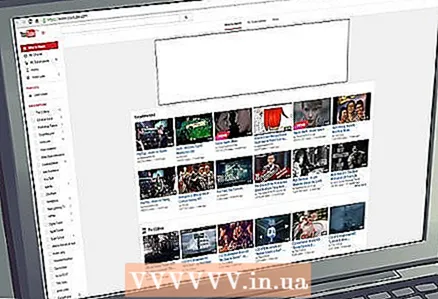
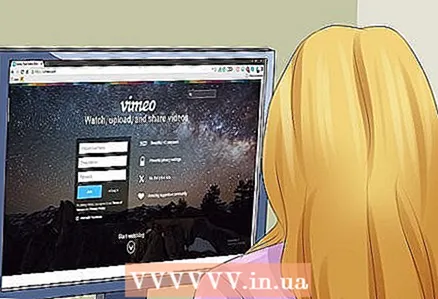 4 Check out sites like YouTube. Choose a site where you can post your video for the whole world to see. Your best bet is YouTube, which offers tons of great video tools and makes it easy to add videos to other sites or share on social media. Many people upload their educational videos to YouTube.
 - Watch other educational videos. Before starting work, it is useful to look at the work of other people so as not to repeat other people's mistakes.
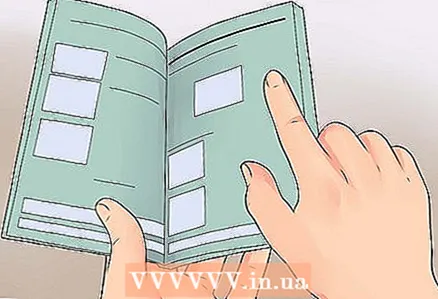
 5 Explore the available content to make your video unique. A quick search on YouTube or Google for a given topic will reveal which videos are publicly available on the topic.
 - Cheer up if similar videos already exist. People watch different videos on the same topic to learn something new.
- Make a video that will stand out from the crowd. Identify aspects that are not covered in other videos to offer viewers unique material.
Part 2 of 3: Preparing for Filming
 1 Choose a topic that interests you. Choose a topic that you are well versed in. You can also learn new material and share your new knowledge with the rest of the world.
 - Select the type of educational video:
- How to… or detailed information on a specific issue?
- Interactive material or a monologue of the presenter in the frame?
- Plan or briefly describe your video before filming.
- Select the type of educational video:
 2 Prepare your script. Proper preparation is the key to a high-quality video. Many people (especially those who are shy of cameras) are much more comfortable speaking a rehearsed text on camera.
 - Check all the facts. Before filming the educational video, check that your information is correct. Your video can be watched by a huge number of people!
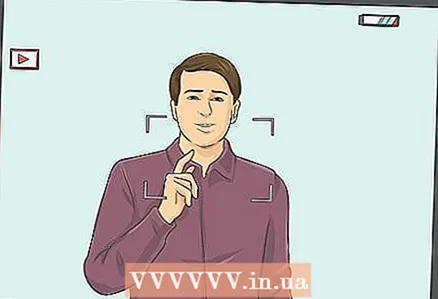 3 Rehearse the scripted material. Confident behavior will allow the announcer to appear as an expert in the matter. It is the rehearsals and repetitions of the text that will bring the necessary confidence.
 - Exercise in front of a mirror. Rehearse the script without anyone else to fix any bugs and build confidence.
- Train with a friend and get their opinion. It can be very helpful to get other people's opinions on your script before filming and posting your video.
- Try to repeat the text from memory and not look into the script.
 4 Prepare decorations and props. Analyze the message you want to convey, and then choose the appropriate decorations and props that highlight your message.
 - Watch other educational videos to see other people using props. You don’t have to directly borrow from someone else’s findings, but other videos can inspire great ideas.
- Props can be as simple as possible or as complex as possible. There are no clear guidelines on how to shoot the right educational video! Your props will be unique for the given theme.
 5 Do a dress rehearsal. Remember that speaking to the camera is not the same as speaking in front of the mirror. The more you practice, the better your video will be.
 - Try videotaping your dress rehearsal in a suit. This will make it easier for you to see yourself in the frame, evaluate the behavior and eliminate possible errors.
- Ask a trusted friend to watch the video and comment. A neutral outsider will help you spot mistakes and flaws in your video.
Part 3 of 3: Production of the video
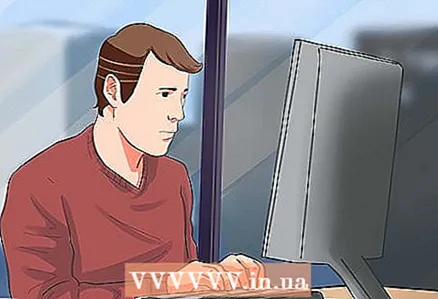
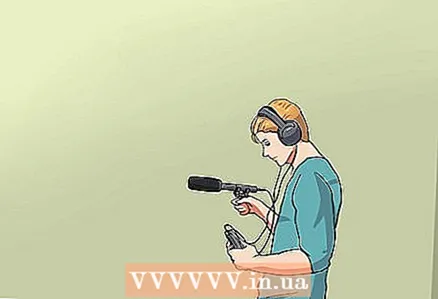 1 Try to find an operator. You can make the educational video yourself, but it's best to work with a cameraman so you can focus on the material. In addition, your operator will provide instant feedback and spot possible lighting or sound issues.
  2 Choose the right outfit. The presenter of an educational video should look like an experienced professional, even if it is not!
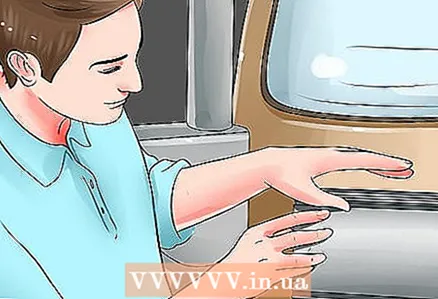
 - Clothing should match the theme of the video. If you are discussing preparing for an interview, choose a suit to wear for your interview. When it comes to how to solve the problem with an oil leak in a car, then you should choose completely different clothes.
 3 The video should be short. The researchers concluded that the average attention span is 7-15 minutes. Keep this in mind when you record your video to make a short video and still get the message across.
  4 Download the recording to your computer. When you're done shooting, transfer the footage to your computer for editing.
 - Save all entries as separate documents so that you can edit them or make new edits in the future.
 5 Post your video. Upload your video to a site like YouTube for everyone to see. Perhaps your video will even go viral!
 - Read the wikiHow article on how to edit YouTube videos.
- Use the information on the YouTube Creators page to build the necessary video production skills, understand audience demands, and grow your YouTube channel.
 6 Viewers' comments and suggestions. Your viewers are the main source of feedback for your video. Pay attention to the number of "I liked" and "I did not like" marks for your post, and also consider constructive comments.
 - Ignore negative and rude comments. Ignore personal attacks or non-constructive criticism!
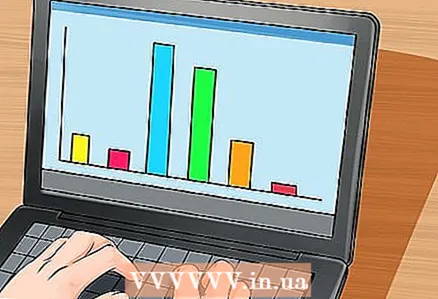 7 View analytical information. For example, YouTube lets you know who is watching your videos, how long people have been watching your work, their age, location, and other useful information. Statistics help you find out the demographic characteristics of your viewers.


