Author:
Laura McKinney
Date Of Creation:
7 August 2021
Update Date:
1 July 2024

Content
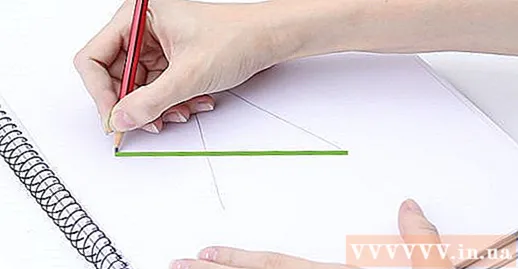
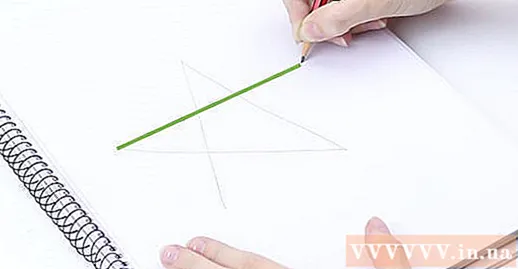
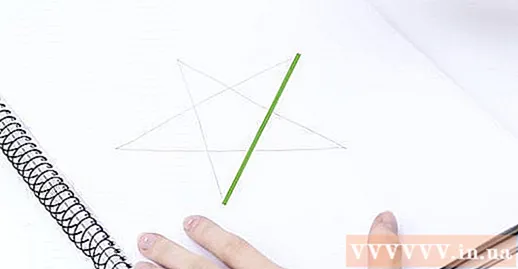
Draw a straight line downward from the starting point. The line "/" will connect to the lower left corner of the drawing.
Method 2 of 4: Draw a 6-pointed star
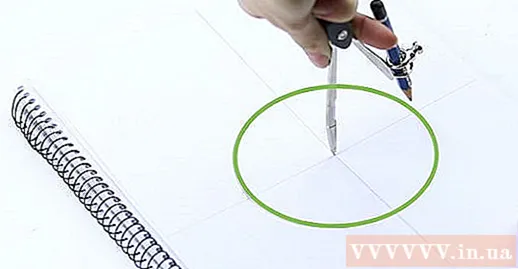
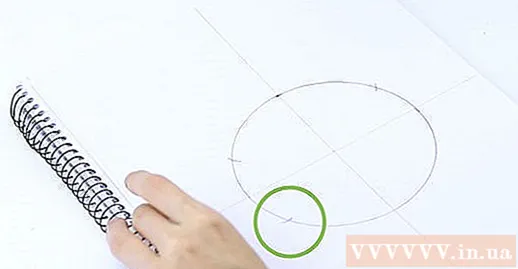
Use the compass to draw a large circle.- Place the pencil in the pencil holder of the compass. Then, place the pointed end on the center of the paper.
- Keep the tip in place, while rotating the compass. The pencil will draw a perfect circle around the center.
Use a pencil to mark a point above the circle. Then, move the pointed end of the compass to that position. Do not change the compass radius during travel.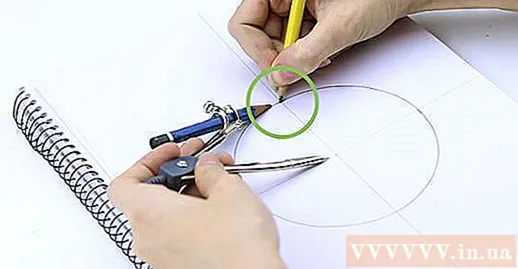
Rotate the compass to make a mark where the pencil intersects the left side of the circle. Repeat this with the right side.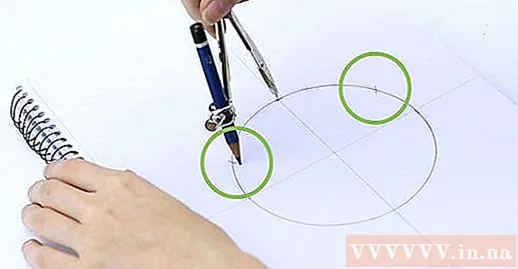
Keep the radius and move the sharp end of the compass to one of the positions just marked. Rotate to mark the next on the edge of the circle.
Continue moving the compass to the new marker location and do the same until you have a total of 6 markers evenly spaced. Put the suitcase aside.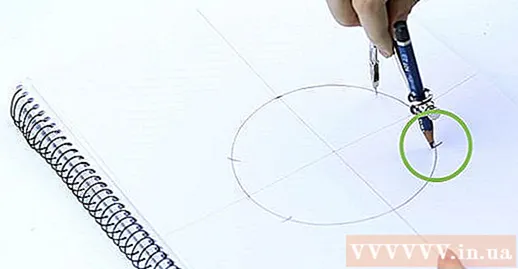
Use the ruler to draw a triangle, starting at the top marker of the circle's edge.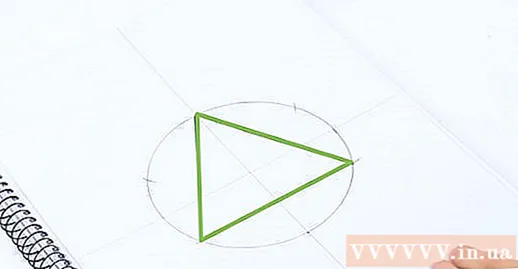
- Place the pencil in the top marker. Ignore the first marker on the left and join the second marker to the left of the circle.
- Continuing to ignore the bottom marker, draw a line from the second marker to the right.
- Finish by connecting the marker on the right with the marker on the top. You will create a triangle.
Draw the second triangle from the bottom marker position of the circle.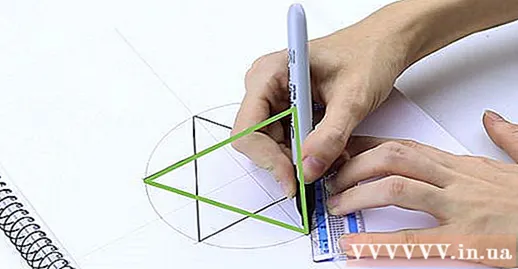
- Place the pencil in the bottom marker. Draw a line connected to the second marker.
- Draw a straight line to the right, ignoring the top marker.
- Finish off the second triangle by drawing a line that connects back to the circle's bottom marker.
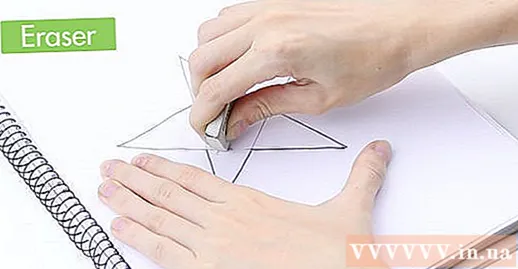
Delete the circle. Your 6-pointed star is done. advertisement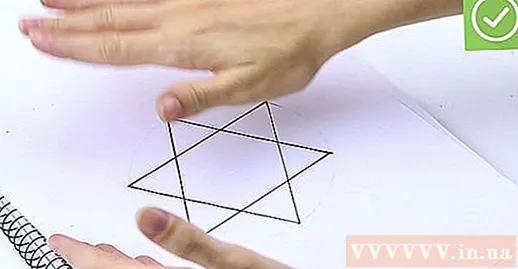
Method 3 of 4: Draw a 7-pointed star (type 1)
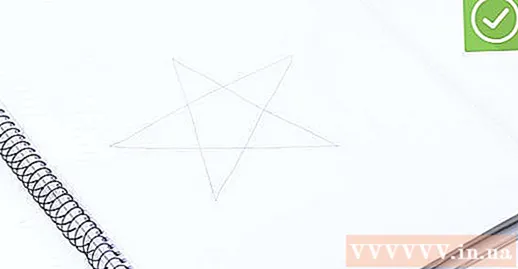
Use the same steps as the beginning of how to create a 5-pointed star. This is similar to the 5-pointed star.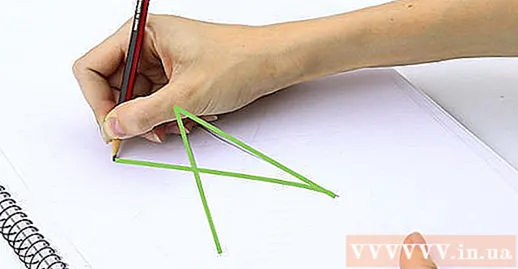
Instead of drawing horizontally to the right, draw a little lower to leave room for another wing.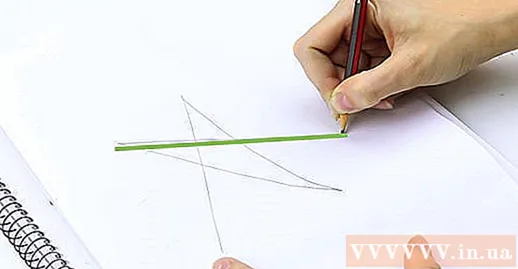
Draw horizontally to the left.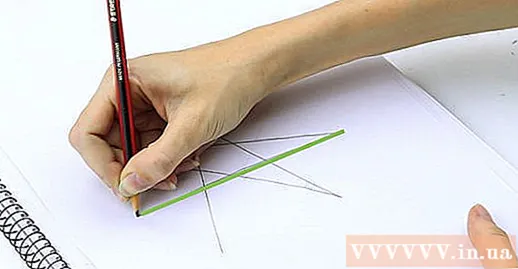
Return to the empty space in step 2.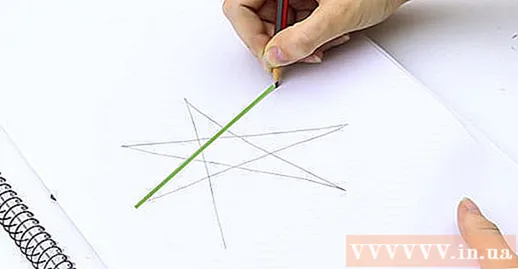
Connect to the starting point to complete the 7-pointed star.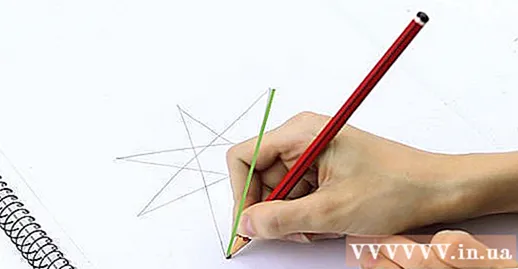
Draw an incomplete triangle. Leave a gap between the starting and ending points as shown.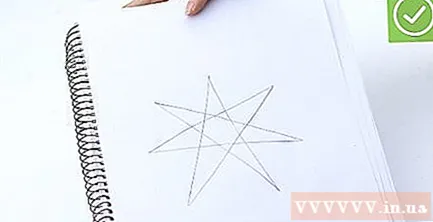
Draw a line from the end point to any position between the first point and the second point.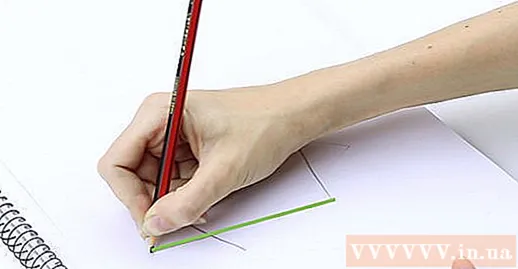
Continue like the previous step. Draw next to any position above, between the second point and the third point, then between the third and fourth point.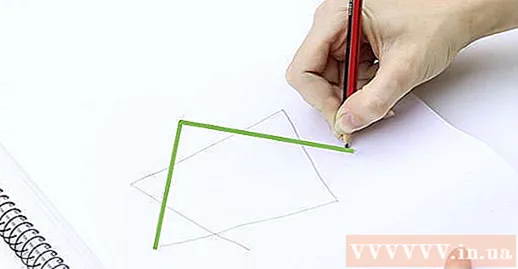
Appends to the starting position. advertisement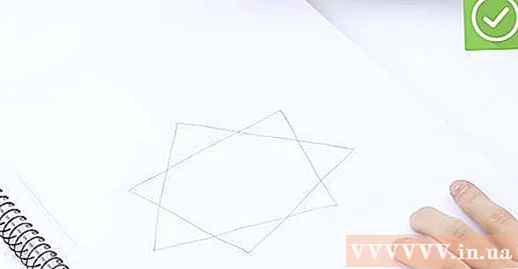
Advice
- Practice a lot.
- To help your child remember how to draw a 5-pointed star (and also how to learn English), you can teach him Eric Carle's rhyme: "Down, over, left and right, draw a star, oh so bright." Temporarily translated: "Down, up, left, right, baby draw stars, glitter on high".
- When drawing a 7-pointed star type 1, it is easy to mistakenly draw a 5-pointed star. Practice more to avoid confusion.
What you need
- Pencils, crayons or crayons for drawing
- Paper
- Compass
- Ruler
- Gum


