Author:
Janice Evans
Date Of Creation:
23 July 2021
Update Date:
1 July 2024

Content
- Steps
- Method 1 of 2: Working with an Excel Template
- Method 2 of 2: Create Your Own Dynamic Expense Table
- Tips
Many companies use Microsoft Excel to keep track of department or company expenses. Currently Excel can be used on all PCs running Windows operating system. For this reason, you can keep track of your own expenses if this program is installed on your home PC. There are a large number of templates for keeping track of expenses from Microsoft and other sites, the latest versions of Excel include a built-in template as a pre-installed one. Also in Excel, you can create your own dynamic table to keep track of expenses. In both cases, follow the instructions below.
Steps
Method 1 of 2: Working with an Excel Template
 1 Select a preset template. The latest versions of the program include a template for keeping track of personal expenses, as well as templates for keeping track of business expenses. You can access these templates and track expenses using them.
 - In Excel 2003, choose New from the File menu. In the On My Computer taskbar, select New Book to see the templates in a new dialog box.
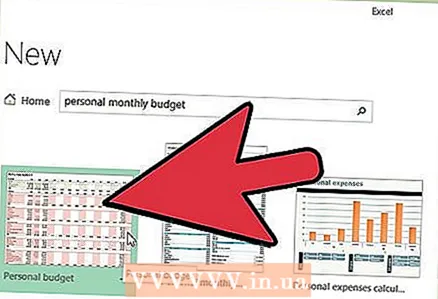
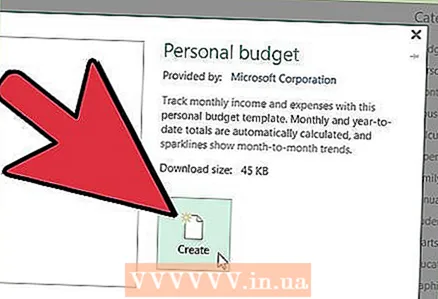
- In Excel 2007, on the File menu, choose New. This will bring up the "New Book" dialog box. Select Installed Templates from the Templates menu in the left menu. Select Personal Monthly Budget from Installed Templates in the center menu and click Create.
- In Excel 2010, on the File menu, choose New. Select Sample Templates at the top of the Available Templates pane, then select Personal Monthly Budget from among all the sample templates and click Create.
 2 Select a template online. If the predefined templates are not suitable for keeping track of your expenses, you can select a template over the Internet. You can download it from any site or by connecting via Excel to Microsoft Office Online.
 - For Excel 2003, you can select a suitable template from the Microsoft Office online library at https://templates.office.com/en-us. (You can also find templates there for later versions of Excel.)
- In Excel 2007, select the Budgets tab under the Internet section of the New Workbook dialog box. To connect to the Office Online Template Library, you must have Internet enabled.
- In Excel 2010, select Budgets from the Office.com section in the Available Templates pane. To connect, you must have the Internet turned on.
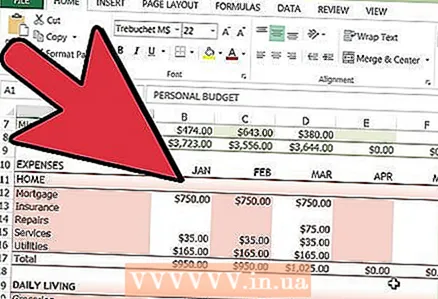 3 Enter the required information in the appropriate fields. The information depends on the specific dynamic table template you use.
 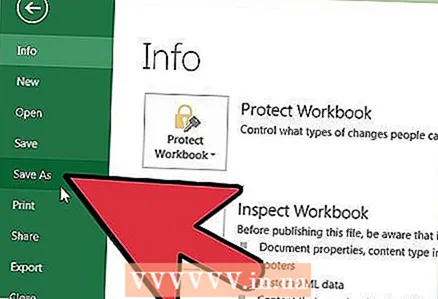 4 Save your dynamic table. You can use the suggested name for the dynamic table or change the name. It will be enough to indicate your name and the current year in the file name.
Method 2 of 2: Create Your Own Dynamic Expense Table
 1 Open Excel.
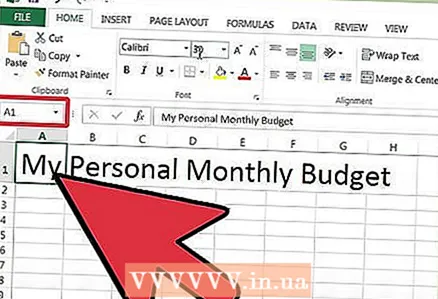 2 Enter the name of the dynamic table in cell A1. The title should be meaningful, for example, "Personal budget", "Personal expense tracking" or something similar (you do not need to use quotation marks, they are here only to show an example).
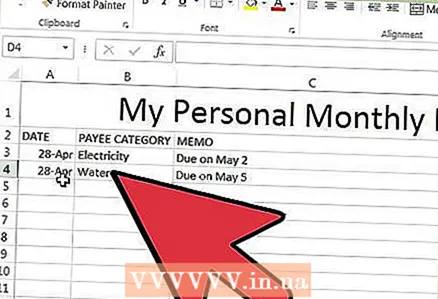
 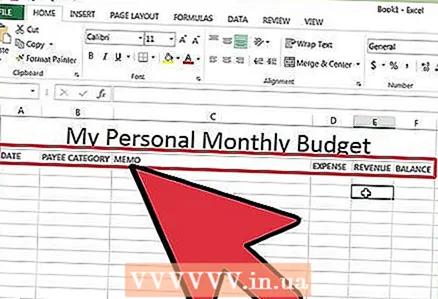 3 Enter the column headings. Suggested titles and order: Date, Expense Category, Note, Expense, Income, and Balance. Fill in these headers from cell A2 to G2. You may need to make the columns wider to fit the title or value.
 - Once you've prepared your dynamic table and column headings, you can use the Freeze Region feature to display the headings permanently as you scroll down the values. The Freeze Region feature is on the View menu in Excel 2003 and earlier versions, and on the View menu, Window tab in Excel 2007 and 2010.
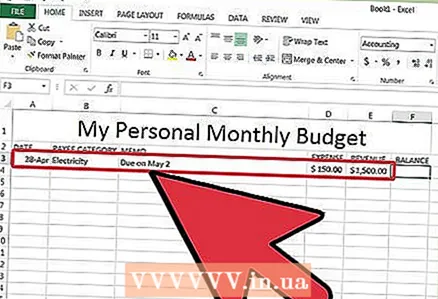 4 Enter the information for the first type of expense in the cell in the third row.
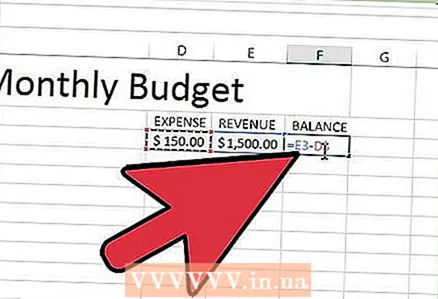 5 Enter the balance formula in cell G3. Due to the fact that you are entering a balance for the first time, it will be defined as the difference between expenses and income. How you write this depends on whether you want to display expenses or available funds.
 - If you want the spreadsheet to display expenses first, the balance formula should be = E3-F3, where E3 represents expenses and F3 represents income. With this setting, the formula will show expenses as a positive number, making it easier to understand the amount of expenses.
- If you want the table to primarily display the funds available to you, the balance formula should be = F3-E3. With this setting, the table will display a positive balance if your income is higher than your expenses, and a negative balance in the opposite situation.
 6 Enter the information for the second type of expense in the cell in the fourth row.
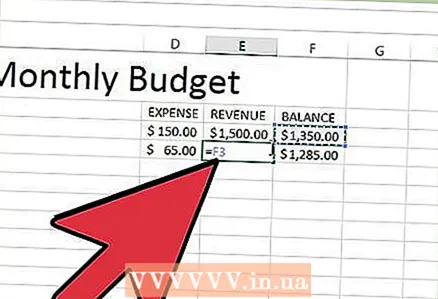 7 Enter the balance formula in cell G4. The second and subsequent values will continue to display the balance, so you need to add the difference between expenses and income to the balance value of the previous record.
 - If you are looking at expenses first, the balance formula would be = G3 + (E4-F4), where G3 is the cell that shows the previous balance, E4 shows expenses, and F4 shows income.
- If you are maintaining a spreadsheet to display cash, the balance formula would be = G3 + (F4-E4).
- The parentheses around the cells that represent the difference between expenses and income are optional. They are used only to make the formula clearer.
- If you want the balance to remain blank until a record is entered, you can use the IF value in the formula so that if no date has been entered, the cell will not display the value. The formula for such a record will be = IF (A4 = "", "", G3 + (E4-F4)), if the table is needed for keeping costs, and = IF (A4 = "", "", G3 + (F4-E4) ), if the table is needed to display cash (you can not use parentheses around the cell, which show expenses and income, but you need to use external parentheses).
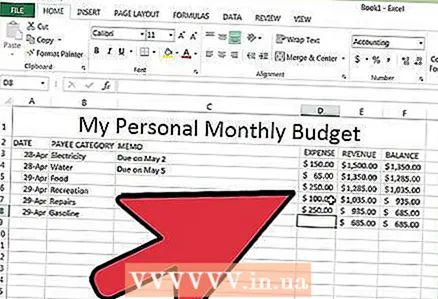 8 Copy the balance of the formula to other cells in column G (balance column). Right-click in cell G3, select Copy. Then select the cells below the column. Right-click the selected cells and choose Paste to paste the formula into the selected cells (in Excel 2010, choose Paste or Paste Formula from the menu). The formula will automatically update the cells to show expenses, income, and dates (if applicable) from the current series and the balance from the series above the current series.
 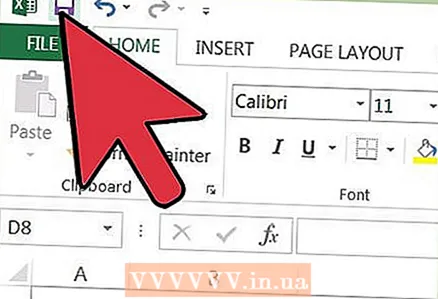 9 Save your dynamic table. Give it a meaningful name, for example, "Expense Accounting.xls" or "Personal Budget.xls." As in the case with the name of templates, you can include your name and year in the file name (note, quotes are used only to show an example, you should not use them in the name. You do not need to specify the file extension either, Excel will do it itself) ...
 - Excel 2003 and older versions save dynamic tables in the old ".xls" format, while Excel 2007 and 2010 save tables in the newer XML-based ".xlsx" format, but you can read and save dynamic tables and in the old ".xls" as well. If you have multiple PCs and want to store a spreadsheet on each of them, use the older format if any of your PCs have Excel 2003 or older, or the newer format if at least Excel 2007 is installed on all computers.
Tips
- Use AutoComplete in the expense and income categories to match the information you entered.
- To distinguish paid bills from those expenses that are just planned, make the font bold, highlight text or cells with color.
- To avoid accidentally changing a formula or column heading, you can protect cells from being changed. Select the cells that you may need to change in the future (date, category, expense, income, note) and unlock them. After that, you can lock the rest of the table from changes.


