Author:
Mark Sanchez
Date Of Creation:
5 January 2021
Update Date:
1 July 2024
Content
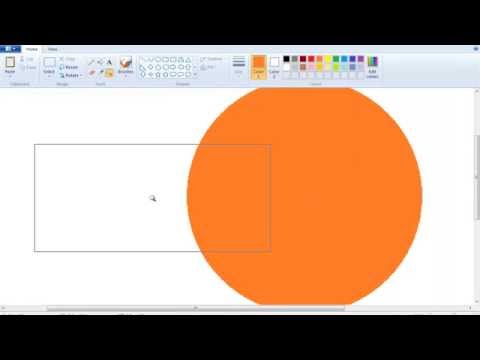
While working in Microsoft Paint, you might want to take a closer look at your drawings or sketches. Luckily for you, you can use one of several zoom methods, which you can learn pretty quickly!
Steps
Method 1 of 2: Control Key
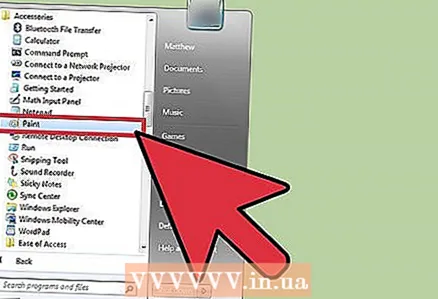 1 Start Microsoft Paint. Select an application from the Start menu or through the Finder interface. Then open the picture you want to display.
  2 Center the area you want to zoom in. To zoom in on a specific area of the image, it must be in the center of your screen.
  3 Hold the key Ctrl and press ↑. Repeat this several times if you want to zoom in even more. To zoom out, press simultaneously Ctrl and ↓.
Method 2 of 2: Magnifying glass
 1 Start Microsoft Paint. Select an application from the Start menu or through the Finder interface. Then open the picture you want to study.
  2 Center the area you want to zoom in. To zoom in on a specific area of the image, it must be in the center of your screen.
  3 Zoom in on the image. Click the "View" tab in the toolbar. Two magnifying glasses will appear on the left side of the screen, one with a plus inside and the other with a minus. To zoom in, click on the magnifying glass with the "+" sign. To zoom out, click on the magnifying glass with the "-" sign.


