Author:
Virginia Floyd
Date Of Creation:
14 August 2021
Update Date:
22 June 2024
Content
- Steps
- Method 1 of 4: Create an image (ISO file)
- Method 2 of 4: Create a Bootable USB Drive
- Method 3 of 4: Boot from a USB drive
- Method 4 of 4: Install Windows
Do you have a netbook on which you want to install Windows, but the lack of a DVD drive is stopping you? Do you frequently install Windows and don't want to damage your installation discs during shipping? In fact, creating a Windows installation USB flash drive is easier than you might think. This article will show you how to create a bootable flash drive with Windows Vista, 7 or 8.
Steps
Method 1 of 4: Create an image (ISO file)
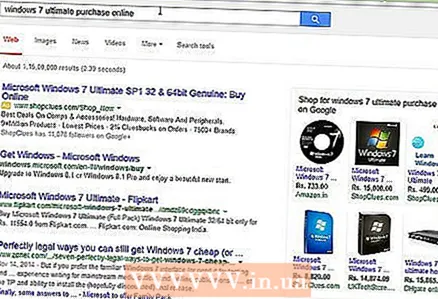 1 Get a copy of Windows. You can create a bootable USB flash drive from the installation DVD or from the image that is sold on the Microsoft website. You can easily install Windows Vista, 7 and 8 from a USB flash drive.
 - If you have a ready-made Windows image (ISO file), skip ahead to the next section.
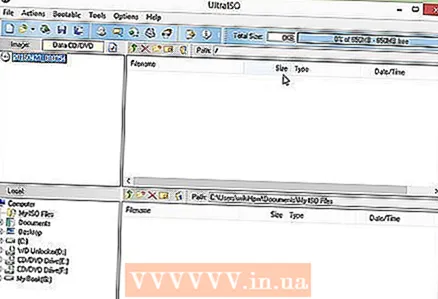 2 Install a free disk imaging software. There are a number of such free programs available on the Internet. You need one that can create ISO files. ImgBurn is one of the more popular free options.
  3 Insert Windows DVD. Open your disk imaging software. Look for relevant options such as "Copy to Image" or "Create Image". Select DVD as source if prompted.
  4 Save the ISO file. Choose an easy-to-remember file name and location. The size of the created ISO file must be equal to the size of the disk from which the image is created. This means that the image can take up several gigabytes of space on your hard drive. Make sure you have enough free hard disk space.
 - The ISO file is essentially an exact replica of the installation DVD.
Method 2 of 4: Create a Bootable USB Drive
 1 Insert your flash drive. Your flash drive must be at least 4 GB in size in order to successfully copy the ISO file to it. All data on your flash drive will be erased when you copy the installation disc to it, so be sure to back up any important files on your flash drive before proceeding.
  2 Download Windows 7 USB / DVD Download Tool. This utility can be downloaded for free from the Microsoft website. Despite its name, it also works with Windows 8 and Vista images. You can install and run this utility on almost any version of Windows.
 - If you'd rather put more effort into creating a bootable USB flash drive using the command line, read this article.
 3 Select Source file. This is the ISO file that you created or downloaded in the first section. Click Next.
 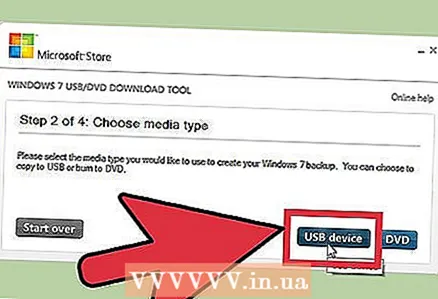 4 Select your USB device. You have the option to either burn to DVD or create a bootable USB drive. Select the USB Device option. Select your USB storage device from the list of available devices.
  5 Wait while the program is running. The program will format the USB drive and copy the ISO file to it. The whole process can take 15 minutes.
Method 3 of 4: Boot from a USB drive
 1 Insert the USB drive into the computer you want to install Windows on. Turn on or restart your computer. When the computer turns on or restarts, you need to press a specific key to enter the BIOS and change the boot order. This will allow you to boot from a flash drive instead of a hard drive.
 - The BIOS key must be pressed when the manufacturer's logo is displayed on the screen. This is usually a very short amount of time and if you missed it, reboot and try again.
- The key depends on your computer, but it will definitely be displayed on the screen. Typical BIOS keys are F2, F10, and Del.
 2 Go to the boot menu. The menus of different BIOS versions differ from each other, but, as a rule, they all have a boot order (although this can be worded slightly differently). Boot order displays a list of devices from which the operating system boots. Typically, computers are configured to automatically boot from the hard drive.
  3 Change the boot order. Once you have found the boot order in the BIOS, you need to put the flash drive as boot device number one. Again, this depends on your computer. Some BIOS versions display the flash drive by its name, others simply as a "removable device" or "USB".
 - Use the "+" and "-" keys on your keyboard to change the boot order.
 4 Save changes and exit BIOS. After you have changed the boot order, save the changes and exit the BIOS. Typically, you need to press F10 to do this. The computer will restart, but this time it will boot from the flash drive.
Method 4 of 4: Install Windows
 1 Press any key to start the installation process. You will see a message prompting you to press a key to launch the installer. Press any key on your keyboard to continue.
 - If you do not press a key, your computer will move to the next device in boot order and you will need to restart your computer again.
 2 Wait for the installer to download. After you pressed the key, the installer will start downloading the files required to install Windows. This may take a few minutes.
  3 Install Windows. After the files are downloaded, Windows installation proceeds in the same way as from the installation DVD.


