Author:
Marcus Baldwin
Date Of Creation:
17 June 2021
Update Date:
1 July 2024
Content
There are so many ways to take photographs today that a huge number of people are into photography. It is very easy to take photos, but rather difficult to keep them organized. One of the best ways to store and quickly view your photos is to insert them into your PowerPoint presentation. By doing this, you will receive a slideshow, which will at the same time be a backup copy of the photos you need.
Steps
Method 1 of 2: Create a Slideshow on Windows
 1 Launch PowerPoint and create a new presentation. To do this, click on the PowerPoint icon on your desktop or in the Start menu. Then click "File" (top left) - "New" - "New Presentation". A new presentation will be created in which you can insert photos.
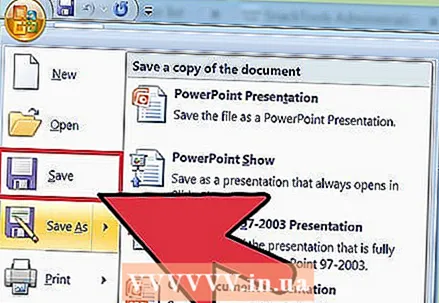
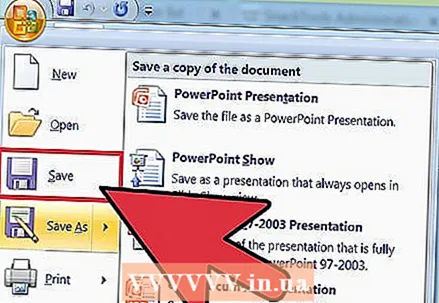
 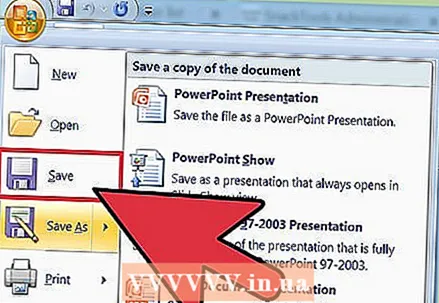 2 Save the created presentation immediately. To do this, click the button in the form of a floppy disk (top left). Now enter a name for the presentation and select the folder where it will be saved.
 - Give your presentation a name that describes the photos you copied into it so you can find them more easily.
 3 Enter a title for your presentation. Think about the title of your presentation and click inside the box on the first slide to enter a title, date, or insert a picture.
  4 Add slides to your created presentation. You can choose from a variety of slide designs. Click the Home button - New Slide, or click Insert - Slide, or click on a blank space in the left slides pane and click New Slide.
 - Choose a slide design that suits your photos, such as a slide with a title box and an image box, or a slide with an image box, or just a blank slide.
 5 Insert a photo into your slide. You can insert one photo for each slide, or you can insert several photos at once (the choice is yours).
 - Double-click on the image field (or click Insert - Picture - From File), and then navigate to the desired photo.
- Click OK or Paste to insert the photo into the slide.If you made a mistake with choosing a photo, select it and click "Picture" to change it to another photo. Alternatively, you can select the image and click "Delete" to delete the photo.
 6 Change the order of the photos if necessary. Use the Slide Sorter to automatically find the optimal position for your slides.
 - The Slide Sorter button is located in the lower right corner of the screen. Click this button and then drag specific files to wherever you want.
 7 Add transitions between slides. Transitions help you make your presentation more impactful by smoothly transitioning from slide to slide. To do this, go to the "Animation" tab and select one of the many transition types.
  8 Change the background of the slides. If you're not happy with the white boxes around each photo, right-click on any slide, click Format Background, and then select the background you want. You can choose a solid fill, a gradient fill, and another type of background, as well as change the background color and transparency. To ensure that the slides have the same background, click Apply to All.
  9 Add background music to your presentation. If you have music files on your computer, insert them into your slideshow to make it more effective. A music clip in a presentation is a great way to draw attention to your slideshow.
 - To insert music go to the "Insert" tab and click "Sound" or "Movie". Then click "Sound from file" and navigate to the desired music file; select this file and click "Link to file" - "Insert".
- If you need to set the music file to play while viewing the entire presentation or just a specific slide, click Sound Format (next to the Home button) and under Sound Options, select Play in Slide Show.
 10 Save the created slideshow. When you are finished with the presentation design, be sure to save it. If, when creating a presentation, you have already entered its name and specified the folder for storing it, then simply click the button in the form of a floppy disk (top left).
Method 2 of 2: Create Slideshows on Mac OS
 1 Start PowerPoint by double-clicking the icon for this program. Numerous presentation templates will be displayed in the window that opens; select the template you like and click "Select".
 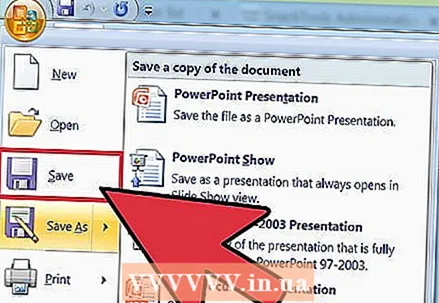 2 Save the created presentation immediately. To do this, click the button in the form of a floppy disk (top left). Now enter a name for the presentation and select the folder where it will be saved.
 - Give your presentation a name that describes the photos you copied into it so you can find them more easily.
 3 Enter a title for your presentation. Think about the title of your presentation and click inside the box on the first slide to enter a title, date, or insert a picture.
  4 Add slides to your created presentation. You can choose from a variety of slide designs. Click the Home button - New Slide, or click Insert - Slide, or click on a blank space in the left slides pane and click New Slide.
 - Choose a slide design that suits your photos, such as a slide with a title box and an image box, or a slide with an image box, or just a blank slide.
 5 Insert a photo into your slide. Click Home - Insert - Picture. In the menu that opens, select "Picture from file". In the left pane of the window that opens, select the folder in which the photo you need is stored (if it is stored on a connected flash drive, click on the flash drive icon in the left pane). Typically, all photos are stored in the Pictures folder.
 - To insert the desired photo, double-click on it.
 6 Change the order of the photos if necessary. Use the Slide Sorter to automatically find the optimal position for your slides.
 - The Slide Sorter button is located in the lower right corner of the screen. Click this button and then drag specific files to wherever you want.
 7 Add transitions between slides. Transitions help you make your presentation more impactful by smoothly transitioning from slide to slide. To do this, go to the "Animation" tab and select one of the many transition types.
  8 Change the background of the slides. If you're not happy with the white boxes around each photo, double-click on any slide, click Format Background, and then select the background you want. You can choose a solid fill, a gradient fill, and another type of background, as well as change the background color and transparency. To ensure that the slides have the same background, click Apply to All.
  9 Add background music to your presentation. If you have music files on your computer, insert them into your slideshow to make it more effective. A music clip in a presentation is a great way to draw attention to your slideshow.
 - To insert music go to the "Insert" tab and click "Sound" or "Movie". Then click Sound From File, navigate to the desired music file, and drag it to the appropriate slide.
- If you need to set the music file to play while viewing the entire presentation or just a specific slide, click Sound Format (next to the Home button) and under Sound Options, select Play in Slide Show.
 10 Save the created slideshow. When you are finished with the presentation design, be sure to save it. If, when creating a presentation, you have already entered its name and specified the folder for storing it, then simply click the button in the form of a floppy disk (top left).
Tips
- Choose appropriate music and background for your slideshow. For example, if you're inserting photos of your summer vacation, choose a bright yellow background and light, rhythmic music.


