Author:
Florence Bailey
Date Of Creation:
19 March 2021
Update Date:
1 July 2024

Content
- Steps
- Method 1 of 5: Measuring the stance carefully
- Method 2 of 5: Prepare Cabinets to Support the Weight of the Granite
- Method 3 of 5: Working with a Granite Slab
- Method 4 of 5: Flatten the granite and glue it
- Method 5 of 5: fill in the seams
- Tips
- Warnings
- What do you need
A granite kitchen counter (countertop) is a wonderful addition to any kitchen or bathroom. Due to the natural structure of granite, until recently it was very difficult to handle this material by hand. However, now granite countertops are supplied already in a manufactured form with detailed instructions for their installation, which allows even absolute beginners in this business to put everything together. If you have a place in your kitchen or bathroom where you would like to install a counter that has more than one corner or some special feature, then you might want to hire a professional to do the job.In the case of installing a rack in one or two parts, it should be easy if you follow the instructions.
Steps
Method 1 of 5: Measuring the stance carefully
 1 Set up your lockers. Make sure they are level and firmly attached to the floor and wall.
  2 Make sure the walls are perpendicular. If they meet at a different angle, make the necessary adjustments when measuring.
 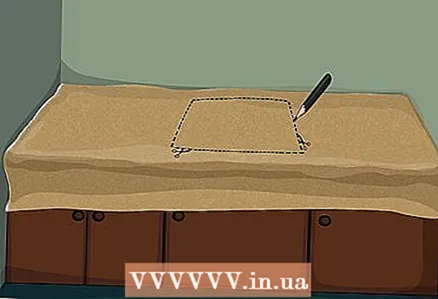 3 Use building board or other lightweight material to shape the backing pad to the shape of the countertop. Mark exactly where the shrinkage cavity is located and any other necessary holes in the granite.
  4 Decide what type of edge you want your countertop to have. Take into account the overhang on your substrate.
  5 Choose the type of granite. You may also want to choose a suitable material for the back of the sink.
  6 Ask your supplier for advice on rack installation. When making your final decision, double check your template mat to be sure.
 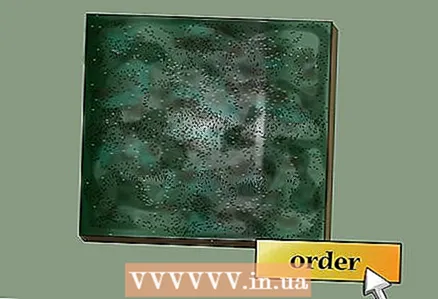 7 Order granite.
Method 2 of 5: Prepare Cabinets to Support the Weight of the Granite
 1 Place 1.905 cm thick plywood on top of the cabinets. This will keep the extra weight away from the granite. Cut the plywood straight across the front of the cabinets.
  2 Make sure the plywood is level with all cabinets.
 3 Attach the plywood to the cabinets with screws. First, drill pilot holes in the cabinet to prevent wood delamination.
Method 3 of 5: Working with a Granite Slab
 1 Ask for help to carefully place the granite slab (s) in the desired location. All this must be done very carefully, since granite is a rather fragile material.
  2 Replace the granite. Make sure it lines up exactly in all directions.
  3 Use a pencil or marker to accurately trace around the sink hole on the plywood backing.
 4 Temporarily remove the granite from the cabinets. Stand it upright in a safe place to avoid breaking.
  5 Make a pilot hole in the center of the contour of the sink hole with a feather drill. Use an electric jigsaw to continue cutting the hole in the plywood. You can deviate from the contour by no more than 0.3175 cm.
  6 Install the sink.
Method 4 of 5: Flatten the granite and glue it
 1 Place the granite back on the cabinets. Tie all seams together as tightly as possible.
  2 Make sure the granite is leveled. Once you are convinced, remove it one last time.
  3 Apply silicone sealant around the edges of the plywood. Do this in a savory portion every 12-30 cm.
  4 Run the sealant around the sink border on the sides of the plywood and granite.
 5 Place the granite slab in place. Make sure it is aligned again.
Method 5 of 5: fill in the seams
 1 Apply masking tape to both sides of the seam.
 2 Mix polyester resin with a color similar to granite. For best use, mix three portions of slightly different colors.
  3 Add 3% tanning agent to 97% resin for a medium color. Go over the seams with a spatula. Repeat the process with other colors to match your granite countertop more closely. Work quickly, because when using a tanning agent, it sets quickly.
  4 Remove the masking tape as soon as you are finished with the seam. When the seam is dry, smooth it out using a smoothing stone.
Tips
- Allow time, usually 3 to 4 weeks, for the finished granite rack to be delivered.
Warnings
- Provide adequate ventilation when handling resins and tanning agents.
- Always wear proper safety equipment when working with power tools.
What do you need
- Construction cardboard or other lightweight dense material to make a layout from a tabletop
- Carpentry level
- Plywood 1.905 cm thick
- A circular saw
- Drill
- Drill bits
- Wood screws
- Pencil or marker
- Perforated drill
- Electric jigsaw
- Silicone seal
- Sealant
- Joint filling syringe
- Masking tape
- Polyester resin
- Putty knife
- Smoothing stone


