Author:
Christy White
Date Of Creation:
6 May 2021
Update Date:
1 July 2024

Content
- To step
- Part 1 of 4: Create guides
- Part 2 of 4: Draw the map of India
- Part 3 of 4: Mark the 29 states and seven union territories with their capitals
- Part 4 of 4: Finish the card
- Tips
- Warnings
India is a big country. You're going to list 29 states and seven union territories on the map. The map of India has a large area that can be drawn vertically and some parts are spread across the east and west of the country. If you start by dividing the paper into numbered boxes and filling in the shape of the card, it is fairly easy to make with a little attention to detail.
To step
Part 1 of 4: Create guides
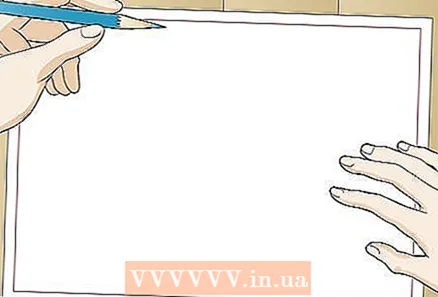 Make a square. Draw a square on the page the size of the map you want.
 - Mark half of the box, vertically and horizontally.
- Make all the guides very light, with a light pencil, so that you can easily erase them at the end.
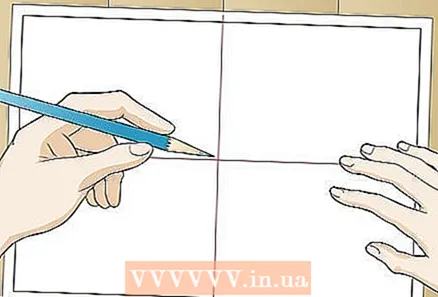 Divide the square into four equal parts. Using a ruler, draw a line in the center of both the vertical and horizontal lines of the box.
 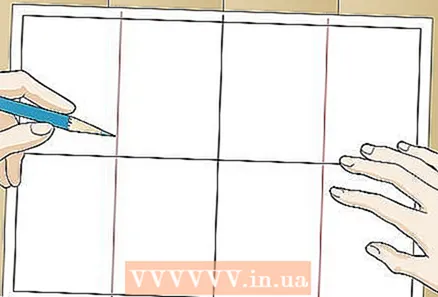 Divide the two vertical halves. Use a ruler to further divide the two vertical halves into four equal parts.
 - These four parts help to maintain proper proportions when drawing the map of India.
- You can erase these lines at the end when you are done with the map.
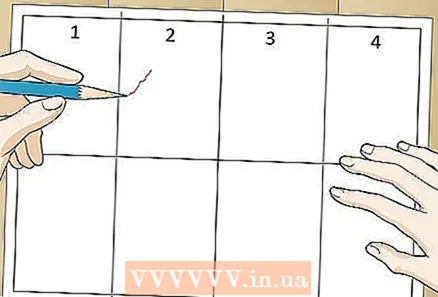
 Number the sections. To better track which section of the map is drawn where, number the boxes as shown in the image above.
Part 2 of 4: Draw the map of India
 Use curved lines. Use curved or wavy lines all over the map.
 - Pay close attention to where the line should go in and where out. Some waves are longer than others.
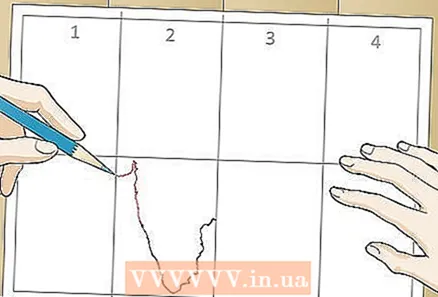
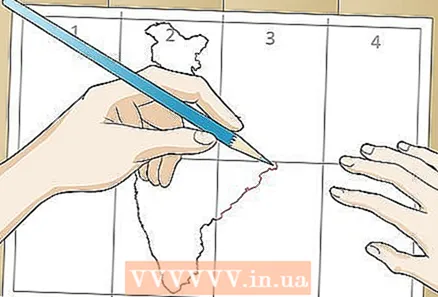
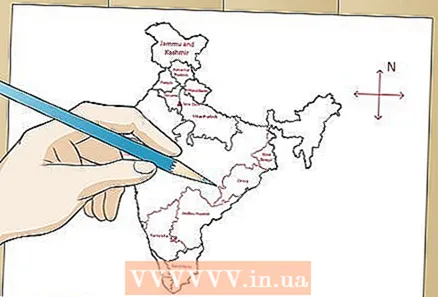
 Make the bottom half of the card. The lower part, or southern India, can be drawn as a profile of a face looking to the right side of the page. Start by making a "v".
 - This bottom part is in the second box.
- Almost the entire map of India (in length) fits in this "second" box.
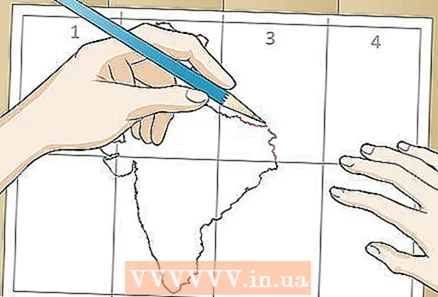
 Finish the bottom on the left. Make the entire bottom half for the south of India from the step above.
 - Look at the horizontal line you made and draw a section in the shape of a heading in the box on the far left.
- Draw an oblique or wavy line upwards.
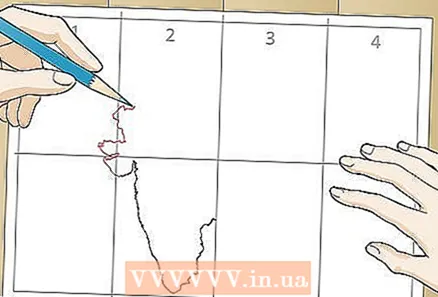 Continue with the top half of the map. Make another section in the shape of a cup, over the first. Make it slightly smaller.
 - Make the rectangular shape as you go along.
- Draw the smaller outward facing parts and those facing inward. These serrated shapes help maintain proper proportions and alignment with the other half, and indicate states on the map.
 Measure the distance. To maintain the correct proportions you can find out and indicate the distance between the two shapes on the sight or with a ruler.
 - Define and mark the size of the background and foreground. The background is the white empty space and the foreground is the object you are drawing.
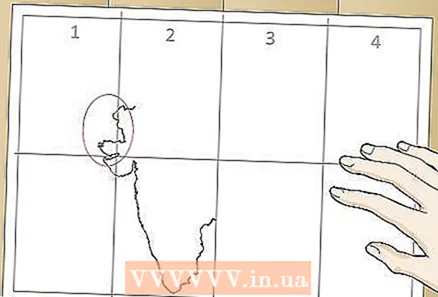
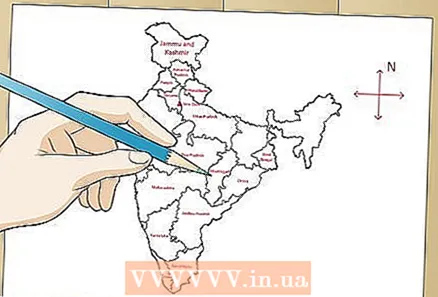
 Complete the section at the top left. Draw the top, or the north of India.
 - First draw a half rectangle and then a shape like half an almond.
- Note the line of the rectangle that continues in another box.
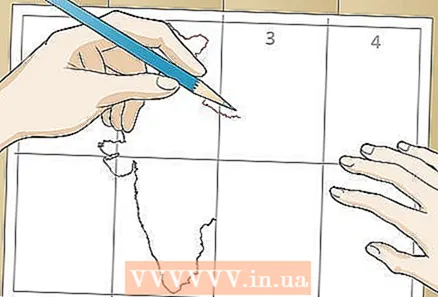 Round up the north of India. Draw an angled "L" followed by a stone shape in box two.
 - Make an "m" shape and a small rectangle.
- Make an upside-down "L" followed by another line, making it look like a ladder.
 Round off the south. Continue in the adjacent box where you left the bottom.
 - Make appropriate marks and exact teeth on the line. Maintain an uneven line.
 Connect the top to the bottom. Round the top section to the east of India. Finish box 3 with a line that you extend to the bottom box you made earlier.
 - Draw a wavy line followed by three small bumps.
- Make a straight line and a bump, followed by a cone shape.
- Make an oblique "M" and a wavy line tangent to the bottom section.
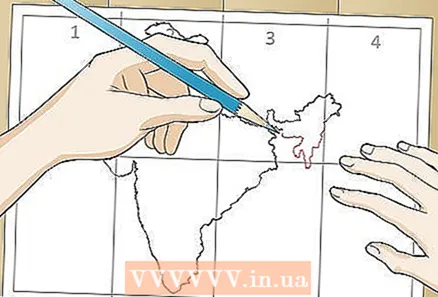
 Make a small rectangle. Start at the small cove or cone you made earlier and draw a thin, vertically stretched rectangle. Continue with a wavy line and then draw a horizontally stretched rectangular shape.
 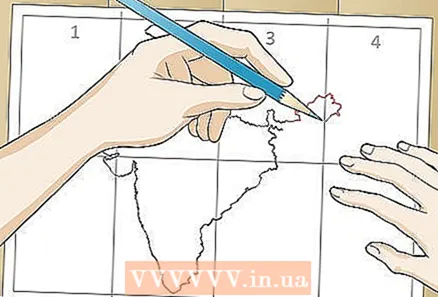 Make a stone shape to the east. Draw a whimsical stony shape that touches the rectangular shape you created earlier.
 - Mark the round bumps and the cone shape as shown above.
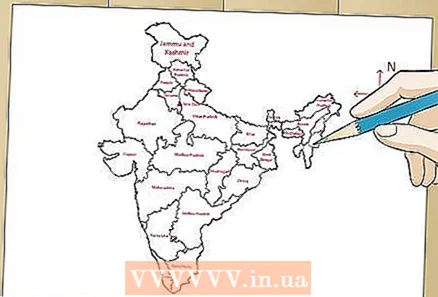
 Draw the closing block in the east. Draw two irregular, stretched rectangles next to the shape created above.
 - The last piece of the map of India consists of a small rectangle, a few bumps, and small "m" shapes.
 Mark the wind directions. Draw a small "+" sign to indicate the direction of the wind on the map.
 - Write a capital letter "N" to indicate that the top of the map represents northern India. This also indicates that the opposite side, the bottom part of the map, is the south, the left part is the west and the right part is the east of India.
- You can also draw a small arrow at the end of the four lines of the plus sign.
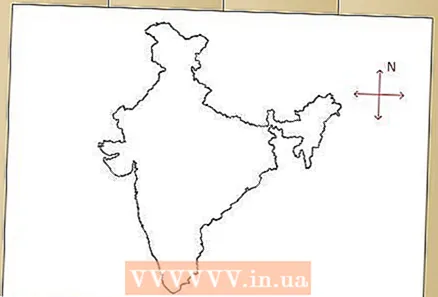 Draw an outline on the map. Draw an outline on the map with a black pen, sketch pen or any other medium or color of your choice.
 - Erase the guides you created earlier.
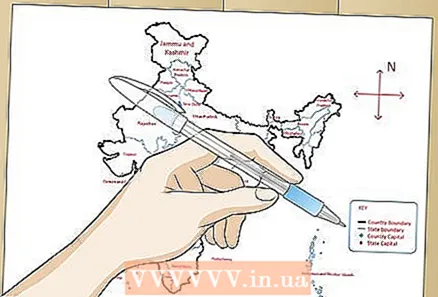
Part 3 of 4: Mark the 29 states and seven union territories with their capitals
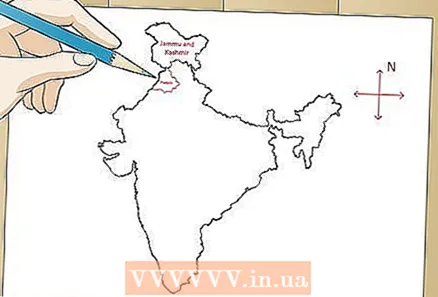
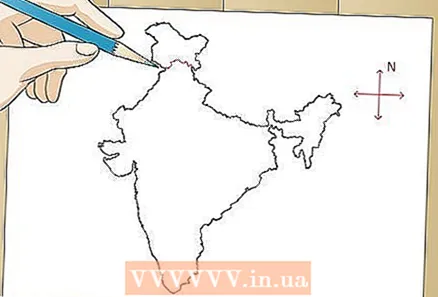 Highlight Jammu and Kashmir. Jammu and Kashmir is the first state from the top north.
  Record this on the card. Use a good, non-erasable pen or pencil to write it on the card.
 - Write Jammu and Kashmir in the font of your choice. Make sure it is legible.
- Write its capital under it with a marker or bullet point so that a distinction can be made between the state / union territory and the capital.
- Write "Srinagar" as the capital under the name of the state.
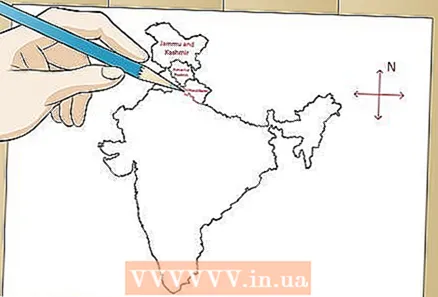
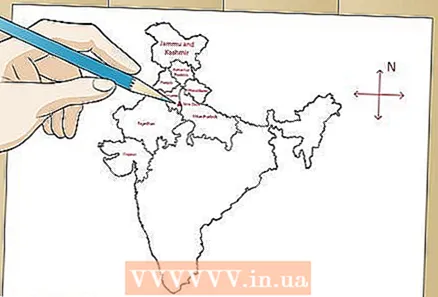
 Mark the Punjab border. Write the name of the state "Punjab" and the capital "Chandigarh" above it as Jammu and Kashmir.
 - You can also write this in pencil first so you can correct any spelling mistakes, then trace it with pen.
 Draw a boundary next to Punjab. Mark the boundary of Himachal Pradesh next to Punjab.
 - Write Shimla as the capital.
 Draw Uttarakhand's border. Mark the boundary of Uttarakhand and the capital "Dehradun".
 - If the names are too long to fit within the boundaries, you can write across the boundaries.
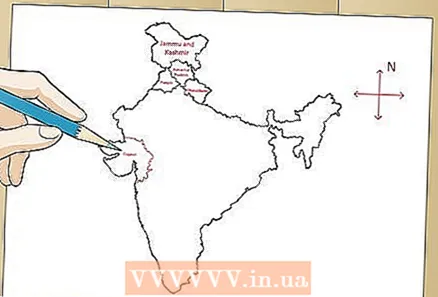 Indicate Gujarat. Highlight Gujarat western of India.
 - To maintain the correct proportions and to avoid errors with the boundaries, you can slide from top to bottom, or from left to right on the map.
- When you reach the center of the map, you will see that the proportions are well maintained and that states do not extend beyond the original areas.
- Indicate "Gandhinagar" as the capital.
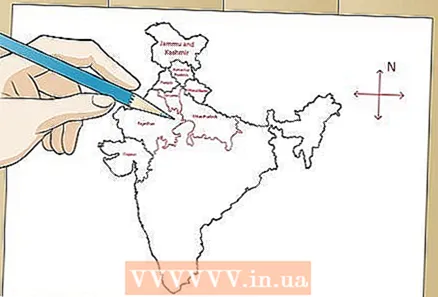 Mark the adjacent boundaries. Mark "Rajasthan" above "Gujarat" and "Jaipur" as its capital.
 - Draw the boundary of "Uttar Pradesh" under "Uttarakhand" and write as the capital "Lucknow".
- Mark the boundary of "Haryana" as well as the capital "Chandigarh" between Rajasthan and Uttar Pradesh.
- Try to scale the areas of the states better by knowing the distance between the two states. This is especially useful when more than two states are next to each other.
 Indicate the country's capital. Indicate the capital of India - New Delhi - with a special symbol as indicated in the step below.
 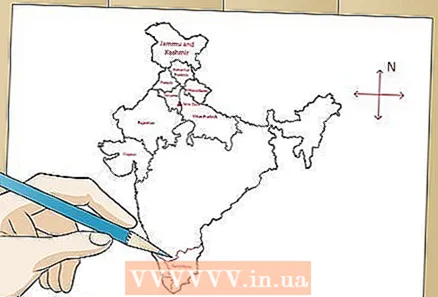 Continue south. By moving from top to bottom, wrong proportions can arise, as indicated earlier. Also move in directions other than just south. If you move from the south to the top you will reach the center of India in exact proportions.
 - Mark the slender boundary of the state of "Kerala". The name of the capital "Thiruvananthapuram" is quite long to fit the map. So it's better to write the name outside the map along the state, so that you clearly indicate that Thiruvananthapuram is the capital of Kerala.
- Mark the state of "Tamil Nadu" next to Kerala and indicate the capital "Chennai".
 Mark the borders of adjacent states. The boundaries are somewhat erratic here. To avoid confusion and drawing beyond the area of the indicated states, create guides for the states.
 - Highlight "Karnataka" above Kerala and Tamil Nadu. Indicate the state of "Bengaluru".
- Mark the boundary of the state of "Andhra Pradesh" next to Karnataka. Indicate the capital "Hyderabad".
- Draw the small boundary of "Goa" above "Karnataka" and indicate the capital "Panaji".
- Mark the boundary of the state of "Maharashtra" between Gujarat and Goa. Indicate "Mumbai" as the capital of Maharashtra.
- Mark the helpline at the top of "Andhra Pradesh" of the state of "Odisha" or "Orissa". Write the name of the capital "Bhubaneshwar" partly inside the map and the rest outside, or write it completely outside, but along Odisha, so that it is clear that it is the capital of it.
- Mark the border of "West Bengal" above Odisha and note as the capital "Kolkata".
 Use the guides to round off the borders. Connect the markers you made from the states to shape and area.
 - Write the names of the states and capital as indicated above.
- Draw the border of the state in the middle of India, "Madhya Pradesh". Write down the capital "Bhopal".
- Draw the boundary of "Telangana" and note the capital "Hyderabad". Telangana shares its borders with a few states, such as Maharashtra, Karnataka, Andhra Pradesh, Odisha, and Chhattisgarh.
 Draw the border of Chhattisgarh. This state is above Telangana. Write the name of the capital, Raipur.
  Draw Jharkhand. Make the border of Jharkhand and the capital "Ranchi".
  Highlight Bihar. This section of the map is complete with Bihar, which borders Uttar Pradesh, Jharkhand and West Bengal.
  Mark the protruding part in the far east. This is the portion of the map at the far end, connected by a proportionately smaller portion.
 - Write the name of the state "Sikkim" on the rectangular shape that protrudes. As the capital, write "Gangtok".
- Draw the remaining boundaries of the eight states that fall within this part of India.
- The areas are smaller while the names are longer. So you will have to adapt them and write them appropriately.
- Write the names of the state "Assam" next to Sikkim, and write the capital "Dispur".
- Write "Arunachal Pradesh" above Assam and "Itanagar" as the capital.
- Draw the state "Nagaland" and the capital "Kohima".
- Write "Manipur" and the capital "Imphal" below it.
 Complete this part of the map. Draw the boundary of the two lower connected states. Write "Mizoram" and the capital "Aizawl" and mark the state of "Tripura" with the capital "Agartala" next to it.
 - Mark "Meghalaya" under "Assam". As the capital, write "Shillong".
 Highlight the Andaman and Nicobar Islands. Write the name of the union territory - "Andaman and Nicobar" and capital "Port Blair" outside the map.
  Highlight the other union territories west of India. Write "Daman and Diu" with the capital "Daman", and "Dadra and Nagar Haveli" with the capital "Silvassa".
 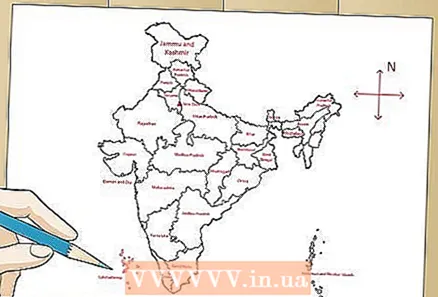 Highlight Lakshadweep to the south. Write the union territory "Lakshadweep" and capital "Kavaratti" below the top union territories.
  Highlight Puducherry. Mark the union territory of "Puducherry" on the other side of Lakshadweep in the direction of "Tamil Nadu". Write the capital "Pondicherry".
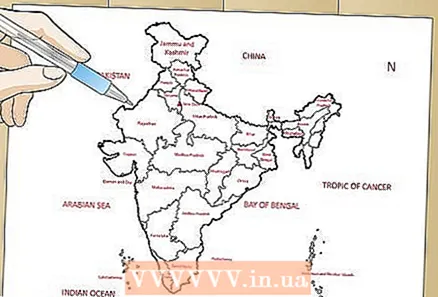
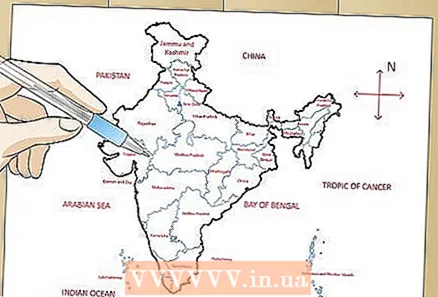
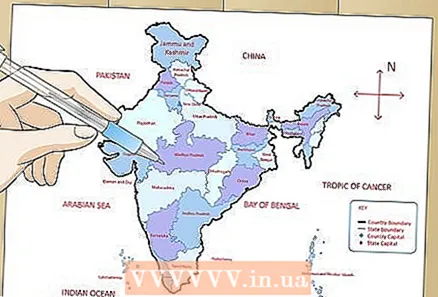
 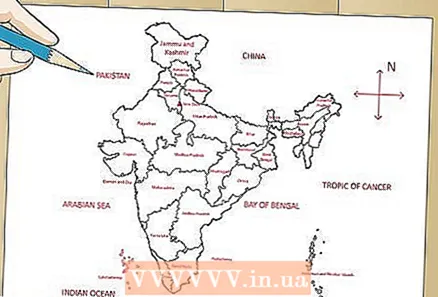 Highlight the neighboring areas. You can indicate the neighboring areas of India.
 - Draw Pakistan in the top left blank area.
- The Arabian Sea enters the empty area at the bottom left.
- Indicate the Indian Ocean under the Arabian Sea.
- Mark the Tropic of Cancer in the center on the right side of the map.
- Add Nepal immediately right at the top of India.
- Add China in the great part at the top, beyond Nepal.
- Place the Bay of Bengal on the bottom right of the map.
Part 4 of 4: Finish the card
 Trace the map with pen. Use a pen of a specific color or medium of your choice to trace the card. This brings out the map better and creates a distinction between the border of India and the borders of the various states.
 - You can also use a thick black pen or a felt-tip pen.
- Give the states different colors for your choice.
- You can also color outside the map.
 Trace the states with a different color. Use a different color or a different line width for the outline of the states.
 - You can also draw the border with dotted lines, or thick and thin, etc. These are all indicated in the legend.
- You can write "India" on the card or on the side outside the card. Just make sure you do this with bold letters so that people don't have to search for it. When you write the name on the card, make sure you don't write on top of the other names as you indicated them earlier.
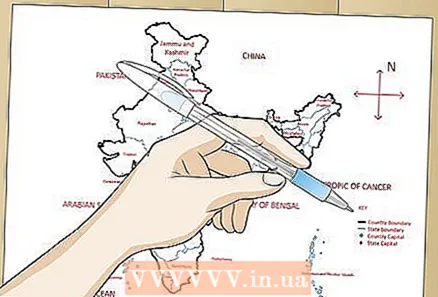 Understand that the legend is an essential part of any map. A legend consists of symbols and is an explanation of the symbols you have used to indicate details such as borders, states, capitals, etc. You will usually find these at the bottom right of a map.
 - You can make the box of the legend first and fill in all the details, or fill in all the details first and indicate the boundaries around it. If you write down the details first, you don't have to worry about whether it fits within the boxes or whether you have to write in smaller letters.
- If you used a thick black line to indicate the boundaries, create a thick black line and write "boundary line" after it. This indicates how you indicated the boundaries of the country.
 Round off the legend data. Write "Legend" above it as a heading.
 - To the left of the legend, indicate the symbol you used to mark the country's capital and the capitals of the states or union territories.
- Continue to mark the style and color of the line you used to mark the boundaries of both the country as a whole, as well as the states and union territories.
- Write to the right of it what the symbols mean.
- Create a box around the legend to make it look neat.
 Color the map. You can choose to color the map. Color with pencil or any medium of your choice to make the whole look more presentable and colorful. You can color each state and union territory with a different color so that each subdivision stands out.
 - Use different colors to avoid confusion as to where one boundary ends and where another one begins.
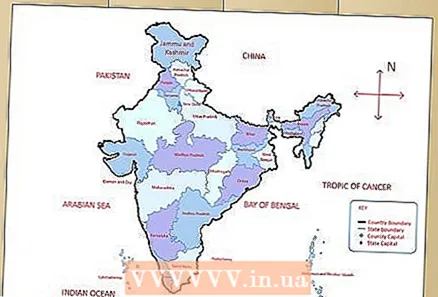 Ready.
Tips
- First make small basic shapes of each part of the card, then add details like bumps, teeth, rectangles, etc.
- You can create a grid with more horizontal and vertical lines to get a better idea of what to draw in each box of the grid.
- You can keep an image of a map. If you find that you have made a mistake with the shapes, you can erase them and improve them as you see fit.
- Compare the left and right sides of everything you draw to make sure you have everything aligned and drawn to the correct size.
Warnings
- Don't skip the tiny details, otherwise you will lose your way connecting the different parts of the map.


