Author:
Eric Farmer
Date Of Creation:
12 March 2021
Update Date:
1 July 2024

Content
- Steps
- Method 1 of 5: Windows
- Method 2 of 5: Mac OS (Handbrake)
- Method 3 of 5: Mac OS (iMovie)
- Method 4 of 5: Android
- Method 5 of 5: iPhone and iPad
This article explains how to reduce a video file, including its resolution and file size.
Steps
Method 1 of 5: Windows
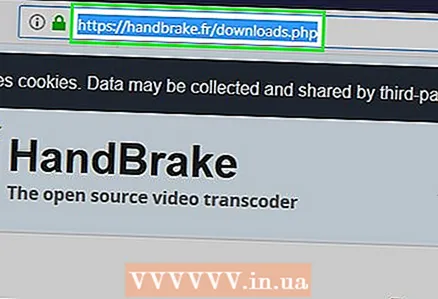 1 Open the website in your browser handbrake.fr/. It has a free program called Handbrake, which can be used to transcode (compress) a video file to reduce video resolution and file size.
 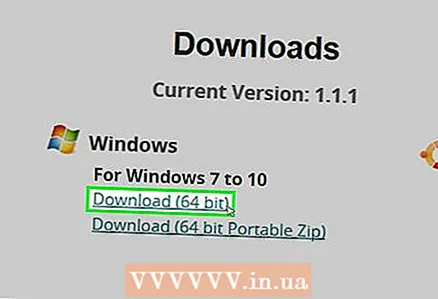 2 Click Download Handbrake.
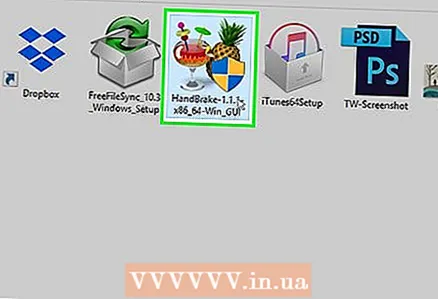 3 After downloading the installation file, open it. The downloaded file will appear at the bottom of the browser window or in the Downloads folder.
 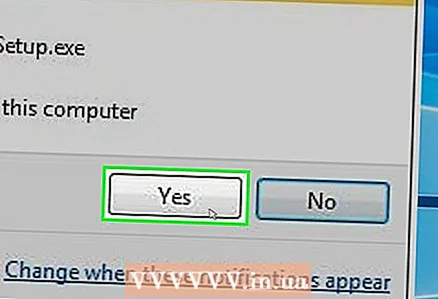 4 In the window that opens, click Yes.
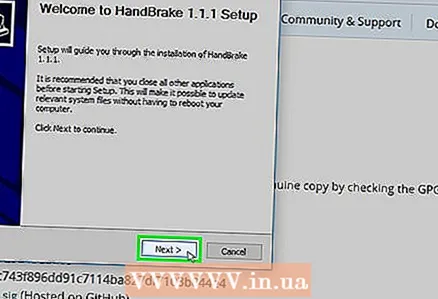 5 Click Next to install the program.
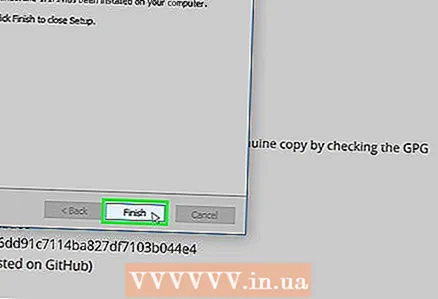 6 In the last window, click Finish.
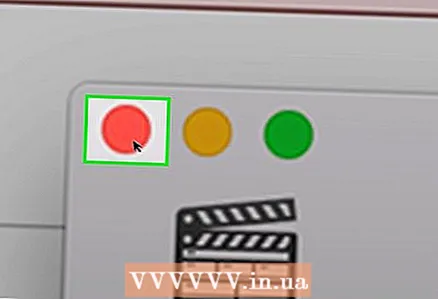
 7 Double click on the Handbrake icon (on the desktop).
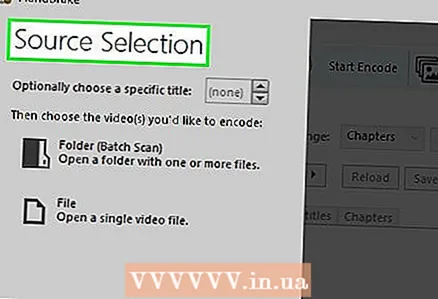 8 Click Source. It's in the upper-left corner of the Handbrake window.
 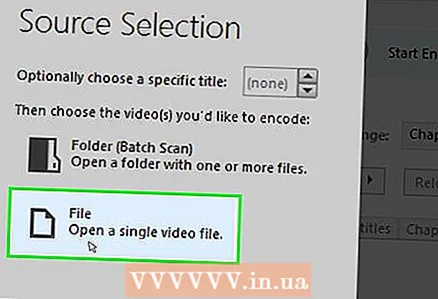 9 Click File.
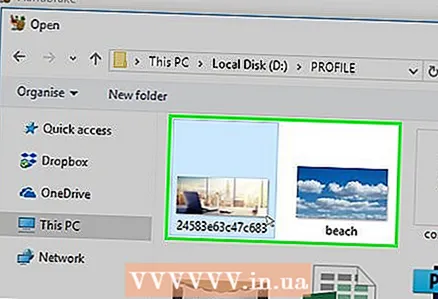 10 Find and highlight the desired video file.
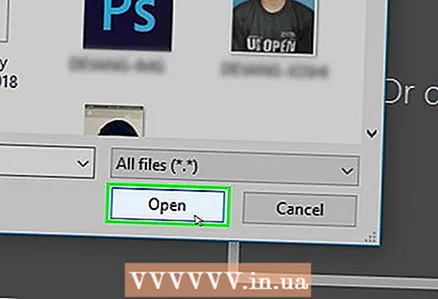 11 Click Open.
 12 In the Destination section, click Browse.
 13 Specify the folder where the final file will be sent.
 14 On the Image tab, find the "Resolution" section.
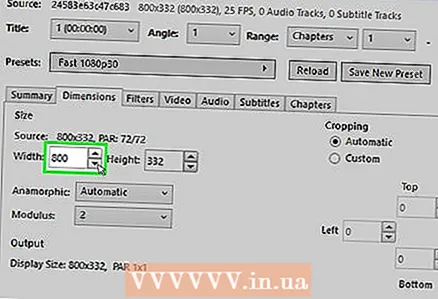 15 For Horizontal Size, enter a lower resolution value. This will reduce the resolution of the video and also significantly reduce the size of the video file. For example, if you reduce the horizontal size value from 1920 to 1280, the video resolution will decrease from 1080p to 720p, resulting in a noticeable decrease in file size. Resolution changes are more noticeable on larger screens.
 - To maintain the aspect ratio of the picture, enter one of the following values: 1024, 1152, 1366, 1600, 1920. These values are typical for widescreen video. If your video has a different aspect ratio (for example, video shot with certain smartphone models), use different values.
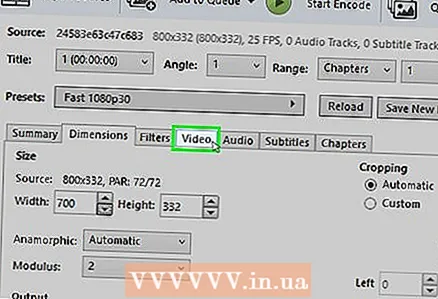 16 Go to the Video tab.
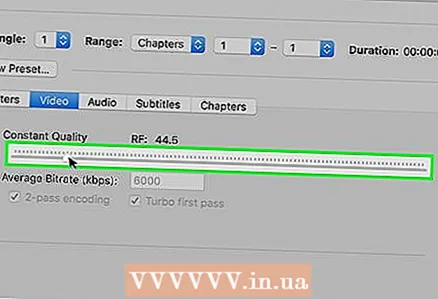
 17 Move the Preserve Quality slider to the left. The higher the value, the lower the video quality and the smaller the file size.
 - A value of “20” corresponds to the quality of the video on the DVD. Most likely, the quality value can be reduced to 30 and the video can be viewed normally on a small screen. If you are going to watch video on a large screen, do not increase the quality value over 22-25.
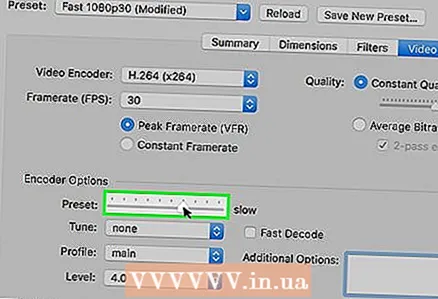
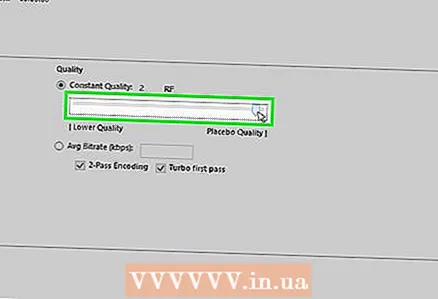 18 Move the x264 Library slider to the right. The stronger the compression, the smaller the final file will be. If possible, select the highest compression possible.
 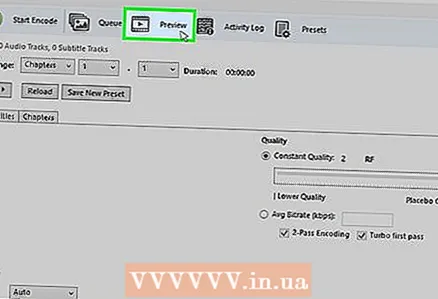 19 Click Preview. This button is at the bottom of the window.
 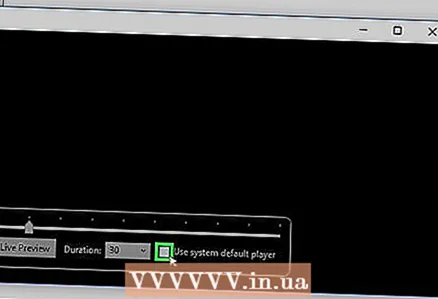 20 Check the Use system player option.
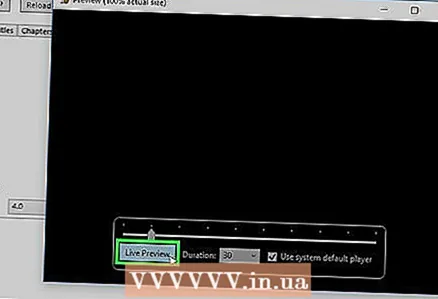 21 Click Play.
 22 Preview the video (after it has been compressed) to determine its quality.
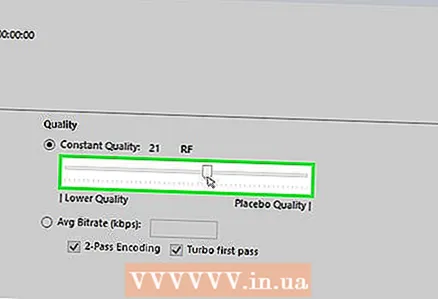 23 Make changes to the settings. If you don't like the quality of the video you watched, go back and make the necessary changes to the settings.
 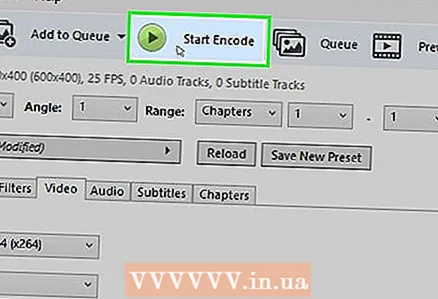 24 Click Run. The video compression process starts with the specified parameters. The process time depends on the length of the video, the specified quality parameters and the performance of the computer.
  25 Open a compressed video file. It is located in the previously specified folder. Review the video for image quality and make sure the compression process went well. After compression, the size of the video file will be significantly reduced.
Method 2 of 5: Mac OS (Handbrake)
 1 Open the website in your browser handbrake.fr/. It has a free program called Handbrake with which you can resize your video file.
  2 Click Download Handbrake. This downloads the Handbrake installation file for Mac OS.
  3 After downloading the installation file, open it. The downloaded file will appear in the lower right corner of your desktop or in the Downloads folder.
  4 Drag the Handbrake icon to your desktop or Applications folder.
 5 Double click on the Handbrake icon.
 6 Click Open.
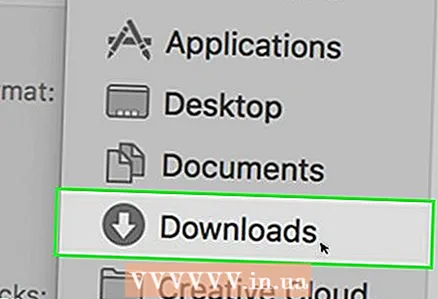 7 Find the video file you want. The file explorer will open immediately after starting Handbrake.
 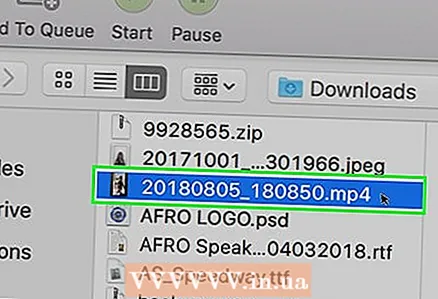 8 Highlight the file and click Open.
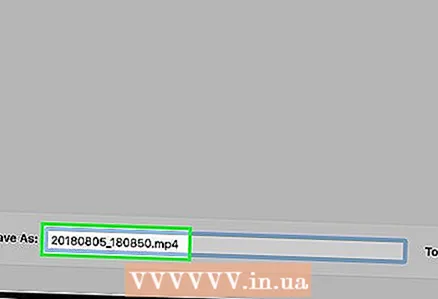 9 In the Destination line, enter the new name for the target file. If you do not change the name, the original file will be overwritten.
  10 Click Picture Options. This button is at the top of the window.
 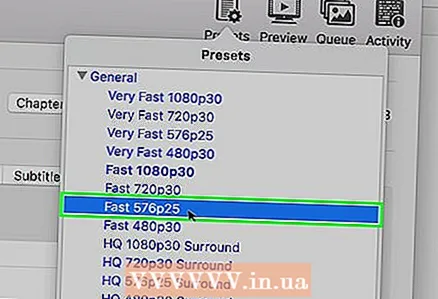 11 For Horizontal Size, enter a lower resolution value. This will reduce the size of the picture on the screen, and also significantly reduce the size of the video file. The reduction in resolution will not be noticeable when playing the video on a mobile device, so this is a good way to reduce the file size.
 - If the horizontal size is 1920, try changing it to 1280. This will reduce the video resolution from 1080p to 720p. For widescreen video, you can enter one of the following values: 1024, 1152, 1366, 1600, 1920.
- Check the "Maintain aspect ratio" option. In this case, the vertical size of the picture will be resized automatically in accordance with the new value of the horizontal size, so the proportions will remain unchanged.
 12 Click X. This will close the window with the picture parameters and save the changes made.
 - You don't have to change the video resolution to reduce the file size, but it will make things easier.
 13 Move the Preserve quality slider to the left. The higher the value, the lower the video quality and the smaller the file size. You may need to change the settings several times to get a good balance between quality and file size.
 - A value of “20” corresponds to the quality of the video on the DVD. Most likely, the quality value can be reduced to 30 and the video can be viewed normally on a small screen.
- If you are going to watch video on a large screen, do not increase the quality value over 22-25.
 14 Move the Compression Settings slider to the Maximum position. If possible, select the highest compression possible. The stronger the compression, the smaller the final file will be.
 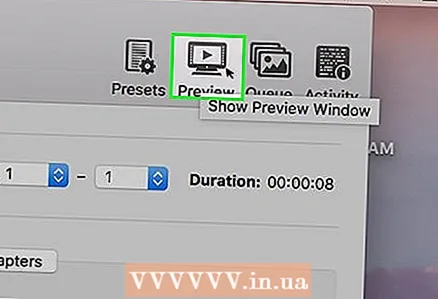 15 Click Preview.
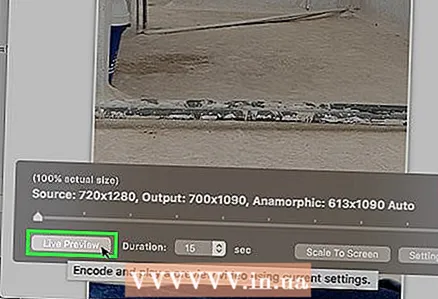 16 Click Live View.
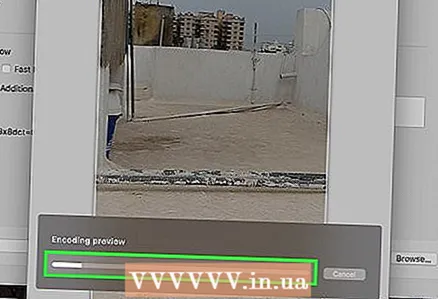 17 Preview the video after it has been compressed.
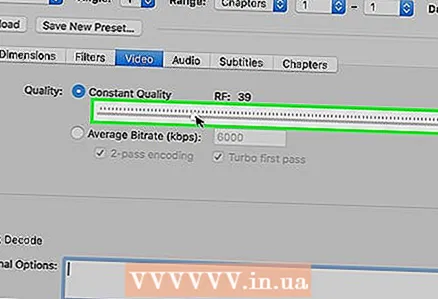 18 Make changes to the settings. If you don't like the quality of the video you watched, go back and make the necessary changes to the settings.
  19 Click Run. The video compression process starts with the specified parameters. The process time depends on the length of the video and the specified quality parameters.
Method 3 of 5: Mac OS (iMovie)
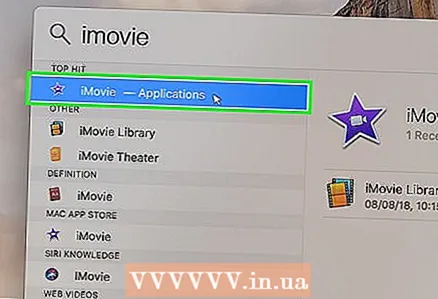 1 Open iMovie. This video editor is part of the multimedia suite built into Mac OS. iMovie can be found in the Applications folder.
 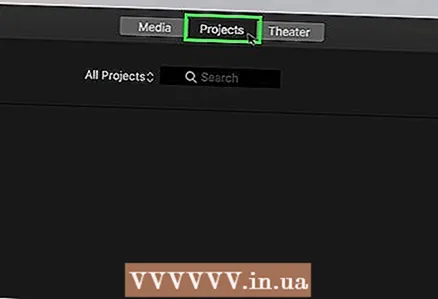 2 Click on Projects.
 3 Click the "+" button.
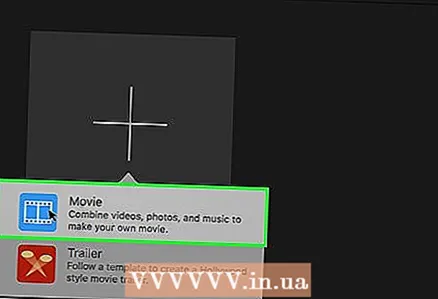 4 Click Movie.
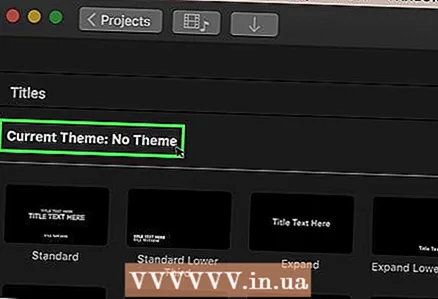 5 Click No Topic.
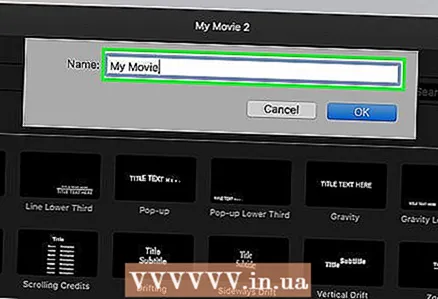 6 Enter a name for the new file.
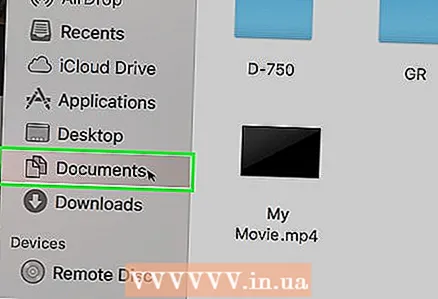 7 Open the folder with the desired video file.
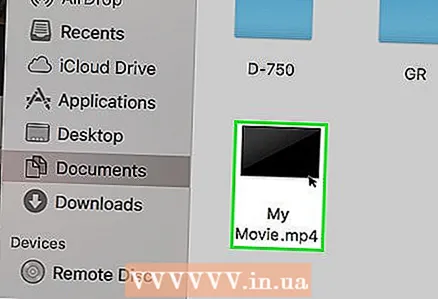 8 Drag the video file to the top left of the iMovie window.
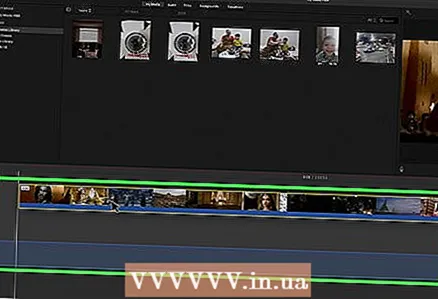 9 Drag the video to the timeline.
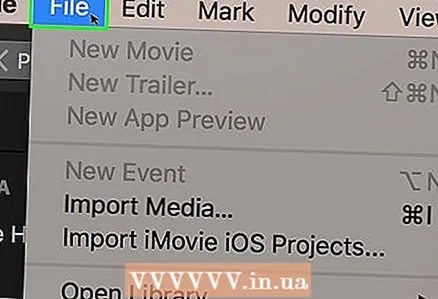 10 Click File.
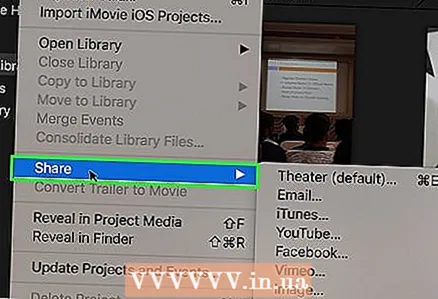 11 Click "Share" - "File".
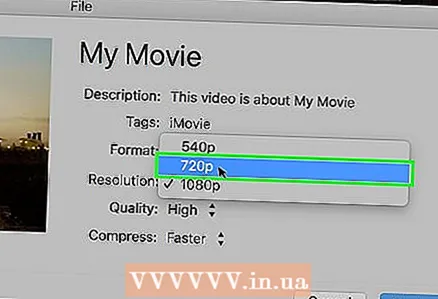 12 Click Resolution and choose a lower resolution. This will reduce the size of the picture on the screen and the size of the video file itself. The decrease in resolution is not as noticeable on small screens.
 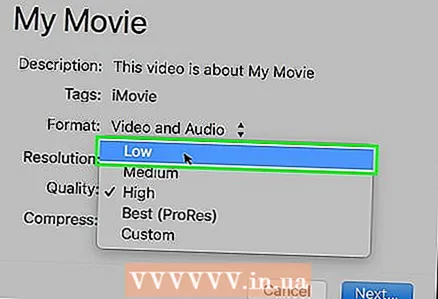 13 Click Quality and choose a lower quality. This will lower the quality of the picture on the screen and reduce the file size.
 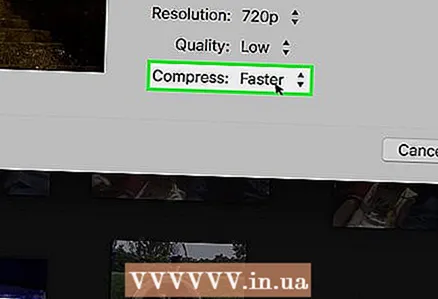 14 Click "Compress" - "Small File".
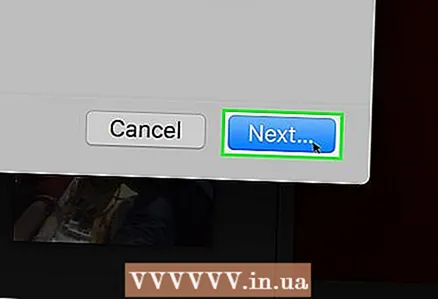 15 Click Next.
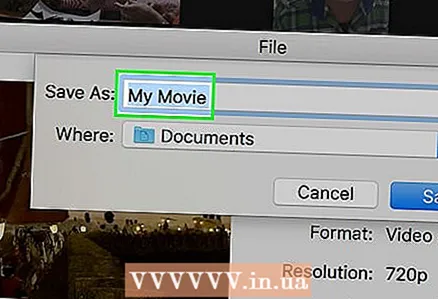 16 Enter a name for the file.
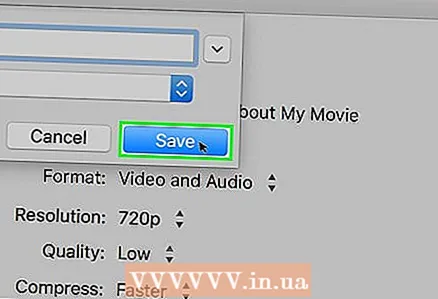 17 Click "Save".
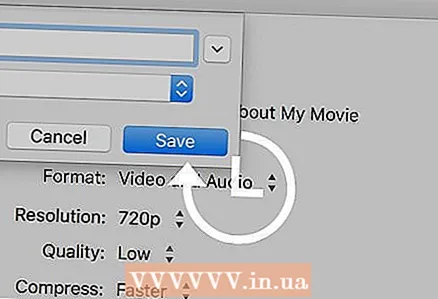 18 Wait for the video compression process to complete. This will take some time, depending on the length of the video.
Method 4 of 5: Android
 1 Open the Play Store. The icon for this application is located on the home screen or in the list of installed applications and looks like a bag with the Google Play logo.
  2 Click on the search bar.
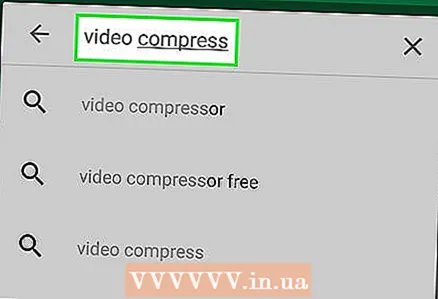 3 Enter Video Compress.
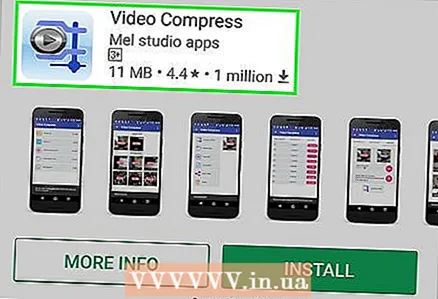 4 In the list of search results, click the Video Compress application.
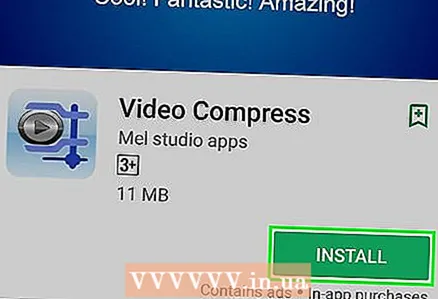 5 Click Install.
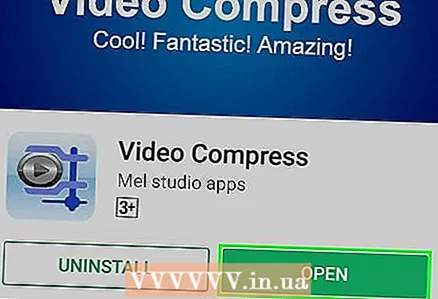 6 Click Open. This button will appear after the application has been downloaded and installed.
  7 Click Allow. This will give you access to the video files.
 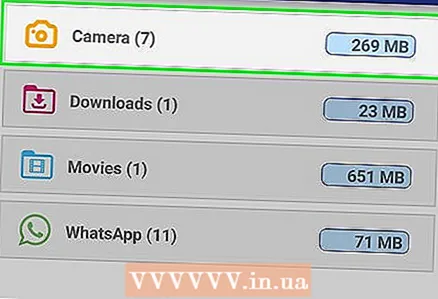 8 Open the video files folder. Typically, this is the Camera folder.
 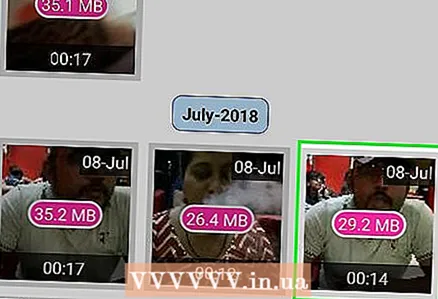 9 Click on the desired video file.
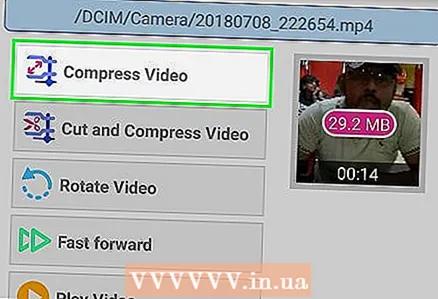 10 Click Compress Video.
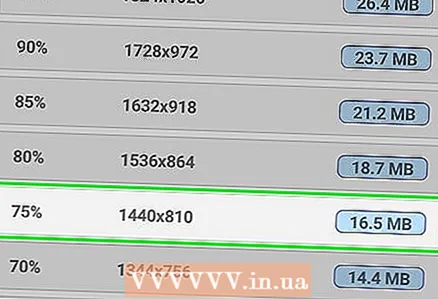 11 Click on the desired target file size. Resolution and file size will be displayed under each option.
 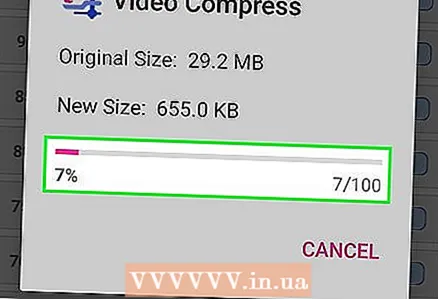 12 Wait for the video compression process to complete.
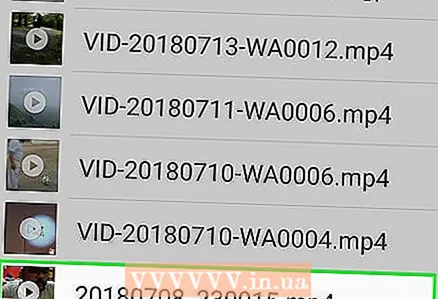 13 Find a compressed video file. It is stored in the "Super Video Compressor" folder in the device memory. The compressed file will be named after the original file, but the words “video compress” will be appended to the name.
Method 5 of 5: iPhone and iPad
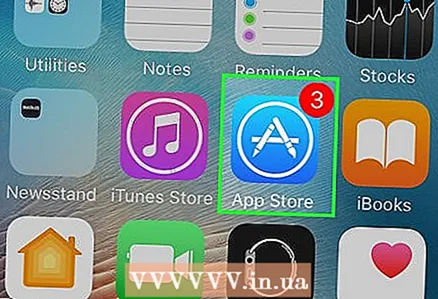 1 Open the App Store.
 2 Go to the Search tab.
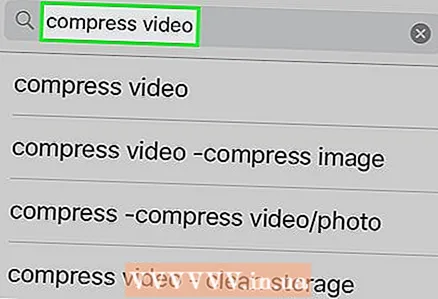 3 In the search bar, enter Video Compressor.
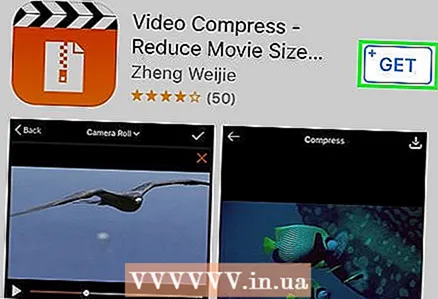 4 Click Download (next to the specified application).
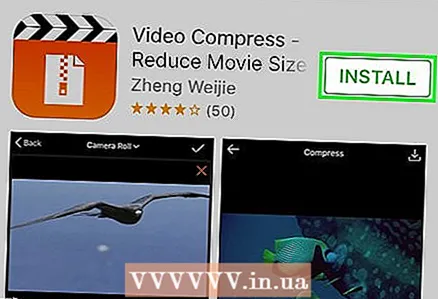 5 Click Install.
 6 Click Open. Or click on the icon of the installed application on the home screen.
 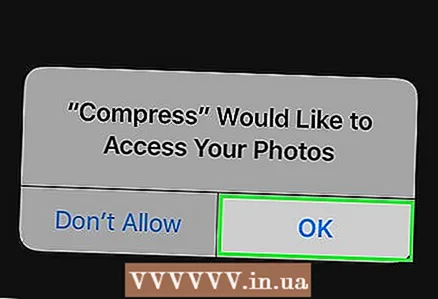 7 Click OK to allow access to the video files.
 8 Click on the desired video file.
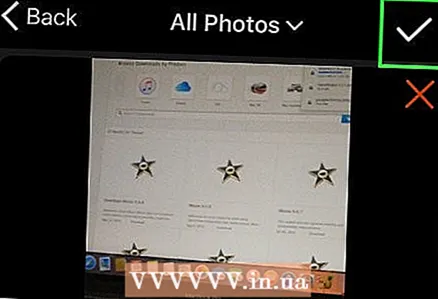 9 Click Select.
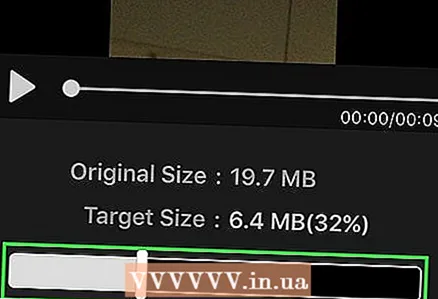 10 Move the slider beside Target file size. By default, the application reduces the file size by 50%. By moving the slider, you will see the size of the final video file.
 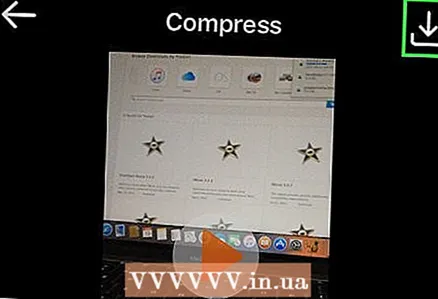 11 Click Save.
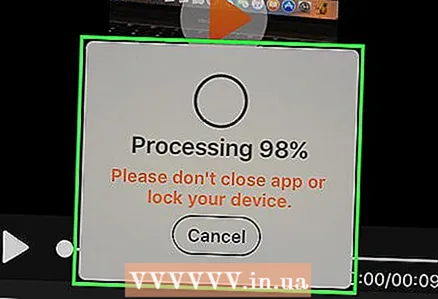 12 Wait for the file compression process to complete. You can track your progress at the top of the screen.
 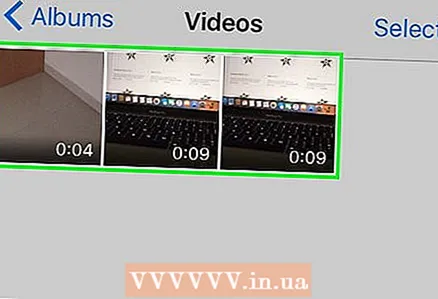 13 Find a compressed video file. It is located in the "Camera" folder.


