Author:
Ellen Moore
Date Of Creation:
14 January 2021
Update Date:
1 July 2024
![How to Plant, Grow & Care Freesia in Pots [130 Days Update]](https://i.ytimg.com/vi/Pkg8ysvFZH8/hqdefault.jpg)
Content
- Steps
- Part 1 of 2: Ensure Photosynthesis of Freesia
- Part 2 of 2: Wintering Freesia
- Tips
- What do you need
Freesias are extremely popular plants among flower growers all over the world; they do not require much maintenance and grow in most climates. Since freesia is a corm plant, it is important to take steps to ensure that it blooms year after year.
Steps
Part 1 of 2: Ensure Photosynthesis of Freesia
 1 Understand the life cycle of potted indoor freesia. This plant has three phases:
 - The first is the flowering phase, during which dark green leaves and beautiful flowers develop.
- The second is the rest phase.The plant stops flowering and, with the help of the leaves, begins to convert the energy of photosynthesis and accumulate it in the corms.
- The third is the resting phase, which the plant needs to rest so that it can bloom again next year.
- Below we will tell you how to take care of freesias during the resting phase.
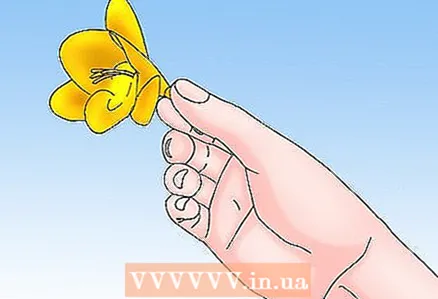 2 Remove flowers from the stems. The resting phase begins when the last flowers on the plant wither. If you wish, you can remove the flowers from the stems, leaving all the green parts of the plant not yellowed or wilted.
 - By far, sunlight is the most important factor in this phase. Green leaves must use sunlight to photosynthesize and store energy for the next season; this is a period of apparent inactivity.
- If too few nutrients are accumulated, the plant may refuse to bloom or significantly reduce the number of leaves in the next year.
 3 Place the plant in the sun. Once you've removed the flowers, place the pot in full sun and fertilize according to package directions.
 - Leave the freesia in full sun for the next two to three months, or until the leaves turn yellow. During this time, you should water her frequently and disturb her less.
- This phase determines the formation of healthy corms for the next year.
Part 2 of 2: Wintering Freesia
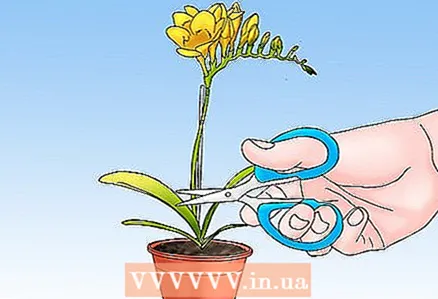 1 Cut it off. When the freesia begins to fade and its leaves turn yellow, it's time to prune. Remove any yellowed or dead leaves.
 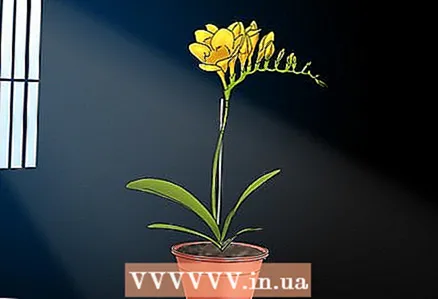 2 Place the potted plant in a cool, dark place. Once two-thirds of the plant has died, the plant is placed in a cool, dark place and allowed to enter a dormant period.
 - It is important that the plant remains dry during this time. Therefore, you should cut back on watering by the time the plant withers to prevent it from blooming.
- You can keep the freesia in a dark place until you want to bloom again, even if you change seasons. If you bring the plant out of the dormant period in winter, you will enjoy the flowers during the summer. If taken out of the dormant period in the fall, then it will bloom in the spring.
 3 Divide the corms. If your plant is several years old, it is likely time to dig up and divide the corms.
 - Be sure to remove the entire plant from the pot and try not to damage the corm system. Turn the pot over and remove the soil ball on the newspaper to prevent damage to the plant.
- Carefully begin to separate the branch corms from each other.
 4 Remove the parent corm. As a rule, a large, dense corm grows with smaller, lateral corms similar to it. Under its bottom is an old, unhealthy-looking corm.
 - This dried corm is last year's mother corm, which is still mated to its healthy offspring.
- You must remove and separate the new corms from the old ones and place them in a dry place to allow them to dry for several weeks before replanting.
Tips
- The term "corm" is almost identical to the term "bulb", with minor technical differences. For example, corms, as a rule, lack abundant foliage, which are bulbous, their bud is located at the top, and they usually have the previous (mother) corm below, under the young corm.
What do you need
- Gardening scissors
- Hand scoop
- Fertilizers


