Author:
Monica Porter
Date Of Creation:
20 March 2021
Update Date:
1 July 2024
Content
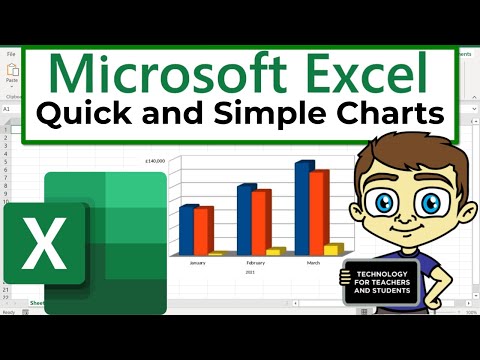
In this article, wikiHow teaches you how to draw a chart or chart in Microsoft Excel. You can draw and create diagrams from data from Microsoft Excel on Windows or Mac versions.
Steps
Open Microsoft Excel. The app icons are a white "X" on a green background.

Click Blank workbook. It's a white box icon in the top left corner of the screen.
Determine the type of chart you want to plot. There are three basic types of charts in Excel, each of which is suitable for a data type: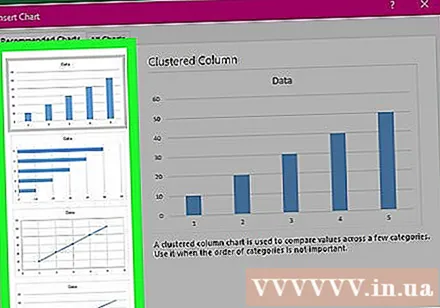
- Bar (Column chart) - Displays one or more sets of data in a vertical column. This chart is suitable for showing differences in data over time or comparing two similar data sets.
- Line (Line chart) - Displays one or more sets of data using a horizontal line. This chart is suitable for showing growth or decline in data over time.
- Pie (Pie chart) - Displays one or more sets of data as a percentage of the population. This chart is suitable for showing distribution of data.
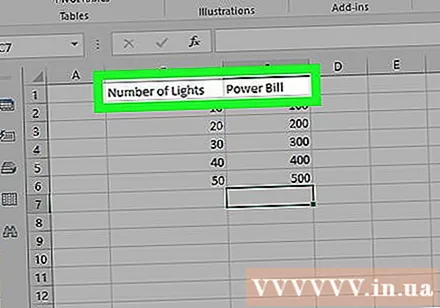
Set a title for the chart. Headers are the unique names for each piece of data, usually in the first row of your spreadsheet, starting with the cell B1 calculated to the right.- For example, to create a data set named "Number of bulbs" and another set called "Bill of electricity", type Number of bulbs into the box B1 and Electric bill to enter C1
- Always leave the box blank A1.
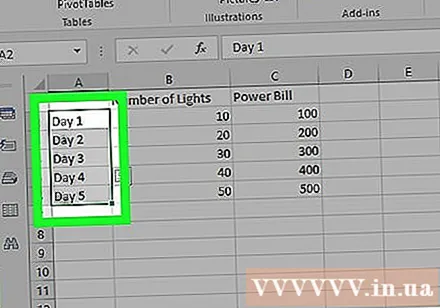
Set of chart labels. Chart labels to cover rows of data in columns A (starting from cell A2). For example time data ("Day 1", "Day 2", etc.) is often used to set labels.- For example, if you compare your budget with friends on a column chart, you could name each column by week or by month.
- You should add labels for each row of data.
Enter data for the chart. Start at the cell directly below the first header and to the right of the first label (usually the cell B2), enter the data you want to use to plot the chart.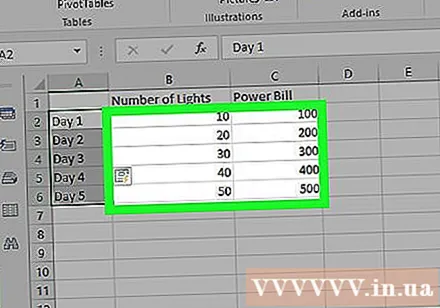
- You can press Tab ↹ after typing data into 1 cell to enter data and moving to the right cell when needing to fill data in multiple cells in the same row.
Select data. Click and drag the mouse from the top left corner of the group of data (eg columns A1) to the bottom right corner, remember to select both a title and a label.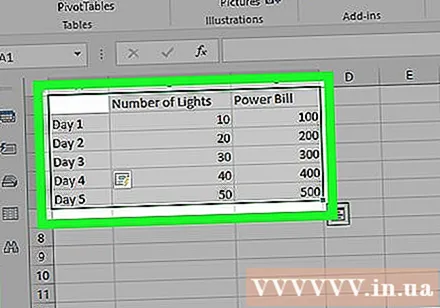
Click the button Insert (More). This button is at the top of the Excel window. Doing so opens a toolbar below the tab Insert.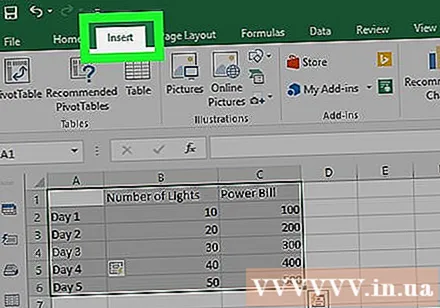
Select a chart type. In the "Charts" section of the toolbar InsertClick on the avatar corresponding to the chart you want to use. A menu with different options will appear.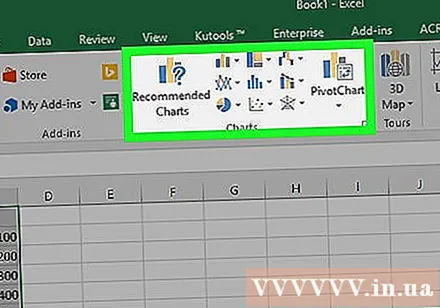
- Column chart bar is a series of vertical columns.
- Line graph line are two or more meandering lines.
- Pie chart pie is a circle, divided into parts.
Select a chart format. In the chart selection menu, click the version that shows the chart (eg 3D) that you want to use in an Excel document. The chart will be created in the document.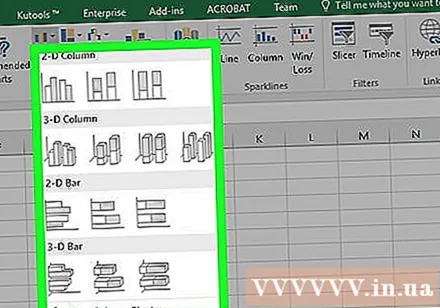
- You can hover over each format to preview the chart's appearance using the data.
Add a chart name. Double-click "Chart Title" above the chart, then delete the words "Chart Title" and type your chart name in it, then click in an empty area on the chart.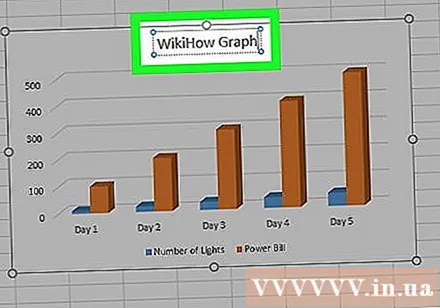
- On a Mac, click a tab Thiết kế (Design)> Add Chart Element (Graph Drawing)> Chart Title (Chart Name), click on the location and type the chart name.
Save document. You do the following:
- Windows Click on File (File)> Save As (Save As), double click This PC (This computer), click the storage location on the left side of the window, type a name in the "File name" field and click. Save (Save).
- Mac Click on File (File)> Save As ... (Save as ...), enter the document name in the "Save As" field, select a storage location by clicking on the "Where" dialog box and clicking a folder, select Save.
Advice
- You can change the shape of the chart in the tab Thiết kế.
- If you do not want to select a specific chart type, you can click Recommended Charts (Recommended chart) and select the chart from the Excel trailer.
Warning
- Some chart formats may not display all of the data or display it by mistake. You need to choose the format that matches the data type.


