Author:
Clyde Lopez
Date Of Creation:
17 June 2021
Update Date:
1 July 2024

Content
Looking for a way to open a studio with a great green screen but don't know how? Here's a simple step-by-step guide for realizing your filmmaking needs!
Steps
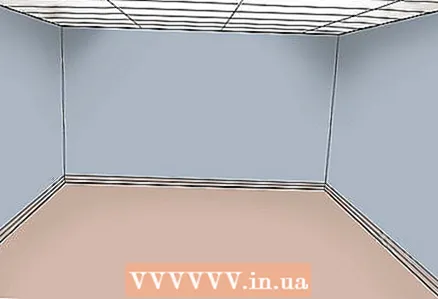 1 Choose a spacious room - the bigger the better. While some studios can be as small as a marketplace, it's best to give your actors and gear enough room to move. Be aware that you may need space to rearrange.
 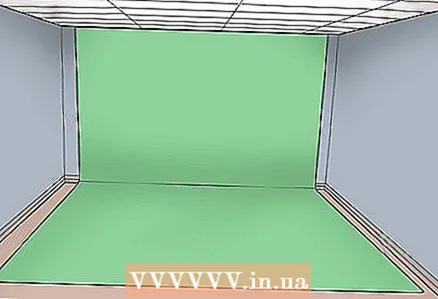 2 Install a green screen. You can use a piece of cloth or paint the wall.For a green cloth screen, stick the cloth tightly to the wall to prevent it from falling off during shooting. Stretch the fabric at the corners so that not a single wrinkle remains on the screen surface. If you are using paint, sand the wall first to make it perfectly smooth and then apply a coat of primer. When the primer is dry, apply the paint. Any shadows and roughness will be visible in the captured video and can complicate the video editing process. See “Tips” for the correct paint formula.
 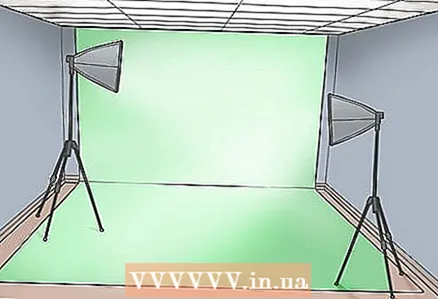 3 Install your green screen backlight. To illuminate the green screen, you need several bulbs. Powerful technical lamps are best suited for this, since the light they give is enough for large spaces. Place them on both sides of the screen and behind the actor's back so that the light hits the screen directly. Set them so that there are no shadows on the screen and that the screen is evenly green.
 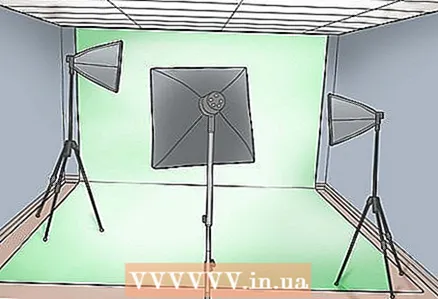 4 Install the main light source. Install spotlights as you would in any movie studio. You will need a strong directional light on the left or right side and a fill light to even out the tone and remove shadows from the opposite side. Place the actor in front of a green screen and test the light, making sure the directional light does not leave any harsh shadows. If it does, redirect it by turning it in the right direction and using a reflective white sheet to direct the light towards the actor.
 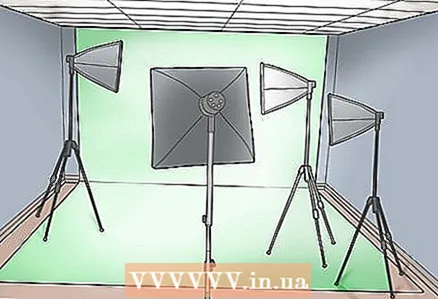 5 Install back lighting. Place your work light above the green screen and point it to where the actor will be standing. This is to simplify the work in the program for separating the actor and the green screen, so that the program can read the outlines of the actor's figure.
 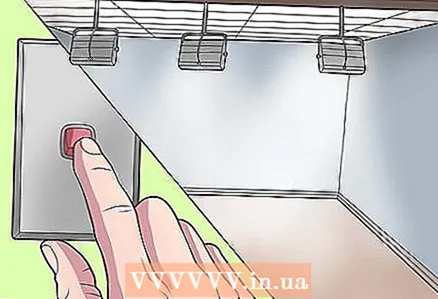 6 Finally adjust the light. Play with light combinations until you find the best one. Try turning on / off the overhead light on the ceiling to see if it helps in something.
 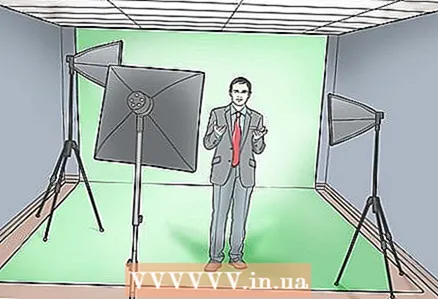 7 Put on an actor. Place it in front of the screen to test the light circuit. Make sure he is not too close to the green screen, or the actor's shadow will appear on the screen. Have the actor stand there for the next steps.
  8 Install the camera where you planned. If you want to shoot from one angle for advertising or something like that, you only need one camera. If you want to shoot from different angles, you'll have to play around with the lighting so that other cameras don't interfere with your overall lighting scheme. Look through the viewfinder to position the camera where you want it. Better to use a tripod. Have the actor do a few things, such as jumping, steps left and right, back and forth, while you watch him through the viewfinder, to make sure he has enough room for the scripted movements. This is where space matters. If you choose a small room for a studio, you will get a working space of up to 1 meter, while a large room will give you the opportunity to move comfortably.
 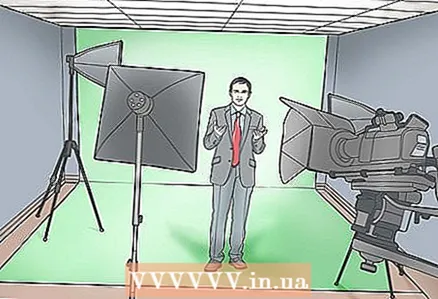 9 Shoot a test film. Shoot a test video of your studio with a green screen to make sure everything is set up correctly. If you see that something is wrong, correct it!
Tips
- Always check for shadows on a green screen. They can appear in the film, giving it an amateurish look.
- Make sure you are good at green screen technology first! Think about how disappointing it would be if you make yourself a studio like this, but you can't handle the technology.
- Use materials with a uniform color, otherwise the screen will be speckled and blurred.
- You can use any green material for the background.If you want to make the background with paint that is sold in the Home Depot retail chain, there is the following formula: Home Depot Behr Premium Plus No.1300, Capistrano acrylic starter putty (1b55-6), Putty (1300), OZ 48 96 dye , AX Perm Yellow 4 20 0, D Thalo Green 4 8 0, KX White 3 0 0, L Raw Umber 0 12 0.
- Mark the position of the equipment stands with masking tape. Contour the base for the technical lighting, indicating the direction the lamps should be facing (use the arrows from the masking tape) and stick an "X" under each tripod leg. Write down where it stands (for example, “Directional light” or “Tripod”) on the adhesive tapes with a marker. That way, if you have to move your cleaning equipment, or if a clumsy employee moves your main light, you know where to put it.
- Use a color from Photoshop (green from CMYK - # 00a651). Print this color flyer and take it with you to the paint shop. They can scan it and determine the pigment mixing formula to get just that kind of paint. You can also use color swatches to determine which one works best for you.
Warnings
- Lead paints are hazardous and prohibited in many countries. Don't use them.
- If you decide to paint the walls, get permission to do so.
- Make sure your entire studio setting is optimal; any cracks or shadows may appear later and affect the final result.
- Be careful when turning off the lights after use and do not aim the beam at flammable materials, high power studio lamps can cause fires.
What do you need
- Room. You must have permission to shoot green screen technology in this room.
- Green or blue fabric or paint (tone 255). Don't use red, its tone is very close to skin tone.
- Lamps (e.g. technical lighting). They are also needed to provide smoothing light for cosmetic and installation purposes.
- At least one camera on a tripod or other device that stabilizes the cameras.


