Author:
William Ramirez
Date Of Creation:
15 September 2021
Update Date:
1 July 2024

Content
In this article, we'll show you how to create a calendar in Google Docs. This can be done manually or using a template.
Steps
Method 1 of 2: Manually
 1 Go to the Google Docs website. Its address is: https://docs.google.com/document/. Your Docs page will open if you are already logged into Google.
 - If you are not already signed in to your Google account, enter your email address and password.
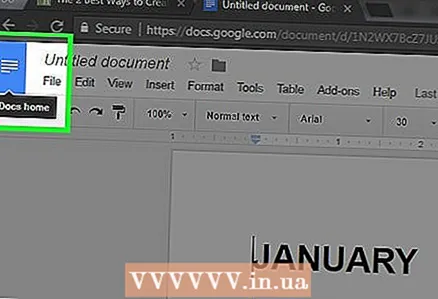
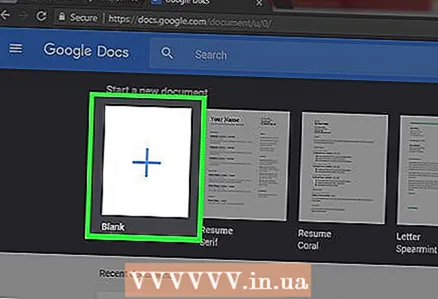 2 Click on Empty file. It's on the left side of the New Document section at the top of the page. A blank (new) document will open.
 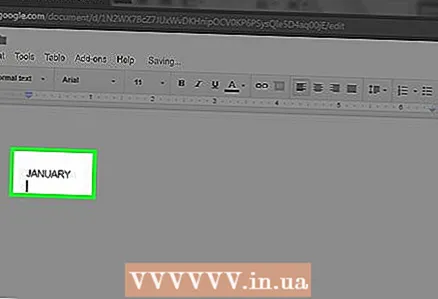 3 Enter the name of the month and then press ↵ Enter. This name will appear above the calendar.
 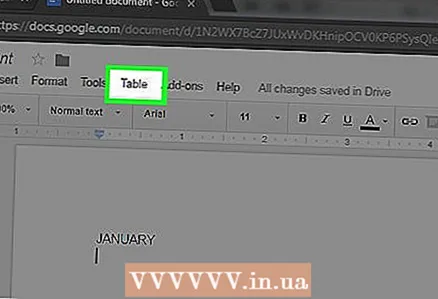 4 Open the menu Insert. It's at the top left of the page.
  5 Please select table. It's an option at the top of the Insert menu. A window with a grid of cubes will open.
  6 Create a 7x6 table. Hold down the mouse button and select seven dice horizontally with the pointer, and then move the mouse down to select six dice vertically. When the 7x6 grid is highlighted in blue, release the mouse button.
 - The grid starts at 5x5 but grows as you move the mouse cursor.
- Depending on the month, you may need to create a 7x7 spreadsheet if, for example, the first of the month is Thursday, Friday, or Saturday.
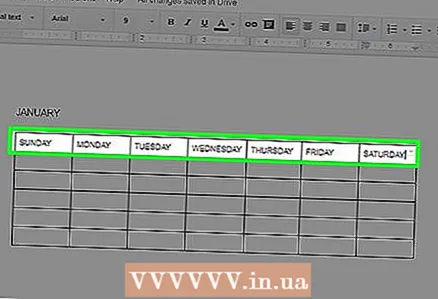 7 Enter the names of the days of the week. Do this on the first line of your calendar.
 - For example, in the top-left cell, enter “Sunday,” then on the right, enter “Monday,” and so on.
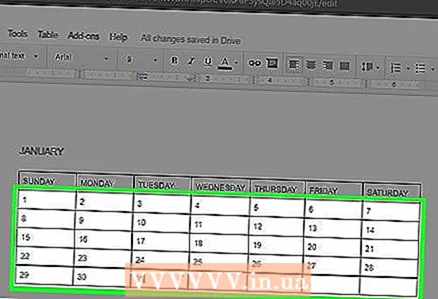 8 Enter dates. Do this in empty cells.
  9 Resize the calendar cells. While holding the bottom line of the last line, move the mouse down - the size of the last line will increase; do the same for the other lines in the calendar. Now the necessary information will fit in the cells of the calendar.
 - This change will place dates in the upper left corners of the cells.
 10 Repeat the above steps to create tables for the other 11 months.
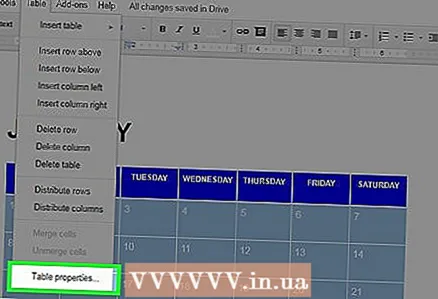 11 Format the calendar (if you like). You can do the following with a calendar:
 - Make the font bold, italic, or underlined.
- Change the font size.
- Change the colors of specific cells, columns or rows; to do this, select the cells / columns / rows, right-click on the selected cells, click "Table Properties" and in the "Background Color" section select the desired color.
 12 Close the document when you're done creating the calendar. To open the spreadsheet that you created, go to your Google Docs or Google Drive page.
Method 2 of 2: Using a template
 1 Go to the Google Docs website. Its address is: https://docs.google.com/document/. Your Docs page will open if you are already logged into Google.
 - If you are not already signed in to your Google account, enter your email address and password.
 2 Click on Empty file. It's on the left side of the New Document section at the top of the page. A blank (new) document will open.
 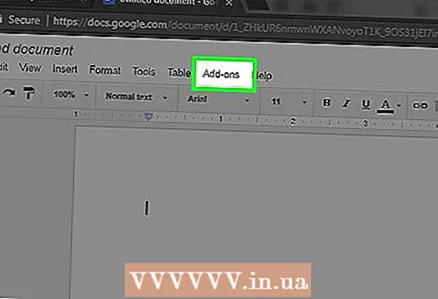 3 Open the menu Supplements. It's on the menu bar above the new document.
 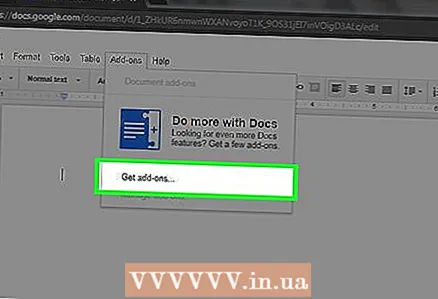 4 Click on Install add-ons. It's an option at the top of the menu.
 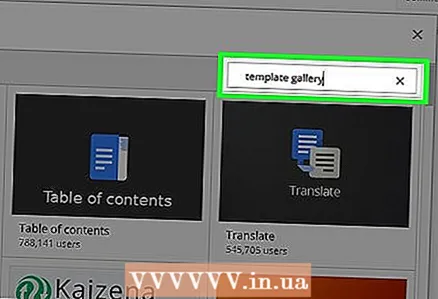 5 Enter templates in the search bar and click ↵ Enter. You will find this line in the upper left corner of the Add-ons window.
  6 Find the "Template gallery" add-on and click + Free. This add-on will appear at the top of the search results, and the specified button is to the right of the add-on.
  7 Select the Google account you want. Do this in the window that opens. If you are only logged into one Google account, skip this step.
  8 Click on Allowwhen prompted. The add-on will be installed.
 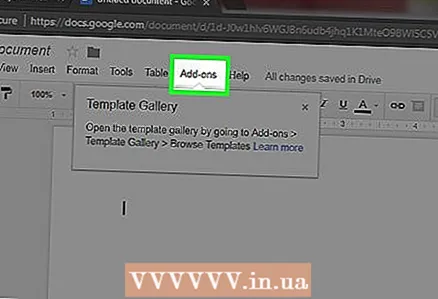 9 Open the menu Supplements again. In it you will find the installed add-on.
  10 Click on Template gallery. A menu will open.
 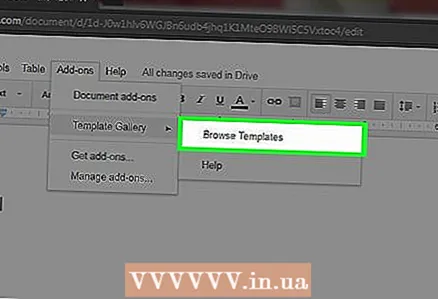 11 Click on Browse templates (Template overview). It's an option at the top of the menu.
  12 Click on Calendars (Calendars). It's on the right side of the window.
 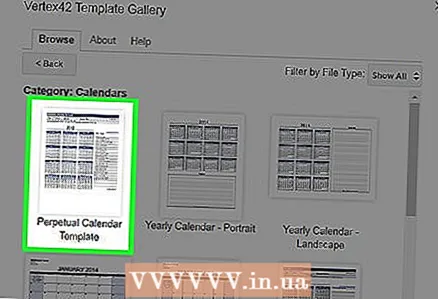 13 Select the calendar template you want. His page will open.
  14 Click on Copy to Google Drive (Copy to Google Drive). It's on the right side of the window. The document with the calendar template will be copied to your Google Drive.
 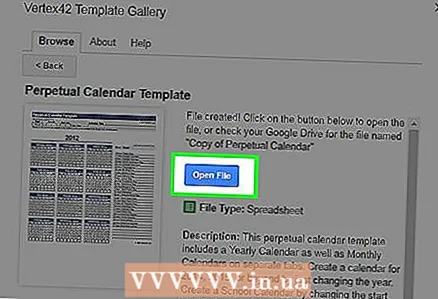 15 Click on Open file (Open file). This button will appear instead of the Copy to Google Drive button. The calendar template will open.
  16 Review your calendar. The selected template will display the 12-month calendar for the current year; you can enter the required information in the cells of the calendar.
 - You can open this calendar from your Google Drive page.
Tips
- You can also create a calendar in Google Sheets (this is an analogue of Microsoft Excel).
- To rotate the calendar, click File> Page Settings, and then choose the orientation you want. Here you can change the background color and other parameters.


