Author:
Mark Sanchez
Date Of Creation:
2 January 2021
Update Date:
2 July 2024

Content
- Steps
- Method 1 of 3: Painted Surface
- Method 2 of 3: Stationary screen
- Method 3 of 3: Portable screen
- Tips
- What do you need
Watching your favorite movies on the big screen is interesting and fun, but sometimes you don't want to go to the cinema or you want to have a movie night at home. Make a DIY projection screen to enjoy watching movies with family and friends from the comfort of your couch.
Steps
Method 1 of 3: Painted Surface
 1 Consider the entire project. Before starting to create a projection screen on the wall, you need to think about the whole project. The desired final result will help you select the right materials and take the necessary actions in the subsequent stages. Consider the following plan to get an idea of the project:
 - buy paint for walls and screens;
- paint the entire wall;
- paint the screen on the wall;
- add a frame.
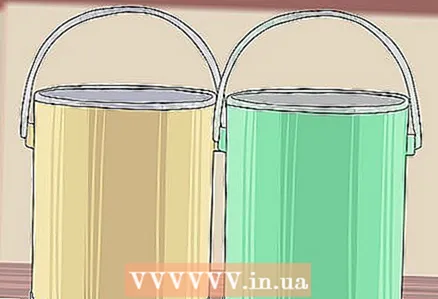 2 Choose the right paint. Since the surface of the projection screen will be a painted wall, choosing the right paint is critical. Unsuitable ink will reduce image quality. Make the right choice before starting work.
 - It is recommended to use professional white paint with high picture gain for the screen.
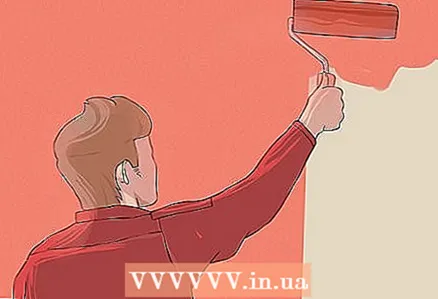 3 Paint the wall. Buy paint and get to work. Before painting the screen surface, you should paint the entire wall. The screen should contrast against the background of the wall. If you paint the entire wall first, and then mark the boundaries of the screen, the paint from the rest of the wall will not get onto the screen.
 - Turn on the projector and position the picture on the wall as desired.
- Mark the boundaries of the inner surface of the projected image.
- Paint the wall around the marked borders, and do not touch the surface of the screen yet.
- Use non-reflective paint in a darker shade than screen paint.
 4 Paint the screen. After preparing the rest of the wall surface, move on to the screen itself. Take your time and re-check the correct position of the future screen. Consider the following tips:
 - Place tape around the outer edges of the screen.
- Sand the surface so that it is smooth and free of dents, cracks or bumps.
- Apply a primer and wait for it to dry.
- Apply the first coat of paint. Use a small roller for best results.
- When the first coat is dry, apply a second coat of paint.
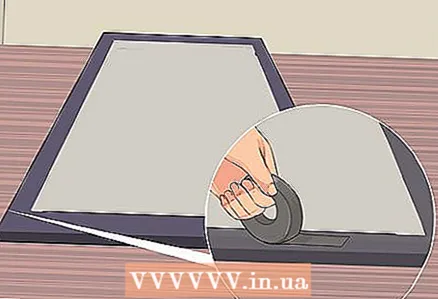
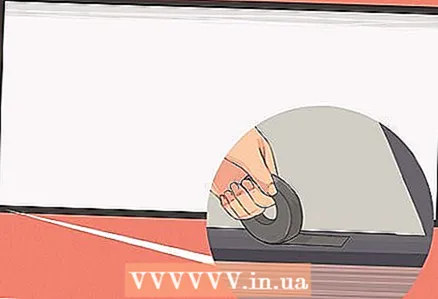 5 Make a simple frame. The finishing touch will be a simple black border. In this case, the easiest way is to use a black velvet ribbon. The frame will not only give the screen a complete look, but also improve the image quality.
 - Apply black velvet tape along the edges of the screen.
- The border lines must be straight to form a rectangular frame.
- Make sure that the tape does not twist and that it fits snugly against the wall.
Method 2 of 3: Stationary screen
 1 Choose a suitable location. Before starting work, you should choose a suitable place in the house. Consider positioning the projector at the desired distance from a wall where you can mount the projection screen.
 - The wall must be large enough to fit the finished screen.
- Consider the width of the room to ensure an adequate projector-to-screen distance.
- Requirements depend on the specific projector model.
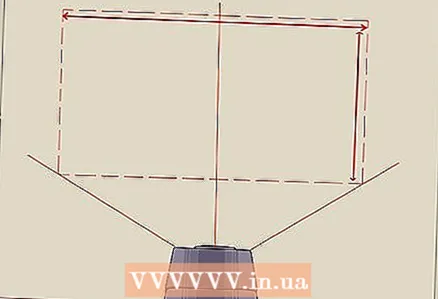 2 Determine the size of the projected image. Choose a suitable location for the projector and screen, and then measure the actual dimensions of the projected image to determine the correct size for the finished projection screen.
 - Turn on the projector and display the reference image.
- Determine the size of the image in the place of the future screen.
- Write down the width and height of the future screen.
 3 Gather the necessary tools and materials. If you know the size of the future screen, then you can get to work. Gather all the materials you need. Screen size depends on available space and projector model. For work, you will need the following materials:
 - Four pine boards for the frame. Two longer planks are placed horizontally, and two shorter planks will become the vertical sides of the frame.
- Material for the screen itself. You can use 130cm solid white paper or opaque fabric.
- Buy material with a margin of at least 15 centimeters to secure it to the back of the frame.
- Screwdriver and screws.
- Flat metal corners.
- Three or four picture brackets.
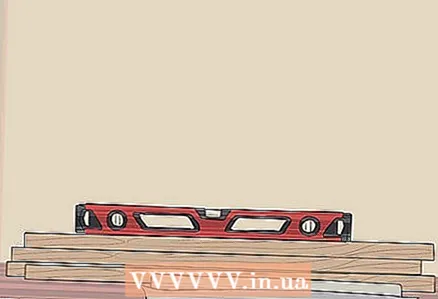
- Level and pencil for marks.
 4 Make a frame. The frame is the base to which the projection screen is attached. Frame a rectangular frame for a flat and sleek screen that best suits the projected image. The procedure for making the frame:
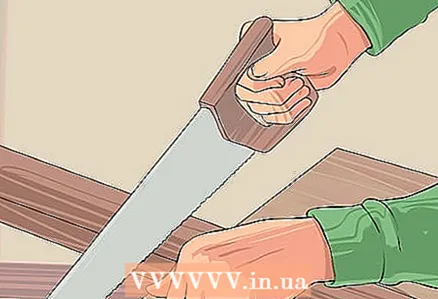
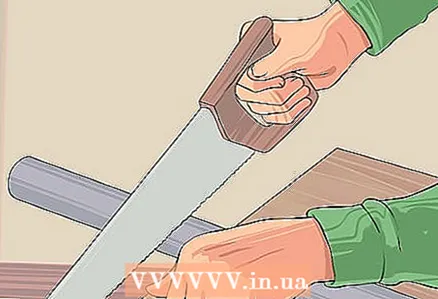
 - Use a hacksaw to cut the boards to size if they are too long.
- Lay out the frame from the finished boards.
- Place four metal corners in the corners of the future frame.
- Fasten the boards together with screws and corners.
- Make sure the frame is rigid enough. Use additional corners if necessary.
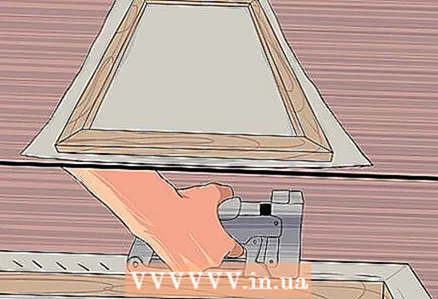 5 Secure the screen. Place and fix the projection screen material on top of the finished frame. Take your time and be careful to properly fix the material without wrinkling or sagging that degrades image quality.
 - Spread the screen material on the floor.
- Place the finished frame in the center of the material.
- Stretch the fabric and wrap the edges of the fabric or paper around the perimeter of the frame.
- Secure the material with a staple gun in approximately 25 cm increments.
- Pay attention to the tension of the fabric and smooth out any creases.
- Walk around the perimeter of the frame again and hammer in the staples every 12 centimeters.
 6 Finishing touches. At this stage, your screen is ready to use, but it doesn't hurt to add some finishing elements to conveniently fix the screen to the wall and neatly seal the edges of the frame.
 - Attach the picture brackets to the top bar at an equal distance from each other.
- The edges of the screen can be trimmed with black velvet tape for a complete look.
- Also, darker borders will reduce light reflection and improve image quality.
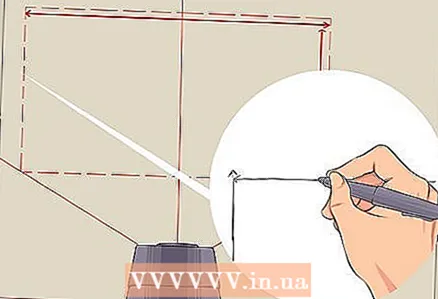 7 Make notes on the wall. First you need to mark out the wall to hang the projection screen exactly where you want it. Changing the position of the screen on the wall will be tricky after the fact, so it's best to follow these steps.
 - Turn on the projector and display the reference image.
- Use a pencil to mark the borders of the picture on the wall.
- Place the screen on the wall according to the marks.
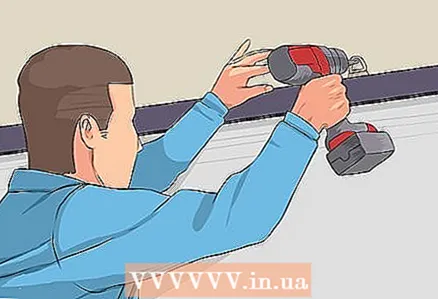 8 Hang up the screen. Your screen is ready and it's time to hang it on the wall. Place the screen against the wall according to the projected image size marks and fix the brackets. When you're done, sit back and enjoy your favorite movies.
 - If the wall is plasterboard, then the bracket must be fixed exactly in the metal profile.
- Use dots to mark the places for the screws for the brackets and draw a straight line.
- Use a screwdriver to secure the brackets.
- Hang the projection screen on the wall and watch your favorite movies.
Method 3 of 3: Portable screen
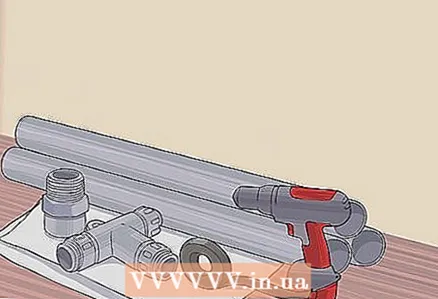 1 Gather the necessary tools and materials. A portable projection screen allows you to watch movies wherever electricity is available. The screen and frame itself requires the purchase of standard materials that are sold at almost every hardware store. You will need the following tools and materials:
 - tool for cutting PVC pipes;
- glue for PVC pipes;
- rope or cord six meters long;
- drill for making holes in PVC pipes;
- 6 PVC pipes 3 meters long and 2.5 centimeters in diameter;
- 8 PVC corners with a diameter of 2.5 centimeters, right angle;
- 2 PVC knees with a diameter of 2.5 centimeters, an angle of 45 degrees;
- 1 fitting;
- 6 tees with a diameter of 2.5 centimeters;
- adhesive tape;
- 1 piece of white tarpaulin measuring 180x240 centimeters.
 2 Cut the pipes. Before assembling the screen, it is necessary to cut the purchased PVC pipes to size. All measurements must be accurate and even cuts. Recheck all sizes against the following list:
 - two pipes 260 centimeters long, do not throw away the rest of the material;
- two pipes 200 centimeters long, do not throw away the rest of the material;
- two pipes 190 centimeters long, do not throw away the rest of the material.
 3 Assemble the frame. When all the parts are purchased and cut to size, proceed with the assembly of the screen. PVC pipes are unified, so you just need to connect the parts together. When assembling the screen frame, it is necessary to connect the pipes in the following order:
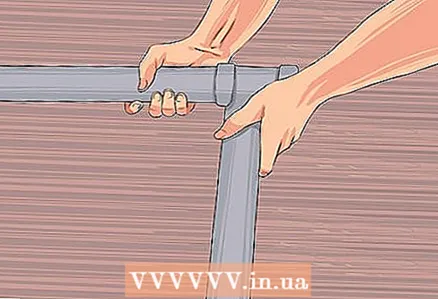
 - Connect two pipes 260 centimeters long with pipes 200 centimeters long using square corners. The rectangular base of the frame is ready.
- Attach three tees to pipes 260 centimeters long. Place them 60 centimeters from each other and corners.
- On the back of the base, connect 105cm pipes with tees near the corners.
- Connect the rectangular corners to the 105cm pipes, and then add a 45cm piece. Attach a 45-degree elbow to the back of this pipe.
- The 45-degree elbows should be connected to the 190 cm lengths, then connect the parts to the front tees.
- Connect two pipes 115 centimeters long using a union. Add right angle corners on both sides.
- Take a small pipe 8 centimeters long and connect your long pipe to the center of the tees.
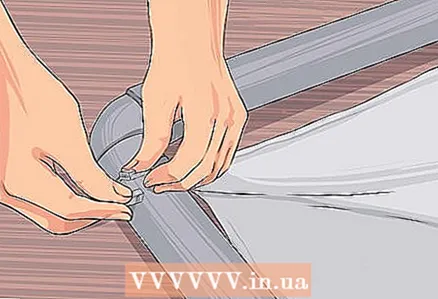 4 Secure the tarp. When the frame is ready, attach a tarp to it to complete your projection screen. You will need to drill holes in the pipe, pass a rope through them and attach a tarp to the frame:
 - drill holes in the four corners of the frame;
- thread the rope through the holes;
- pass the rope through the special holes in the tarpaulin along the perimeter of the frame;
- Pull and tie the rope to secure the tarp.
Tips
- Use a level to position the screen without skewing.
- Before attaching the screen, make sure the bezel is clearly rectangular.
- Always buy screen material with a margin of at least 15 centimeters.
- Add black velvet or felt tape around the edges to enhance image quality.
What do you need
- At least four flat metal corners
- Wood screws
- Brackets for painting
- Screwdriver
- Level
- Pencil
- 130cm solid white paper or opaque cloth
- Wooden planks for frame
- PVC pipes for frame and screen tarpaulin
- Paint and black velvet ribbon


