Author:
William Ramirez
Date Of Creation:
23 September 2021
Update Date:
1 July 2024

Content
- Steps
- Method 1 of 4: Using an HDMI cable
- Method 2 of 4: Using a DVI cable or VGA cable
- Method 3 of 4: Using a wireless network
- Method 4 of 4: Troubleshooting
This article will show you how to transfer picture and sound from your computer to your TV using an HDMI cable, DVI cable, or VGA cable, and wirelessly to your smart TV or streaming device. An HDMI cable can carry high definition image and sound through one cable. The VGA cable only transfers the image, so the audio needs to be sent over a separate cable. Some DVI ports on computers are capable of sending audio signals, but most are not. Read the instructions for your computer and TV to find out which connectors you should use.
Steps
Method 1 of 4: Using an HDMI cable
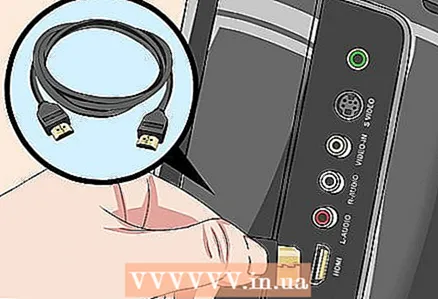 1 Connect your computer to the TV with a 2-pin HDMI cable. The HDMI ports on the computer and on the TV are the same, and the HDMI cable must have the same plug on both ends.
 - If your TV has multiple HDMI ports, take note of the port number you connected the cable to.
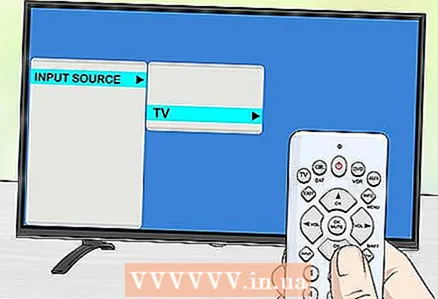
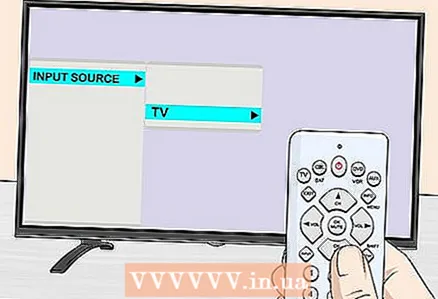 2 Change the input signal on the TV. On the TV or remote control, press the Input button to change the input signal to the HDMI signal.
 - If your TV has multiple HDMI ports, select the port to which your computer is connected.
- Some TVs change the input signal automatically when they detect it.
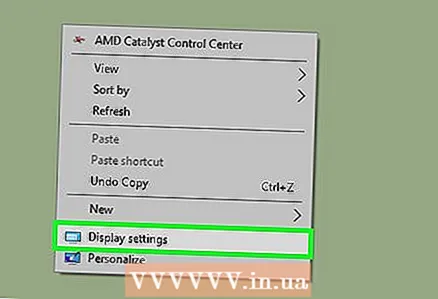
 3 Right click on the desktop and select Screen options. Display settings will open.
  4 Click on To find. The computer starts searching for the connected TV. See if there are two squares labeled "1" and "2" in the display settings window.
 - The computer may have already detected the TV.
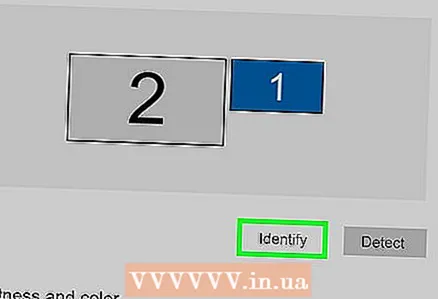
 5 Click on Define. An explanation will be displayed on each square so that you know which number is assigned to the monitor and which to the TV (1 stands for the main screen and 2 for the secondary).
 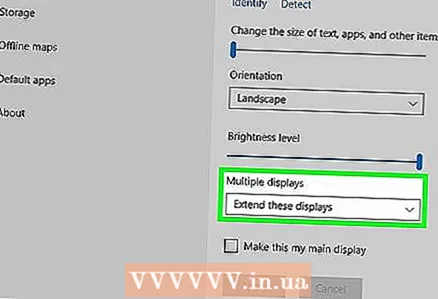 6 Open the Multiple Screens menu. Here you can choose how to display the picture from your computer on the TV. You will see the following options:
 - Duplicate these screens. The same picture appears on the TV as on the monitor.
- Expand these screens. The desktop will be expanded to occupy both the monitor and the TV screen.
- Show desktop only on 1. In this case, there will be no picture on device “2”.
- Show desktop only on 2. In this case, there will be no picture on device “1”.
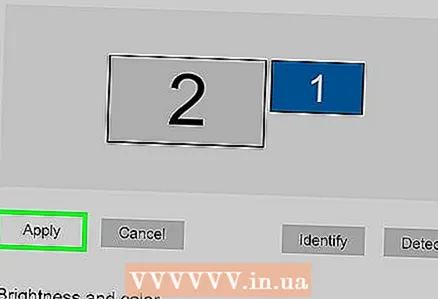 7 Click on Apply. The display settings will be changed and applied to the monitor and TV. The computer is now connected to the TV.
 - To further customize your monitor or TV individually, click on the box with the corresponding number, and then select "More options". You can also drag and rearrange the squares to change the orientation of the two displays.
Method 2 of 4: Using a DVI cable or VGA cable
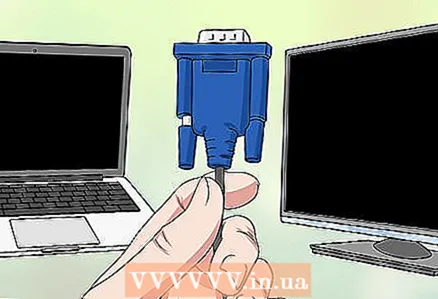 1 Connect your computer to the TV with a DVI cable or VGA cable. The DVI and VGA ports on the computer and on the TV are the same, and each cable must have the same plugs on both ends.
 - On some TVs, the VGA port is labeled “PC IN” or “Computer IN”.
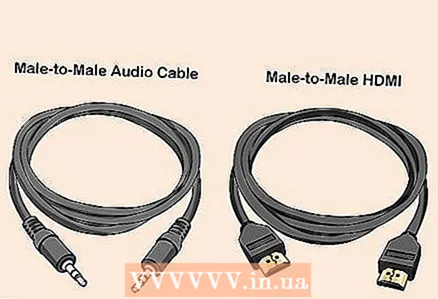
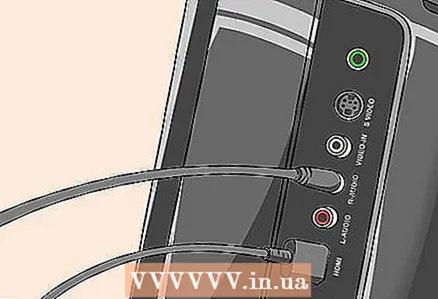
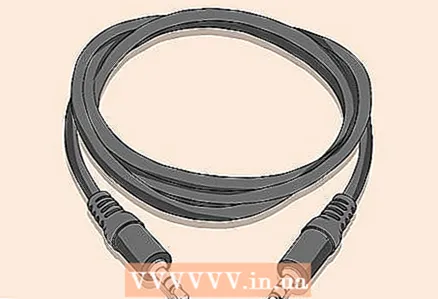 2 Connect your computer to the TV with a 2-pin audio cable. This is a 3.5mm stereo audio cable that plugs into the headphone jack. Connect one end of the cable to the headphone jack (usually marked in green) on your computer, and connect the other to the audio input on your TV.
 - Look for the TV audio input next to the DVI port or VGA port.
 3 Change the input signal on the TV. On the TV or remote control, press the Input button to change the input signal to that from the DVI port or VGA port.
 - On some TVs, select a signal that is labeled “PC”, “Computer” or “Computer”.
- Some TVs change the input signal automatically when they detect it.
 4 Right click on the desktop and select Screen options. Display settings will open.
 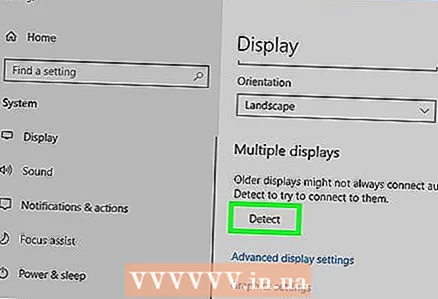 5 Click on To find. The computer starts searching for the connected TV. See if there are two squares labeled "1" and "2" in the display settings window.
 - The computer may have already detected the TV.
 6 Click on Define. An explanation will be displayed on each square so that you know which number is assigned to the monitor and which to the TV.
  7 Open the Multiple Screens menu. Here you can choose how to display the picture from your computer on the TV. You will see the following options:
 - Duplicate these screens. The same picture appears on the TV as on the monitor.
- Expand these screens. The desktop will be expanded to occupy both the monitor and the TV screen.
- Show desktop only on 1. In this case, there will be no picture on device “2”.
- Show desktop only on 2. In this case, there will be no picture on device “1”.
 8 Click on Apply. The display settings will be changed and applied to the monitor and TV. The computer is now connected to the TV.
 - To further customize your monitor or TV individually, click on the box with the corresponding number, and then select "More options". You can also drag and rearrange the squares to change the orientation of the two displays.
Method 3 of 4: Using a wireless network
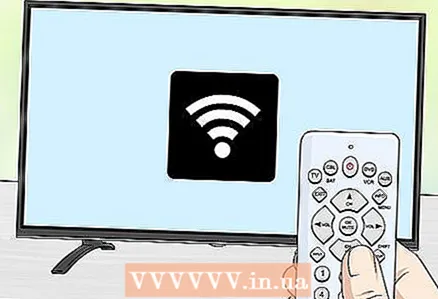 1 Turn on the Wi-Fi module on the TV. To do this, follow the instructions of the device manufacturer.
 - Not all TVs have such a module. Therefore, read the instructions for your TV.
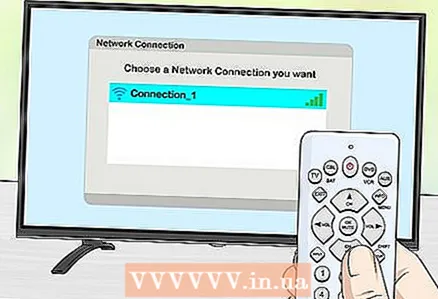 2 Connect your TV to a wireless network. Connect it to the same network as your computer.
  3 Right click on the desktop and select Screen options.
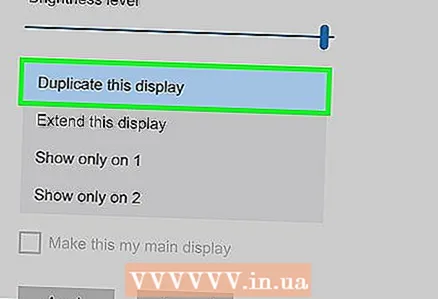 4 Open the Multiple Screens menu and select Duplicate these screens.
 5 Click on Apply.
 6 Open the start menu
  and then click the icon
  . Windows Settings will open.
 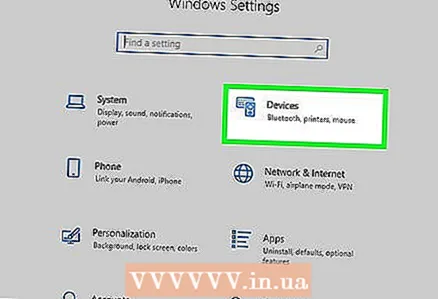 7 Click on Devices > Connected devices.
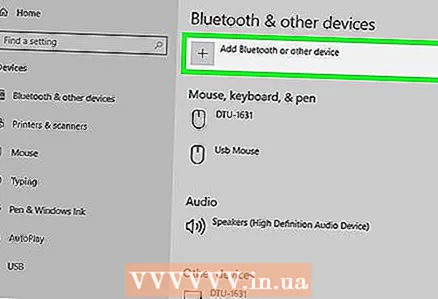 8 Click on Add device. The system will start searching for devices that are connected to the wireless network.
 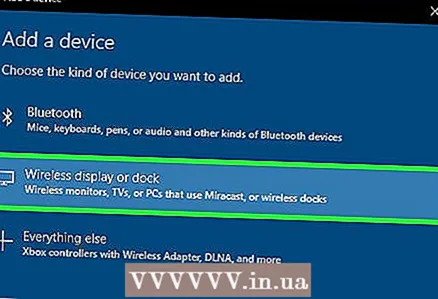 9 Select your TV when it appears on your monitor. Windows will automatically connect to the TV.
Method 4 of 4: Troubleshooting
 1 Make sure you have the required cables or adapters. Sometimes the cables may have suitable plugs, but they do not carry audio or video signals. Make sure the cable is capable of carrying audio signals, video signals, or both.
 - Most DVI ports do not handle audio signals, so there will be no audio output from the DVI to HDMI adapter. In this case, connect a separate audio cable.
 2 Make sure all cables are connected correctly and tightly. Remember to connect the cables to the appropriate ports. If the plug has screws (like DVI and VGA cables), screw them into the computer and TV.
 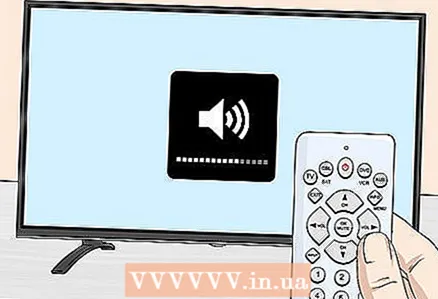 3 Check the volume level. Increase the volume on your computer and TV; also make sure the sound is not muted.
  4 Change the audio output. If there is no sound, make sure you select the correct audio output.
 - Right click on the icon
 .
. - Click Playback Devices.
- Select the correct audio output ("HDMI" for HDMI cable or "Headphone" for audio cable)
- If you don't see the audio output you want, right-click on any of the listed devices and check the Show Disabled Devices and Show Disconnected Devices checkboxes. This will tell you if your audio device is disabled or disconnected.
- Right click on the icon
 5 Restart your computer and TV. If you are unable to resolve the issue, restart your computer and TV so that the computer detects the newly connected display.
  6 Check the calibration of your computer screen. Sometimes a pop-up error message “HDMI not supported” appears. This usually happens when the TV and computer screens have different resolution settings.


