Author:
Clyde Lopez
Date Of Creation:
24 June 2021
Update Date:
23 June 2024

Content
- Steps
- Part 1 of 2: Blanching the beans
- Part 2 of 2: Freezing the beans after blanching
- What do you need
- Tips
- Warnings
Blanching fresh green beans must be done before the beans are frozen. This method is used by professional chefs to prepare beans for frying or use in salads. Blanching is the process of boiling beans for a short period of time and then chilling them. This can be done in cold water or in the refrigerator. After blanching, the enzymes and bacteria are removed from the beans, which alter the taste and color of the green beans and make them less useful. In this article, we'll show you how to blanch green beans.
Steps
Part 1 of 2: Blanching the beans
 1 This method can be used to blanch fresh green beans. It doesn't matter what kind of beans you blanch. First, the beans are blanched in order to maintain their bright green color, as well as to preserve the flavor and nutrients.
 - The dried beans are not blanched as they are cooked in a different way.
 2 Peel the beans and cook them. First, the beans must be rinsed under fresh running water to remove dust and dirt. If you are cooking the green beans without peeling them, trim off the ends of the beans on both sides.
  3 When blanching the beans, you must also remove the dirt from the pods.
- If the pods are very long, you can cut them in half. This will not affect the blanching of the beans in any way. This is in order to simplify the process of making beans.
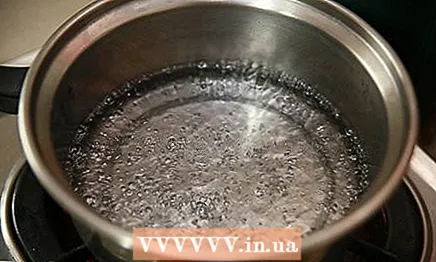 4 Boil a pot of water. Bring water to a boil. For half a kilo of beans, 4 liters of water are needed. You don't have to measure the amount of water, you can pour it by eye.
 - You can add salt for flavor.
- Choose a large pot that can hold all the beans. The beans should not be crowded in the pot.
 5 Prepare a pot of ice water. Put cold water in a saucepan and put some ice cubes in it. After a few minutes, when the beans are boiled, you will need to move them to a pot of ice water. It should be cold enough, no more than 15 ° C, to cool the beans well before they lose their flavor and nutrients.
 - Use ice to keep the water cold. Use the same weight of beans and ice.
- If the cold tap water makes the skin on your hand feel numb, you can use it without ice. But the water will quickly warm to room temperature if you don't use it right away. Therefore, it is better to use ice.
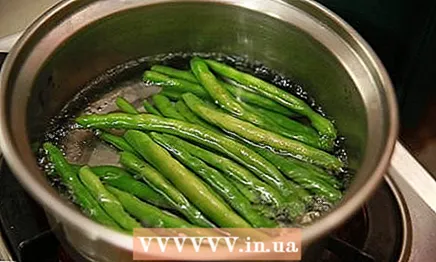 6 The beans should be boiled in boiling water for three minutes. Use a timer. Place the beans in the water and start the timer. Beans should only be thrown into boiling water. Green beans and long string beans are cooked for three minutes, other types of beans are cooked for 2-4 minutes, depending on the size. The beans will be boiled but still crispy.
 - If, after you drop the beans into the water, they do not start boiling again within the next minute, then you have poured too much water. Use less water next time.
- You can use the steam basket to cook the beans. Place the beans in a colander or strainer in a pot of boiling water and cover. This way, you don't have to drain the water and you can start cooking the next batch of beans right away.
 7 Cool the beans. When the beans are done, drain or remove from the pot in the steam basket. Place the beans in ice water and wait for them to cool. You can drain the water through a colander or strainer.
 - This abrupt cooling process is also sometimes referred to as "shock".
- Leave the beans in ice water for three minutes.
 8 Drain the water. When the beans have cooled, drain the ice water or use a spoon to remove the beans from the pot.The blanching process is now complete. Beans can be used to make lasagna, salad, vegetable stew. Blanching is carried out in order to preserve the taste and nutrients, as well as the color of the beans.
Part 2 of 2: Freezing the beans after blanching
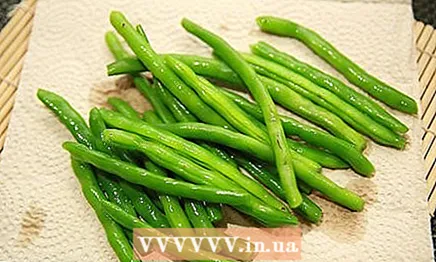 1 Dry the beans after removing them from cold water. Once the beans have been blanched and cooled, they can be frozen. First, you need to dry it so that ice crystals do not form on it. Use a paper napkin for this.
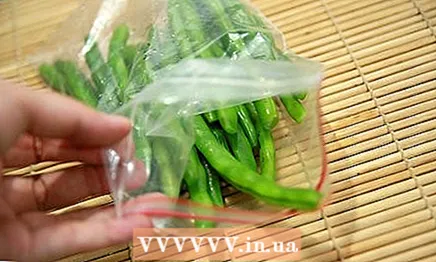
 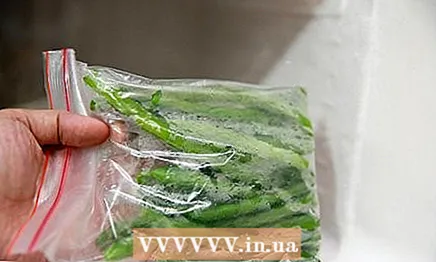 2 Place the beans in a resealable plastic or cellophane bag. It should be a bag with a lock. If you are using a plastic container, leave about 1.25 cm of free space without filling the container completely with beans, as they may swell after freezing.
 - You can put a straw in the bag to draw air out of the bag. Use a straw to suck out the air and close the bag.
 3 Beans can be stored frozen for about 10 months. If you've blanched and frozen the beans correctly, they can be used within 1 year. Of course, it's best to use it over the next few weeks.
  4 Defrost the beans before using them. Remove the beans from the freezer, let them defrost. After defrosting the beans, it is best not to put them in the freezer. Beans cannot be re-frozen, this will deteriorate their quality. To avoid this, freeze the beans in separate small containers.
What do you need
- Fresh green beans.
- Fresh water.
- Knife.
- Salt.
- Large saucepan.
- Plate.
- Timer.
- Sieve.
- Large bowl.
- Ice or cold water.
Tips
- If you cannot boil or steam the beans, you can use the microwave. Cook the beans in small portions in the microwave. This is not a very useful and effective way to cook beans; they will lose their taste and nutrients.
- Many vegetables, such as broccoli, are steam blanched, but beans can be blanched directly in hot water. You can use a steam basket or steamer if you like. The beans are steamed for 4 minutes and 30 seconds.
- If you are blanching beans in an area that is more than 1500 meters above sea level, increase the cooking time by one minute.
Warnings
- If you don't cook the beans, they can burst or break, as if you didn't blanch them at all. Use the timer to track exactly 3 minutes.


