Author:
Laura McKinney
Date Of Creation:
8 August 2021
Update Date:
1 July 2024
Content
Format Background feature in PowerPoint allows us to select images from a computer or on the network and use as the background for the slide (slide). You can set this background for multiple slides at once, or apply it to an entire presentation. You can also add effects to a background image for a more aesthetic. If you cannot change the background elements, you may have to edit the slide master.
Steps
Part 1 of 3: Adding photos
Open a PowerPoint presentation. You can add a graphic image to the background of any slide in a PowerPoint presentation. First open the presentation you want to edit in PowerPoint.
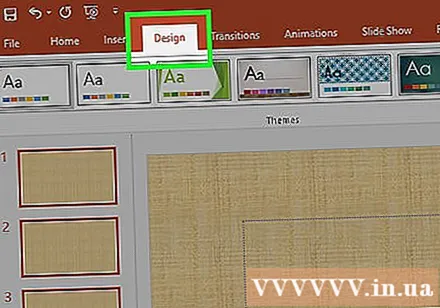
Click the Design tab at the top of the window. The design tools will appear.
Click the "Format Background" button to the right of the Design ribbon. The Format Background sidebar will appear on the right side of the screen.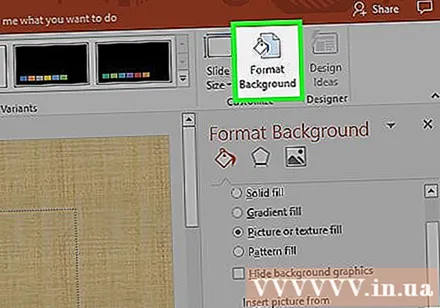
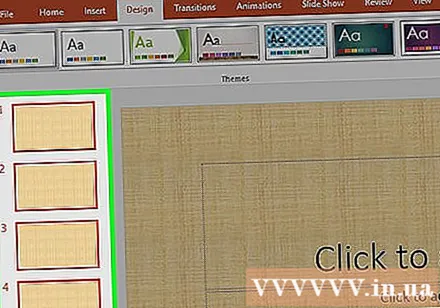
Select the slide where you want to apply the background. By default, the background applies only to the active slide. You can hold down the key Ctrl / ⌘ Command and click each slide in the slide list on the left to select it.- If you want to apply the background to every slide in your presentation, you can do so at the end of this section.
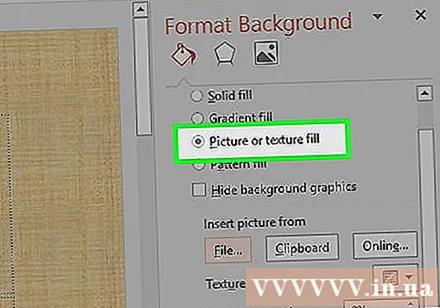
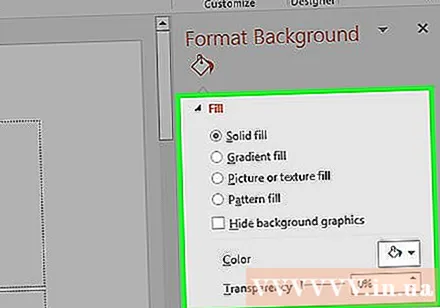
Select "Picture or texture fill" (Photo or texture background). This will allow you to choose a background image.- There are different fill options such as solid color, gradient color and pattern. After you click an option, additional display options will appear as well. This article only focuses on adding photos and graphics to the background.
Select the picture you want to insert as the background. For the background image to not stretch or lose quality, the image must be 1280 x 720 pixels.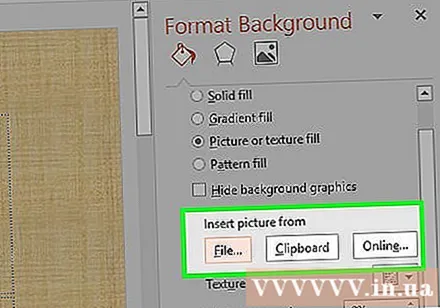
- Click the "File" button to select the image on your computer. A file browser will open so you can navigate to the image to use.
- Click the "Online" button to find pictures from an online source. You can search on Google, choose photos stored in OneDrive or get photos from your Facebook or Flickr account.
- Click the "Texture" menu to choose the available background texture. You can use the options available if you do not insert the image yourself.
Click "Apply to All" to set an image for all slides. Often photos are only added as a background for the slides you choose. If you want to apply to every slide, click "Apply to All." The new background image will be set up for all slides, including the one you create later. advertisement
Part 2 of 3: Applying effects
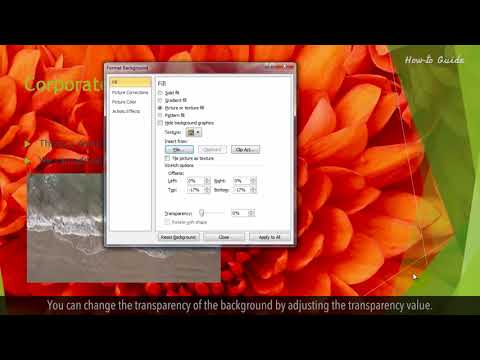
Check the box "Tile picture as texture" to create texture interwoven on the image. This option is suitable for small images and will create a continuum between images.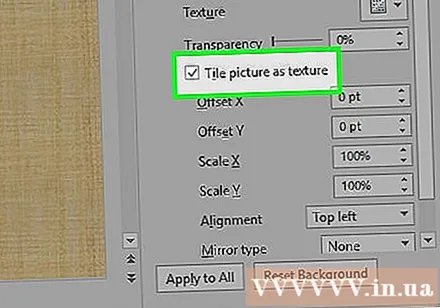
Adjust the interlacing effect using the panel below. You can use the control panel to customize the spacing between interlaced images, choose whether to duplicate or not, and to align.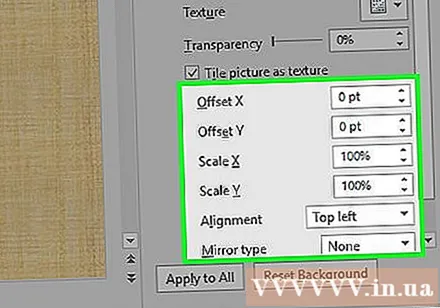
Use the transparency slider to adjust the transparency of the image. This option is especially useful if you want to add a watermark (watermark) to the slide. Setting a background image with a high level of transparency allows you to use the photo to copyright without obscuring or affecting information on the slide.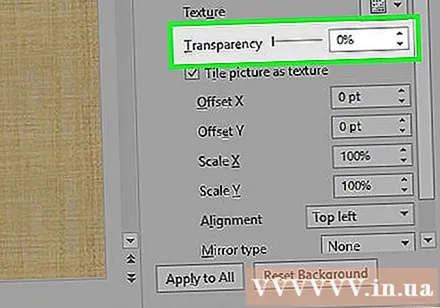
Click the "Effects" button at the top of the "Format Background" menu to apply the effect. This menu allows you to choose different effects to apply to your background image. You will see a preview as well as the name of each option in the menu as you hover over it.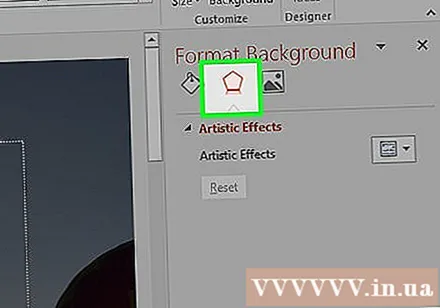
- Click the "Artistic Effects" menu and choose the effect you want to use.
- When you choose an effect, additional options may appear below. These options will be different depending on the effect you choose.
Click "Apply to All" to apply effects to all slides. All slides in the presentation will use the background image and effect of your choice. advertisement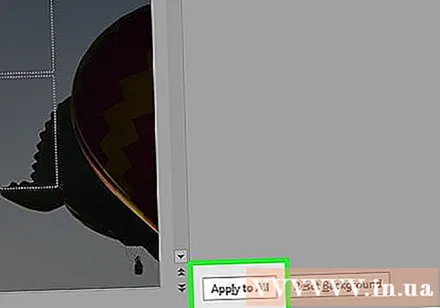
Part 3 of 3: Using Slide Master view
Click the View tab in PowerPoint. Various view options appear.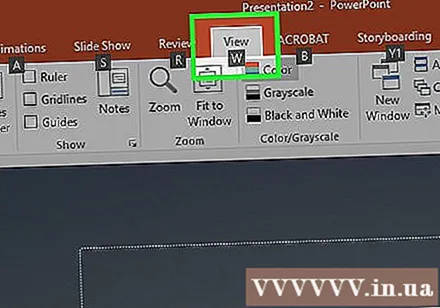
Click the "Slide Master" button. A list of all major slides will appear in the left pane. This is the topic slide for the different types of content in your presentation. The graphics and theme options on the main slide override the usual background settings.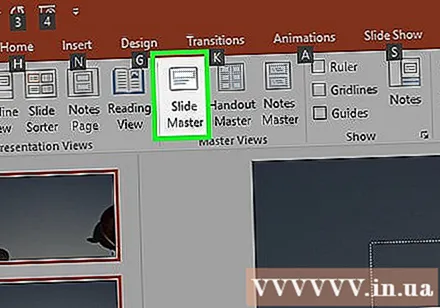
Select the master slide you want to edit. The slide opens in main view. You may need to scroll up the list to see the master slide show.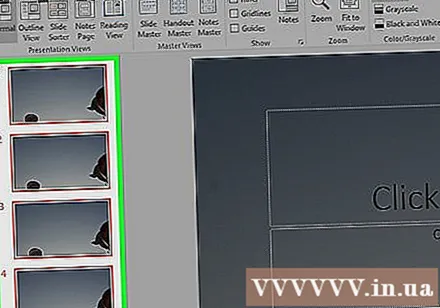
- The different slides in the master list are for different slide layouts. Changes made on the master slide will apply to all slides with the same layout. The master list slide will apply to all slides in the presentation.
Click the "Background Styles" button and select "Format Background.’ The Format Background sidebar opens.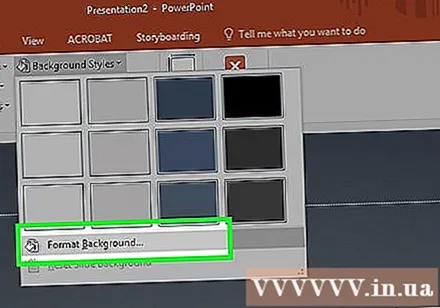
Adjust the background following the steps in the previous section. After the Format Background sidebar opens, you can adjust the background graphics according to the steps described above. Use the "Picture or texture fill" option to set the new image as the main background. This background image will be applied to all slides in the presentation. advertisement