Author:
Randy Alexander
Date Of Creation:
2 April 2021
Update Date:
1 July 2024

Content
In this article, wikiHow will show you how to restore a Windows computer's BIOS (short for Basic Input / Output Settings) to factory settings. You can do this on the BIOS page of most computers. However, if you cannot access the BIOS page, you need to reset the BIOS by opening the case and removing the CMOS battery from the motherboard, or re-plug the connector on the motherboard in the computer case.
In some cases opening the computer case will void the warranty and risk damage to the machine. If the BIOS cannot be accessed, the best option is to bring the computer to the technical department instead of working on it.
Steps
Method 1 of 3: Reset in BIOS page
, click the source icon

and choose Restart (Reboot).- If the computer is locked, click on the lock screen and then click the power icon in the bottom right corner of the screen and select Restart.
- If the computer is turned off, press the power button.
Wait for the boot screen to appear. After seeing the Windows logo, you only have a limited time to press the setup key.
- It is best to press the setup key as soon as the computer starts to boot.
- If you see "Press to enter setup" or something similar at the bottom of the screen and it's gone, you have to restart your computer and try again.
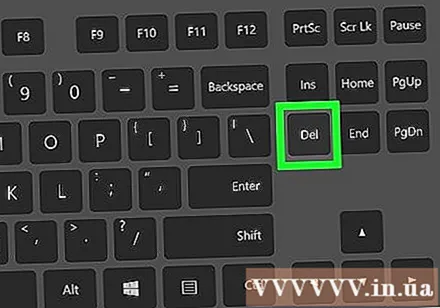
Press Del or F2 to go to the setting page. The setting key on each model is different, please see the message on the screen to apply.- If the key Del or F2 doesn't work, try F8 or F10.
- You can press "F" KEY to access BIOS. It's on top of the keyboard, although you have to find and hold the key Fn while pressing the "F" key correctly.
- You can refer to the accompanying manual or check the support page to locate the BIOS key of your device.

Wait for the BIOS to load. After pressing the setup key correctly, the machine will load the BIOS page. This process only takes a few seconds. Once the download is finished, you will be taken to the BIOS setup menu.- If you cannot access the BIOS because of the password or the BIOS is faulty, please apply the other method in another article.
Look for the "Setup Defaults" option. The location and name of the option on each model is different, normally you will see "Reset to Default", "Factory Default", "Setup Defaults". default setting) or something similar. This option can be on any tab or listed near the navigation button.
- If the BIOS doesn't have this option, please apply the methods below.
Select "Load Setup Defaults" and press the key ↵ Enter. Use arrow keys to select, press key ↵ Enter to start BIOS reset.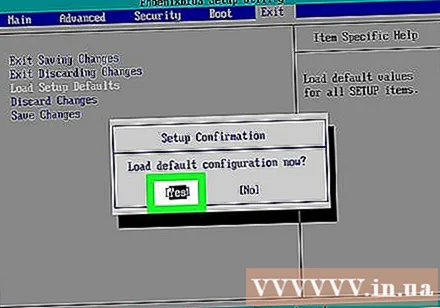
- The option name in the BIOS menu differs from model to model.
Save changes and confirm the selection if necessary. This is usually associated with the BIOS exit process. The computer will automatically restart. If you need to change BIOS settings after reset, you need to reboot your computer again and access BIOS to change. advertisement
Method 2 of 3: Remove the CMOS battery
Power off the computer. Use the Start menu or hold down the power key to turn off the computer.
- If you have a desktop computer, you need to completely turn off the CPU by pressing the switch on the back of the CPU housing.
Completely disconnect the power source. Including the power cable for the desktop computer and the charging cable for the laptop.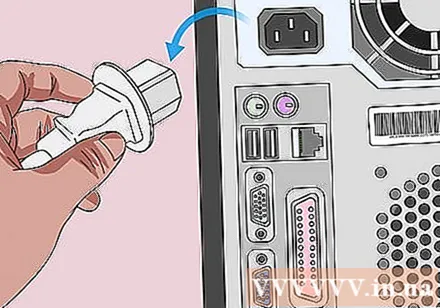
Remove the computer battery if necessary. If using a laptop (or desktop computer with a spare battery), remove the battery before continuing.
Release static electricity before handling. Touch unpainted metal surfaces anywhere to remove static electricity before disassembling the unit. Touching the motherboard or internal components while not completely grounded can damage the computer.
Open the chassis. You need to access your computer's motherboard. Use extreme care when working inside a computer as static electricity can easily damage electrically sensitive components.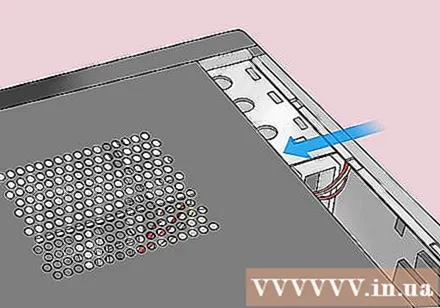
- With many laptops, you can access the CMOS battery by removing the back cover of the laptop. If you do not see any back cover, you must remove the device to access it.
Remove the CMOS battery. The battery is usually located near the PCI, but there are cases in a different location depending on the motherboard manufacturer. The battery may be obstructed by the extension card or the cable. 3V standard CMOS battery, round and flat (CR2032).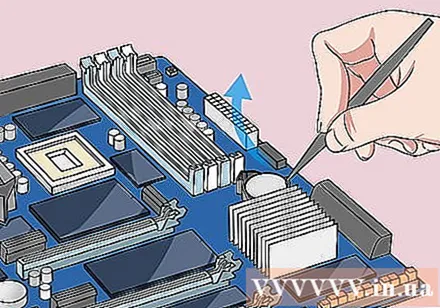
- CMOS batteries are not always removed. If the battery cannot be removed then do not try, try to reset the motherboard connector pins.
Press the power button. Press and hold the power button for about 10-15 seconds to release all remaining current in the capacitor. When the power is turned off, the CMOS memory will be reset and reset the BIOS to factory settings.
Reinsert the CMOS battery. Carefully insert the battery into the machine. Make sure that the batteries are correctly inserted. The smaller face will face downwards.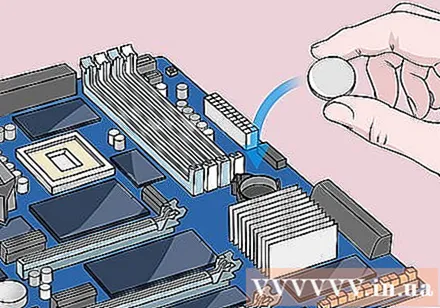
Reassemble the computer. Handle it carefully, remember to ground before performing.
Connect the computer to the power supply. If the wall power is disconnected and / or the battery is removed, reconnect and / or insert the battery into the machine.
Turn on the computer. Depending on the model, you may need to access the BIOS and reconfigure some options, including default boot options or the date. advertisement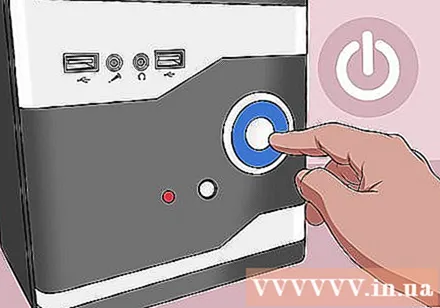
Method 3 of 3: Reconnect the connector pin
Power off the computer. Use the Start menu or hold down the power button until the machine turns off completely.
- If you are using a desktop computer, you may have to turn off the CPU power by pressing the switch on the back of the chassis.
Unplug the machine. Including the power cable for the desktop and the charging cable for the laptop.
Remove the battery if necessary. If using a laptop (or desktop computer with a spare battery), remove the battery before continuing.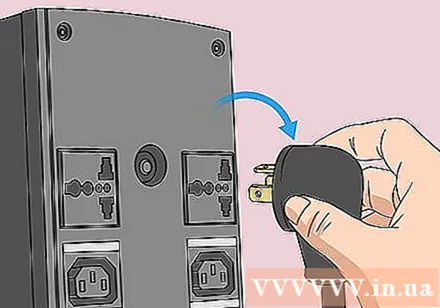
Release static electricity before handling. Touch the unpainted metal surface anywhere to remove static electricity before disassembling the unit. Touching the motherboard or internal components while not completely grounded can damage the computer.
Open the case. You need to access your computer's motherboard. Use extreme care when working inside a computer as static electricity can easily damage electrically sensitive components.
Find the CMOS connector. Find the 3 million BIOS controller connector pin on the motherboard. It is usually located near the CMOS battery. Connector pin is plugged into 2 of 3 million.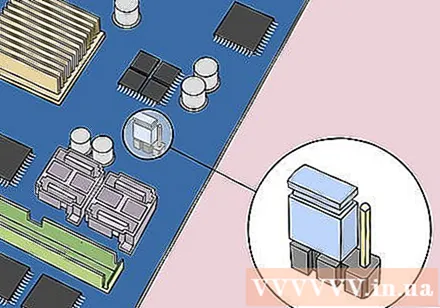
- Connector can be labeled CLEAR, CLR, CLEAR CMOS, PSSWRD, etc. Refer to motherboard documentation to find the correct connector.
Change the connecting pin to another 2 million. For example, if the connector pin is plugged into the 1st and 2nd racks, go to the 2nd and 3rd tray. When removing the connector, make sure to pull straight up so as not to bend the rod.
Press the power key. Press and hold the power button on the computer for 10-15 seconds to release all the remaining current accumulated in the capacitor. This is the BIOS reset operation.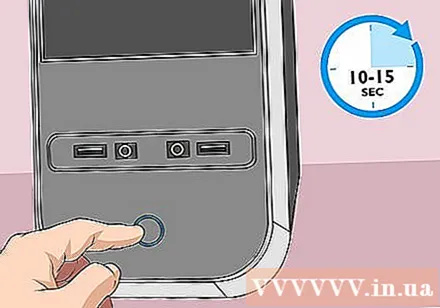
Return pins to default position. Plug the connector pin into the original charger. This allows you to access the BIOS when you start your computer.
Computer assembly. Handle it carefully and remember to ground it before performing it.
Connect the computer to the power supply. If you unplug and / or remove the battery, plug in and / or insert the battery into the machine.
Turn on the machine. Depending on the model, you will have to go into the BIOS and reconfigure a few options, including default boot options and the date. advertisement
Advice
- If the configuration is not customized, most computers still work fine with default BIOS settings.
Warning
- Ground before touching the components inside the computer to reduce the risk of static electricity damaging the machine.


