Author:
Peter Berry
Date Of Creation:
15 February 2021
Update Date:
28 June 2024
Content
This wikiHow teaches you how to connect and set up a Canon wireless printer with a Windows or Mac computer. You can do this by connecting via the Internet, connecting the printer to a computer via a USB cable, or allowing the printer to install and connect on its own.
Steps
Part 1 of 3: Preparing the installation
- Make sure the printer is connected and turned on. If the printer uses an Ethernet connection to access the Internet, you'll need an Ethernet cable to plug the printer into the router.
- Check the printer's installation software. If your printer came with a CD, you'll need to put the CD in your computer and allow the installation to run to set up the printer.
- Printers these days rarely install by disc, but some older printers will need the installation CD to connect.
- To install using a CD, simply insert the disc in your computer's CD tray, then follow the on-screen instructions. For Mac computers, you'll need an external CD player.
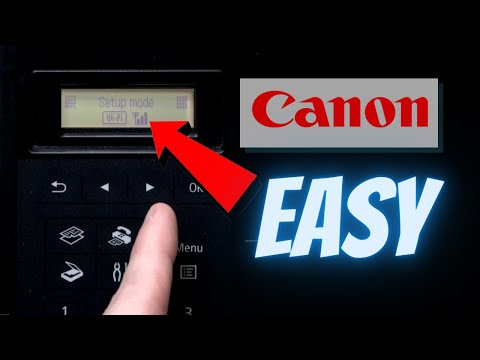
- Connect the printer to the network. Often times we would use the printer's LCD screen to select the Wi-Fi network and enter the password.
- Check the printer manual to see the specific printer model's Internet connection.
- You can find the manual version on the Canon website by clicking SUPPORT (Support), select MANUALS (Manual) in the drop-down menu, click Printers (Printer) and find the model number of the machine.
- Make sure the computer is on the same network as the printer. For the wireless printer to receive commands from the computer, both devices must be connected to the same Wi-Fi network.
- If the printer accesses a Wi-Fi network other than the computer's network, change the Wi-Fi network on the computer before continuing.
Part 2 of 3: Installation on Windows
- Open Start

. Click the Windows logo in the lower left corner of the screen. - Open Settings
. Click the Settings gear in the bottom left of the window.
- Click Devices (Device) at the top of the Settings window.
- Click Printers & scanners (Scanners and printers). This tab is on the left side of the window.
- Click + Add a printer or scanner (Add printer or scanner). This option is at the top of the page. A window will pop up.
- If you see the printer's name (for example: "Canon") in the "Printers & scanners" section, the printer is connected.
- Click the printer's name in the pop-up window. The computer will connect to the printer. Once the connection is complete, you should be able to use the printer on your computer.
- If Windows cannot find your printer, continue to the next step.
- Install printer via USB cable. If you don't see the printer in the window Add (Add), you can install printer by connecting directly to computer via cable:
- Connect the printer to the computer with a USB-to-USB cable.
- Wait for the installation window to appear.
- Follow the instructions on the screen.
Part 3 of 3: On the Mac
- Open Apple Menu

. Click the Apple logo in the upper left corner of the screen. A drop-down menu will appear. - Click System Preferences… (Customize system). The option is at the top of the drop-down menu.
- Click Printers & Scanners. This printer-shaped icon is located in the System Preferences window.
- Click the mark + in the lower left corner of the window. A window will pop up.
- If the printer is connected to the network, you should see the device name (like "Canon") in the left pane.
- Click the printer's name in the drop-down menu. The printer will begin to set up; Once done, you should see the printer name displayed in the left pane of the window, which shows that the printer has successfully connected to the Mac computer.
- If you don't see the printer's name, proceed to the next step.
- Install printer via USB cable. If your Mac can't find your printer, you can install it directly using a USB cable:
- Update Mac computer.
- Connect the printer to the computer via a USB-to-USB-C cable.
- Wait for the setup window to appear.
- Follow the instructions on the screen.
Advice
- Your printer's manual will provide the most relevant information for a specific printer model.
Warning
- If you buy a printer designed specifically for a certain operating system (such as a Mac), you won't be able to use it on another operating system (Windows, for example).


