Author:
Christy White
Date Of Creation:
10 May 2021
Update Date:
1 July 2024
Content
- To step
- Method 1 of 3: The standard method
- Method 2 of 3: Using a shape to trim
- Method 3 of 3: Use aspect ratio
This wikiHow teaches you how to crop an image inserted into a Microsoft Word document.
To step
Method 1 of 3: The standard method
 Open your Microsoft Word document. Double-click the document containing the image you want to crop. This will open the document in Microsoft Word.
 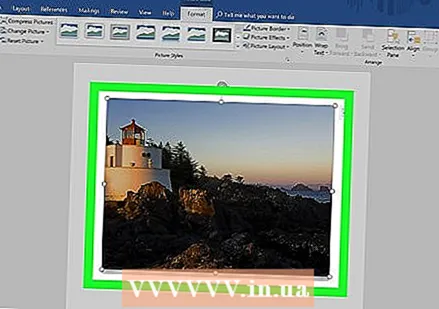 Select an image. Scroll through your document until you find the image you want to crop, then click it once to select it.
 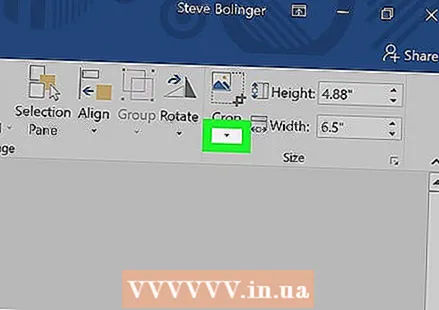 click on Crop. It's in the "Size" group on the right side of the toolbar Formatting. A drop-down menu will appear.
 - On the Mac, it's in the toolbar, in the "Image Format" tab.
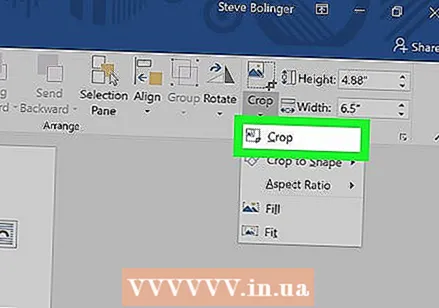 click on Crop. This is in the drop-down menu. When you click this, a number of black bars will appear at the edges and in the corners of the selected image.
 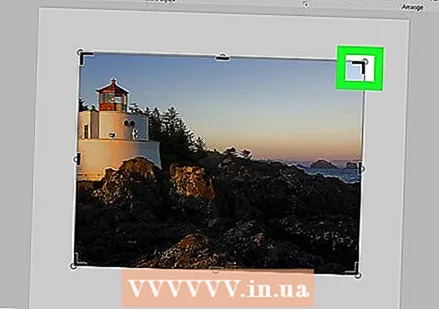 Adjust the cropping of the image. Click and drag inward one of the black bars on the edges or corners of the image to do this.
 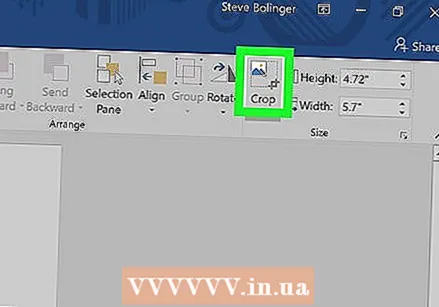 Click on the "Crop" icon. It's the box with a line through it above it Croparrow. This removes any part of the image that is beyond the boundaries of the black bars.
  Save the changes. To do this, press Ctrl+S. (Windows) or ⌘ Command+S. (Mac).
Method 2 of 3: Using a shape to trim
 Open your Microsoft Word document. Double-click the document containing the image you want to crop. This will open the document in Microsoft Word.
  Select an image. Scroll through your document until you find the image you want to crop, then click once on the image to select it.
  Click the down arrow next to the "Crop" button. It's in the "Size" group on the right side of the toolbar Formatting. A drop-down menu will appear.
 - On the Mac, it is in the toolbar at the top of the "Image Format" tab.
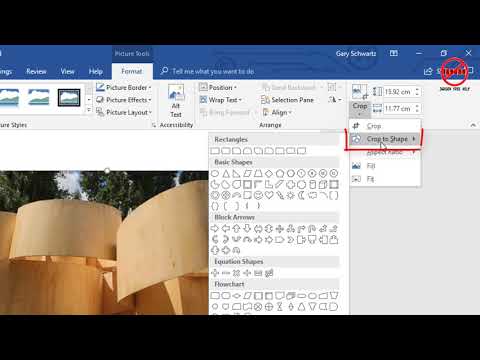
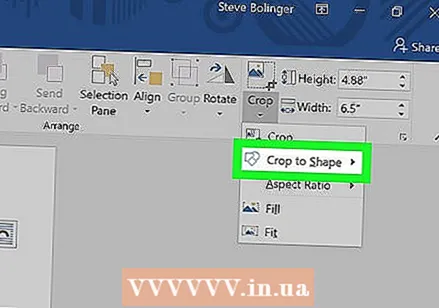 Select Crop to shape. This is in the drop-down menu. This will display a slide-out menu of shapes.
 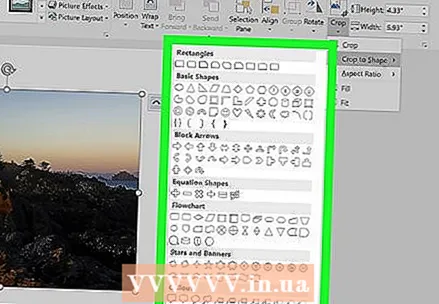 Select a shape. Click on the shape in which you want the image to appear. This will immediately apply the shape to the image.
  Adjust the size of the shape. Click and drag one of the circular points around the outline of the image in or out to reduce or enlarge the image.
  Save your changes. Press Ctrl+S. (Windows) or ⌘ Command+S. (Mac) to do this.
Method 3 of 3: Use aspect ratio
 Open your Microsoft Word document. Double-click the document containing the image you want to crop. This will open the document in Microsoft Word.
  Select an image. Scroll through your document until you find the image you want to crop, then click once on the image to select it.
  Click the down arrow next to the "Crop" button. It's in the "Size" group on the right side of the toolbar Formatting. A drop-down menu will appear.
 - On the Mac, it is in the toolbar at the top of the "Image Format" tab.
 Select Aspect ratio. This option is in the drop-down menu. When you do this, a slide-out menu will appear.
 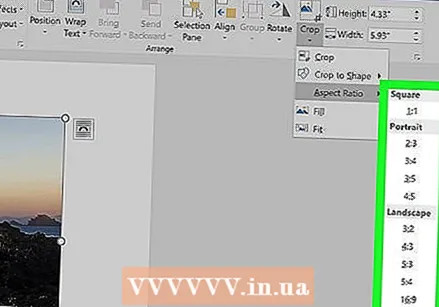 Select a ratio. In the drop-down menu, click one of the aspect ratios you want to use to crop the image.
  Adjust the crop selection. Click and drag the image around until you have the portion you want to keep in the aspect ratio centered in the square or rectangle.
  Click on the "Crop" icon. It's the box with a line through it above it Crop down arrow. The photo will now be cropped according to your selected aspect ratio. Doing so will crop your picture according to your selected aspect ratio.
  Save your changes. To do this, press Ctrl+S. (Windows) or ⌘ Command+S. (Mac).


