Author:
Peter Berry
Date Of Creation:
20 February 2021
Update Date:
28 June 2024
Content
Christmas lights are an indispensable part to create a festive atmosphere for Christmas. However, if you accept the task of hanging up the lights, you will probably not be annoyed by having to take them out and remove them from the mess. This article will introduce you some ways to keep your lights from getting tangled, so your Christmas lights will be much more excited.
Steps
Method 1 of 5: Use cardboard
Cut a piece of cardboard into a rectangle. This shape is about 30 cm long, 15 cm wide. Use a piece of cardboard, such as a cardboard cut out of a carton box. Too thin the cover will fold when rolling the lights around.

Cut a U-shaped notch on one side of the board. This part should be large enough to fit one end of the filament. You can cut the length or the width of the board.
Roll the lights around the cover. You need to roll the lights neatly, maybe turn from one end of the board to the other. This will make it easier to remove them next year.

Cut another U-shaped notch on the other end of the filament when the coil is finished and insert the end of the wire.
Roll the tissue around the filament. You can roll one or two layers of thin tissue around the cardboard to protect the filament. This will prevent the filament from being damaged during storage. advertisement
Method 2 of 5: Use a tube of Pringles French fries

Prepare a tube of Pringles potato chips. You need to rinse the inside of the tube before you use it - not to protect the lamp, but because leftover potato chips can attract insects to the light.- Or, you can also use the core of the toilet paper roll instead. The next steps are the same, except for the closure of the lid.
Cut a line over the top of the tube. You need to use a sturdy pair of scissors and cut a straight line about 2.5 cm over the top of the tube.
Insert one end of the filament into the cut. You can cut this slightly wider if you don't fit the filament properly.
Roll the lights around the tube. You will coil the lamp from the mouth to the bottom of the tube and vice versa; When the roll is finished, attach the other end of the wire to the cut in the top of the tube. When finished, the filament will be rolled around the tube with two ends fastened in the cut on the tube mouth.
Replace the cap on the tube. This will prevent the ends of the filament from slipping out of the cuts and getting tangled during storage.
Wrap a tissue around. To protect the lamp, you can wrap a few more layers of tissue around the potato tube. You should, especially if you plan to put your light in a box with other utensils. advertisement
Method 3 of 5: Use a clothes hanger.
Have a plastic clothes hanger. Ideally one with two small hooks on either side of the body. You can use another type of hanger, however, the one with two side hooks will make it easier to roll the lamp.
Attach one end of the light cord to a small side hook.
- If you are using the type without the side hook, you can tie one end of the string to the hook body.
Roll the lights around the clothes hanger. You will gradually scroll from side to side, then back. You may need to repeat this process a few times before you can fully wind the coil.
Place the other end of the light cord on the other horizontal hook. Remember to leave a light string long enough to be attached to the other horizontal hook on the clothes hanger.
- If there is not enough room or the clothes hanger you use does not have a horizontal hook on the body, you can attach the ends of the filament to the loops on the hanger.
Store hanger. After rolling the lights onto the clothes hanger, you can place them in a box or hang them up for continued use next year.
- If storing the lamp with other objects, be sure to wrap a tissue around it to protect the lamp.
Method 4 of 5: Use a wire reel
Prepare a wire harness. You can buy these frames at an electrical appliance store. You should choose a large frame for outdoor wiring.
Put the lights in the frame and roll them up. Remember to take care to avoid breaking the bulb.
Wrap more lights if available. The advantage of this method is that you can wind multiple filaments into the same frame by placing the ends of the new filaments where the old filament ends and continuing to wind, as long as there is enough room on the winding frame.
Store lights for next year use. You can place the wire harness on a rack, store it in a box, or hang it on a hook.
Robert Rybarski
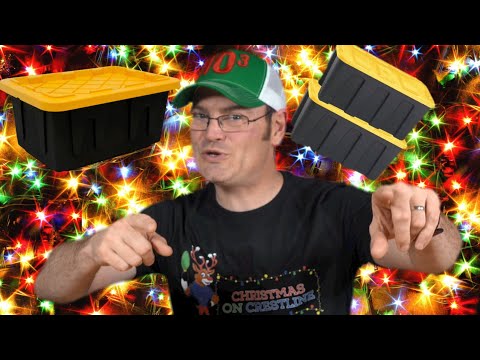
Place the coil of light in a shallow plastic box. If you stack the coils on top of each other in the deep box, they can get tangled up.
advertisement
Method 5 of 5: Roll the lamp carefully
Clip the second bulb on the filament between the index finger and the thumb. That way, the first and third bulbs will be next to each other in the palm of your hand.
Pull up the fourth bulb and clip it to the side of the first bulb. At this time, the first, third and fifth light bulbs will be in the palm of your hand.
Continue to put the even number bulb up and the odd number bulb down. The bulbs will be lined up and not tangled.
Wrap the rest of the filament around the bulb beam and plug the two ends together. Once wrapped, you will have a wrapped bulb cluster and two ends of plugs left out. Wrap the short cord attached to the plug around the chandelier to hold them together, then plug the two plugs together, and that's it. advertisement
Advice
- The lifespan of Christmas decorative lights is usually no more than 90 days. If you have used your lights for the past 3 seasons, you should replace your lamp next year. Take the initiative to remove the old lamp to replace the new one.
- You can purchase new lights on the occasion of the post-Christmas discount.


