Author:
Judy Howell
Date Of Creation:
27 July 2021
Update Date:
1 July 2024
Content
- To step
- Part 1 of 3: Preparing for seeding
- Part 2 of 3: Sowing and caring for your pumpkins
- Part 3 of 3: Harvesting pumpkins
- Tips
- Warnings
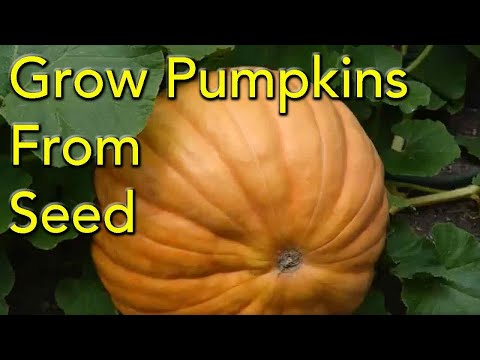
If you want to grow your own pumpkins, all you need is a packet of seeds and a lot of space. Pumpkins are surprisingly easy to plant and grow. Make sure the spot you choose is in full sun, and keep watering the plants all summer long. By the time fall comes, you'll have plenty of pumpkins to eat, cut, and share with your friends.
To step
Part 1 of 3: Preparing for seeding
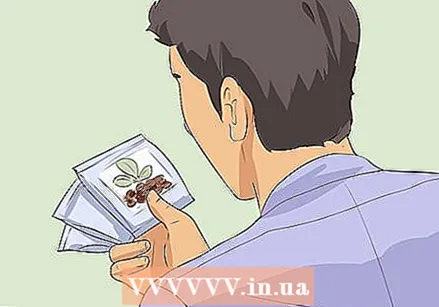 Choose high quality seeds. Go to a nursery, view a seed catalog, or search for seeds online to pick out pumpkin seeds. You can plant seeds from a store-bought pumpkin, but it is not certain that they will grow well in your area. It is best to choose a fresh packet of seeds to start your pumpkin garden.
 - Sweet pumpkins are used for making cakes or for toasting. Good varieties to start with include Baby Pam, Winter Luxury, or New England Pie.
- Jack-O'Lantern pumpkins are bigger and less flavorful than pies. If you want to grow pumpkins big enough for cutting, try Howden, Rock Star, or Connecticut Field.
- Miniature pumpkins are grown for decorative purposes. Jack-Be-Littles are a great choice if you want to get some little orange pumpkins in time for the fall break.
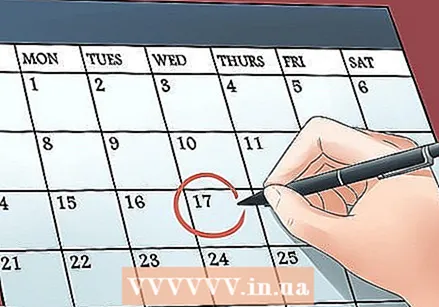 Decide when to plant your seeds. Pumpkins take 75-100 days to grow from a seed before you can harvest them. Count back from the date you want to harvest and plan at that time. Most pumpkin gardeners aim to have their pumpkins ready for harvest in time for fall. To do this, you need to find the right time to plant your seeds according to the climate in which you live. Pumpkins grow faster in warmer weather, so plant them too early in the year and they'll be ready and gone long before Halloween.
 - If you live in a region with cold winters and mild summers, it is best to sow them in late May, after the last chance of frost has passed. This way, your pumpkins will be ready in time for fall.
- If you live somewhere with long, hot summers, you can sow the pumpkins in July so they'll be ready in time for Halloween.
- If your main reason for growing pumpkins is to eat them, and you don't mind having them ready before fall, you can start the seeds indoors three weeks before the last frost in your area to get them ready. are to put in the ground as soon as it gets warmer. To start sowing indoors, simply sow a few seeds in 10cm peat pots filled with a starter (no soil). Keep the pots well watered and place in a sunny window. The seedlings will be ready to plant outside after a few weeks.
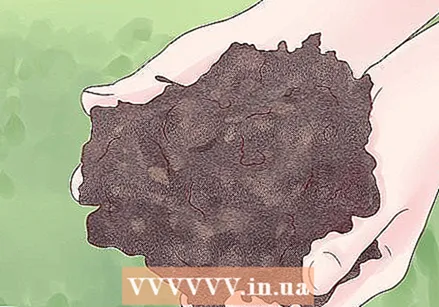
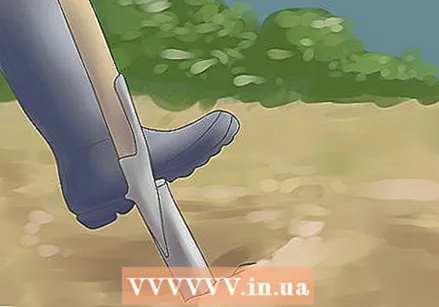 Prepare the pumpkin garden. Choose a spot that gets a lot of sun, as the pumpkins won't thrive unless they get enough sunlight. Pumpkins grow on wide-reaching tendrils that need open space to develop. Choose a spot with good drainage so that the roots of the pumpkins don't sit in the water all day.
 - The ideal soil pH for pumpkins is 6.0 to 6.8. If your soil hasn't been tested for a while, bring a soil test kit and determine if your soil falls within this range or is a little high or low. You can adjust it by mixing in lime, bone meal or compost as needed.
- To test if the soil has good drainage, dig a hole and fill it with water. Let the soil drain overnight and then fill the hole back in to run the test. Measure the water level every hour with a ruler or tape measure to see how much the water level has fallen. It is ideal that 3-8 cm is discharged per hour. If your soil is losing water too quickly or too slowly, try adding compost to improve drainage.
- To give pumpkins a boost, amend the soil by working it to a depth of 10cm and adding organic compost.
Part 2 of 3: Sowing and caring for your pumpkins
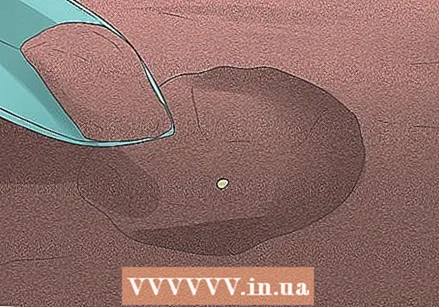 Plant the seeds 2-3 cm deep. Choose a spot roughly in the center of the spot where you want the tendrils to grow. Throw up a small hill to warm the soil, improve drainage, and reduce pests. Plant 2-3 seeds in the center of the mound about 3 inches deep. Sprinkle some soil over the seeds and water them well after sowing. If you want to grow more than one pumpkin plant, space them at least four to eight feet apart. Mini varieties can be spaced about 90 cm apart.
 - If you live in a place where the wind is often strong, you can plant the seeds in a trench about three inches deep. This will protect the seed from the wind as it develops.
- When transplanting seedlings, make holes 5 inches apart.
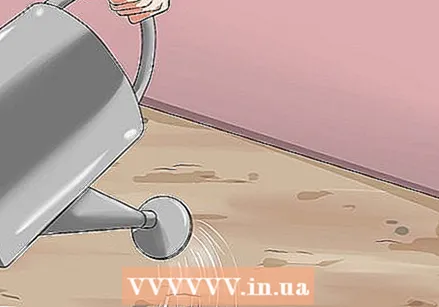 Water the pumpkin regularly. Never let the soil dry out completely. Pumpkin plants need a lot of water. If the soil appears dry and dusty, water the squash bed enough using the spray nozzle on your garden hose. Make the bed well soaked, as pumpkin roots run deep into the soil and the water must be able to reach them.
 - Do not water the soil if it is already wet, as this can lead to rot.
- Water in the morning so that the water that gets on the pumpkin leaves has time to evaporate. If you water in the evening, powdery mildew can form on the wet plants.
- When the pumpkins start to grow and turn orange, you no longer need to water as regularly. Stop watering about a week before they are ready to harvest.
 Fertilize the plants. Spread compost around the base of the plants or treat the garden bed with a suitable organic fertilizer. Do this right after the seedlings sprout to promote healthy growth and prevent weeds from taking over.
 - If you find that the flowers are falling off and no pumpkins are growing, you may need to hand pollinate. Use a small paintbrush or cotton swab to transfer pollen from a male flower to female flowers.
 Thin out the number of plants. If you have planted more than two seeds in a hill, pick the two strongest plants and let them grow. Remove any weaker plants. This provides more nutrients for the stronger plants to grow.
 - When the tendrils have grown to about 150 cm high, cut the ends of the tendrils off. This will encourage more side shoots to grow and it will improve pumpkin production.
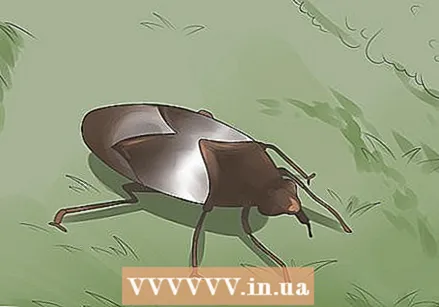 Watch out for pests. Pumpkin plants are susceptible to a number of pests that eat the leaves and tendrils. Spotted and striped cucumber beetles, oecilocapsus lineatus, aphids and pumpkin bugs are all common pests you might find on your plants. Fortunately, most pests can be controlled by hand picking them off the plants or spraying them away with water.
 - If plain water doesn't seem to work, try wiping the leaves with soapy water or a solution of water and ammonia.
- If necessary, you can treat the plants with pesticides. However, these are harmful to beneficial bees, which pollinate the pumpkin flowers and keep the plant healthy. To minimize damage to the bees, treat the pumpkin plants at night when the bees are in their nest.
Part 3 of 3: Harvesting pumpkins
 Look for signs that the pumpkin is ready for harvest. The pumpkins should be evenly bright orange in color (unless you are growing a white or spotted variety). The tendrils will begin to shrivel and dry out. Most importantly, the skin of the pumpkins will be hard. If you can easily indent it with a fingernail, the pumpkins will need more time on the tendrils.
 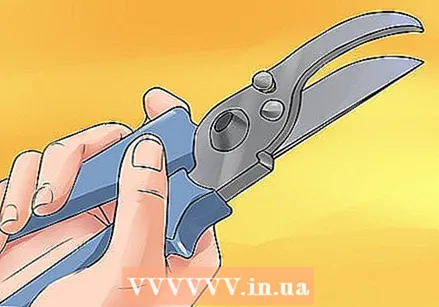 Use scissors to cut the stems. Leave a few inches of the stem at the top of each squash as this will keep them from rotting too quickly. Do not pick up the pumpkins by the stems, because if the stems break, their trunk will rot.
 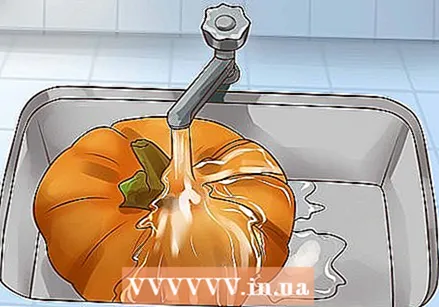 Clean, use and store the pumpkins. Once you have detached them, they are ready to be removed from the garden and used as you wish. Rinse them (you may need to scrub the dirt off the bottom) and cut them into pieces for cake or lanterns. If you store pumpkins in a cool, dry place, they will stay cool and dry throughout the winter months.
Tips
- Leave the seeds in a glass of water for a while to germinate before planting.
- If you want to grow pumpkins in a small area, try a shrub variety or plant "stick" pumpkins.
- Some varieties taste better than others. If you're growing them to eat, try some varieties that have been grown to taste good. The "Cinderella" and "Jarrahdale" are two tasty varieties!
Warnings
- Do not remove the seed cover when the plant first appears.


