Author:
Frank Hunt
Date Of Creation:
11 March 2021
Update Date:
1 July 2024

Content
- To step
- Method 1 of 3: Dry mushrooms in the oven
- Method 2 of 3: Dry mushrooms naturally
- Method 3 of 3: Freeze-dry the mushrooms
- Tips
- Warnings
- Necessities
Dried mushrooms are great - they're full of flavor, go with countless dishes, and you can keep them almost forever. You can soak them in water and use them in soups, risottos, pasta ... basically in any delicious recipe you can think of. Follow these steps to dry mushrooms yourself.
To step
Method 1 of 3: Dry mushrooms in the oven
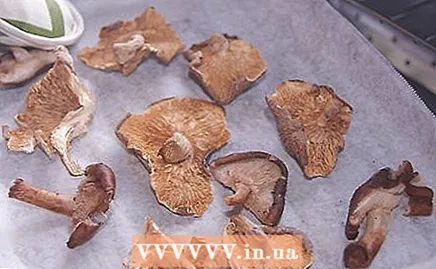
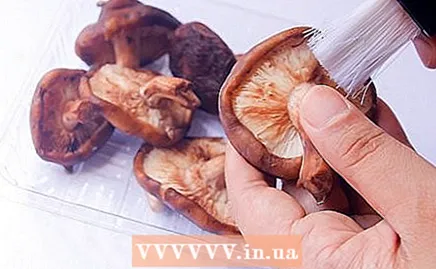 Clean the mushrooms. If possible, use a brush or a piece of dry kitchen paper to wipe any dirt off the mushrooms. The mushrooms should not get wet when you clean them, as the water can cause other competing fungi to grow on the mushroom while you dry them or afterwards during storage. You can get sick from that other fungus if you eat it.
 - If there are stains or dirt on it that you cannot brush off, you can use a damp cloth and scrub it a bit harder. Make sure you dry it with a dry cloth afterwards so that no moisture remains.
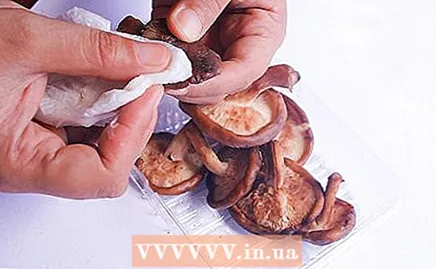
- If there are stains or dirt on it that you cannot brush off, you can use a damp cloth and scrub it a bit harder. Make sure you dry it with a dry cloth afterwards so that no moisture remains.
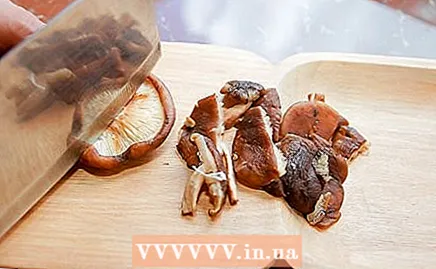
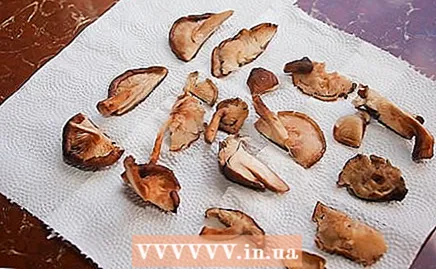
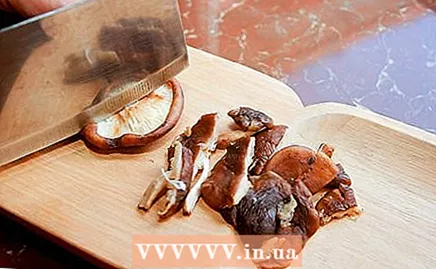 Cut the mushrooms. The thicker the mushroom, the longer it will take to dry. To speed up the drying, you can cut the mushroom into slices about 3 mm thick. Then they still have enough flavor for most dishes, but they dry much faster than if you leave the mushroom whole.
 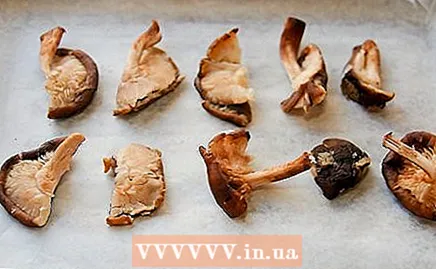 Place the mushrooms on a baking tray. Make sure they all lie flat next to each other. They should not overlap, because then they will stick together when they dry. So put them in a single layer.
 - Do not grease the baking tray, because if the mushrooms absorb the oil, the taste changes and they take longer to dry.
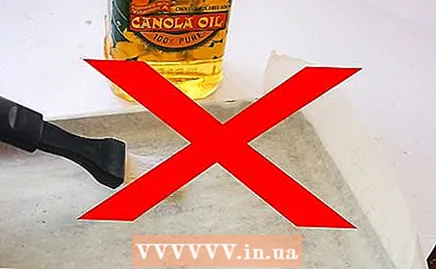
- Do not grease the baking tray, because if the mushrooms absorb the oil, the taste changes and they take longer to dry.
 Preheat the oven to 65 ° C. When the oven is at the right temperature, put the baking tray with mushrooms in it. Leave the mushrooms in it for an hour.
 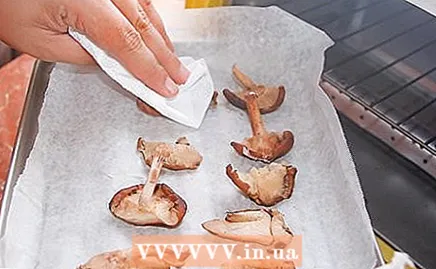 Remove the mushrooms from the oven after about an hour. Turn them over so they can dry evenly. Dab any moisture that has come to the surface with a paper towel or a dry cloth.
 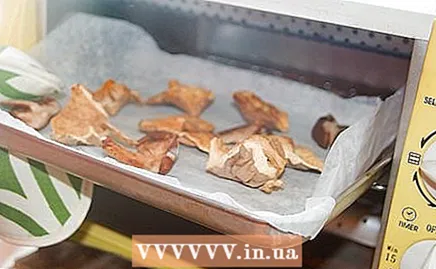 Return the mushrooms to the oven. Bake them for another hour until they are completely dry.
 - Check that there is no moisture visible on the mushrooms. If they are, turn them over again and blot the moisture off with a paper towel and put them back in the oven for a while.

- Check that there is no moisture visible on the mushrooms. If they are, turn them over again and blot the moisture off with a paper towel and put them back in the oven for a while.
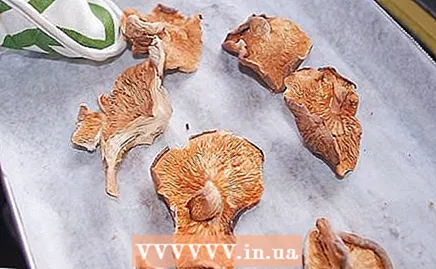 Keep checking until they are completely dry. Keep blotting off any moisture and putting it back in the oven until really dry. You should be able to break a well-dried mushroom like a cracker.
 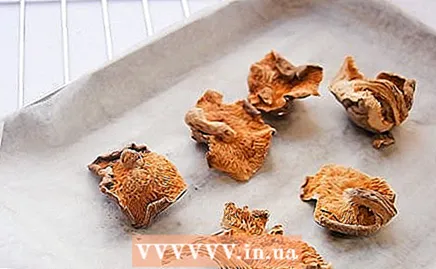 Let the mushrooms cool. When you take them out of the oven, let them cool on the baking tray. Do not immediately put them in a Tupperware box with a lid, because the heat can form condensation on the container, making all your efforts in vain.
 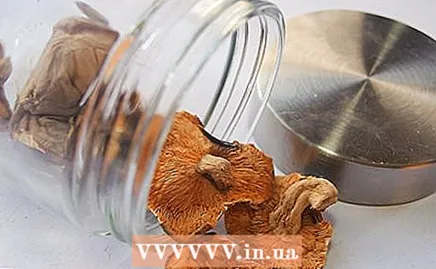 Store the dried mushrooms in airtight containers or jars. When they have cooled down completely, you can put the mushrooms in containers or pots that can be closed tightly. Keep these in a dark, cool place until you are ready to use them in a soup, pasta or tasty risotto.
Method 2 of 3: Dry mushrooms naturally
 Clean and slice the mushrooms. As described above, you should only clean mushrooms with a brush or dry cloth. Do not use water as mold can grow on it. Cut the mushrooms into slices of about 0.5 cm.
  Watch the weather. This method of drying mushrooms can only be done on sunny days with very little moisture in the air. If it is too moist, it will take much longer for the mushrooms to dry and they can start to mold.
  Find a good place to let them dry. Possibilities include a sunny room, the windowsill or a flat roof, as long as there is good air circulation. Find a place where birds, insects, other animals or moisture cannot get to the mushrooms.
 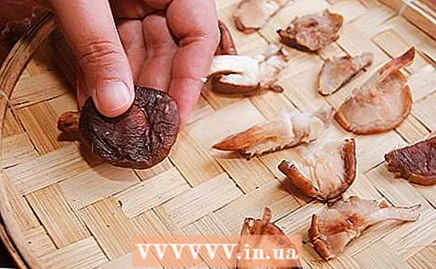 Lay the mushrooms out to dry. There are two options for this. You can put the mushrooms on a drying rack, or you can string them on a piece of roulade string.
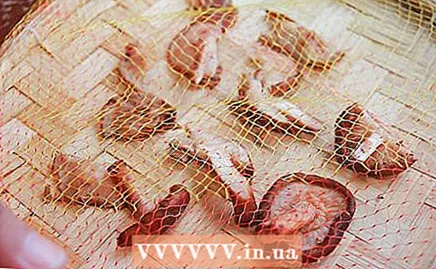
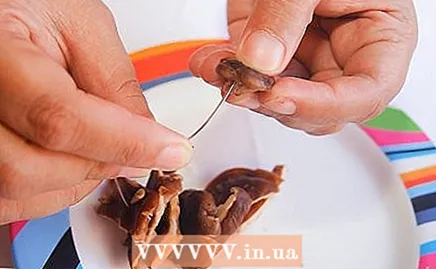
 - On a drying rack: Lay the mushrooms flat in a single layer. Make sure they don't overlap or they can stick together while they dry. Cover the mushrooms with a mesh dome, which you can find at many cooking stores. This keeps the flies away from the mushrooms. If you don't have such a bell jar, you can also stretch a piece of gauze over the mushrooms.
- With roulade rope: Thread the mushrooms on the rope with a sterilized needle. Just go through a flame with the needle a few times to sterilize it. Now thread the mushrooms on as you would with a bead chain.
- On a drying rack: Lay the mushrooms flat in a single layer. Make sure they don't overlap or they can stick together while they dry. Cover the mushrooms with a mesh dome, which you can find at many cooking stores. This keeps the flies away from the mushrooms. If you don't have such a bell jar, you can also stretch a piece of gauze over the mushrooms.
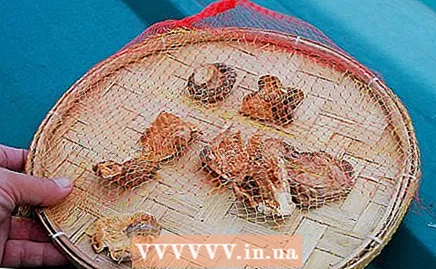 Place the mushrooms in the area you have chosen for drying. If you are using the roulade rope method, hang them somewhere dry in the sun. Let the mushrooms hang in the sun for one or two days. Check progress every day.
 - You may need to give the drying process a helping hand by putting the mushrooms back in the oven if they are not completely dry after two days. Read Method 1 of this article to learn how.
- You may need to give the drying process a helping hand by putting the mushrooms back in the oven if they are not completely dry after two days. Read Method 1 of this article to learn how.
Method 3 of 3: Freeze-dry the mushrooms
 Place a paper towel on a flat work surface. Place the cleaned and sliced mushrooms on it in one layer. They should not overlap each other, then they can stick together. It is very important that the mushrooms are completely dry. If there is even a tiny amount of water on it, it can freeze and ruin the mushroom.
 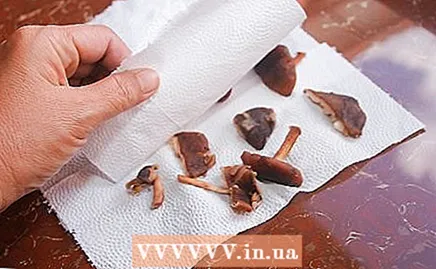 Now put a layer of kitchen paper on top of the mushrooms. Put another layer of mushrooms on top and a layer of kitchen paper on top. Continue in this way until all the mushrooms you wanted to dry are gone.
 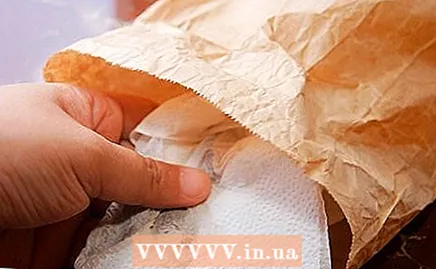 Place this "cake" of mushrooms and kitchen paper in a paper bag. So you have to use a large paper bag so that it fits well in it. The paper bag allows water to evaporate while the mushrooms dry.
 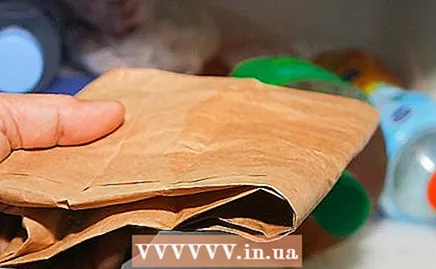 Place the paper bag in the freezer. After a while the mushrooms will dry in the freezer. This process is a lot slower than the other two methods outlined above, but it's very effective - especially if you don't want to use the mushrooms just yet.
Tips
- Use boiling water or stock to soak the dried mushrooms before using them.
- Dried mushrooms have a stronger flavor than fresh mushrooms, so you need less of them in your recipe.
Warnings
- Some wild mushrooms are poisonous. Make sure you know what kind you have before eating them.
Necessities
- Oven
- Brush
- Paper towel
- Knife
- Baking tray
- Storage trays or pots
- Drying rack
- Roulade rope
- Sun


