Author:
Roger Morrison
Date Of Creation:
4 September 2021
Update Date:
1 July 2024
Content
- To step
- Part 1 of 3: Troubleshooting
- Part 2 of 3: Settings and drivers (Windows)
- Part 3 of 3: Settings and drivers (Mac)
- Tips
- Warnings
There are several reasons why a laptop will no longer charge properly. Check the outlet and connection first, as those are easily identifiable problems and easy to fix. If there is nothing wrong with that, then changing your laptop's settings or resetting battery management can sometimes solve the problem. If that does not work, you may have to replace the battery.
To step
Part 1 of 3: Troubleshooting
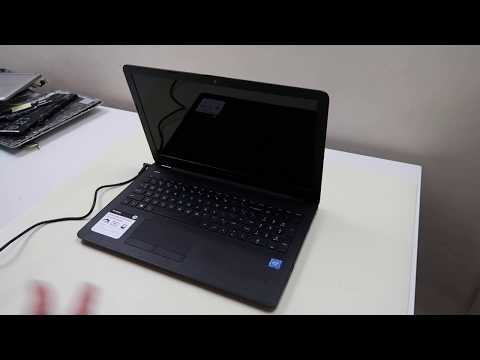
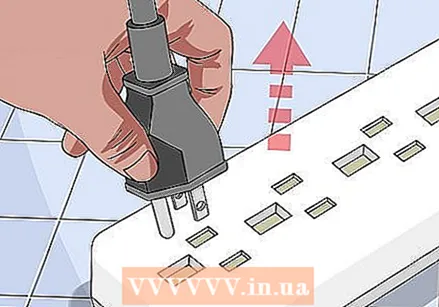 Unplug the laptop for a few minutes and then try a different one. Unplug the laptop, wait a few minutes, and then plug it into a power outlet in another room. Some users report that a laptop adapter may temporarily stop working to protect itself from a perceived power issue.
 - If your battery is removable, only do this when the adapter is not connected to the mains. Press and hold the laptop's power button for two minutes, then reinsert the battery and plug the adapter back into a new outlet.
 Examine the power cable. Check the length of the cord for cracks, dents and wear on the insulation. If you find anything, or if the adapter itself is bent or smells like plastic, the cord is probably damaged. You will have to purchase a new power cable for your laptop.
 - Check your warranty conditions before replacing parts. Under certain circumstances, the costs may be borne by the manufacturer.
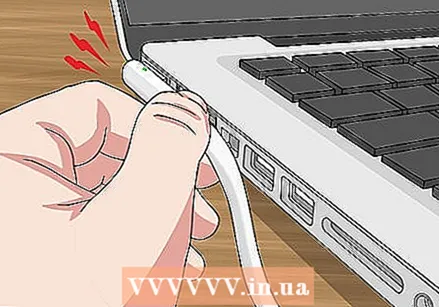 Inspect the connection. If the connection of the cord on your laptop is loose or wobbly, there may be a problem with the connection. Disconnect the cord, remove any debris with a toothpick and compressed air dust.
 - Bent pins and other damage may vary by model. Take the laptop or cord to a repairer. You can look up your laptop model online for the correct repair instructions, but this can be difficult without the right tools and may void the warranty.
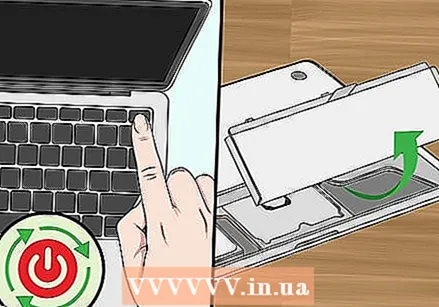 Restart the computer, removing the battery first. Turn off your computer, unplug it from the power outlet, and then remove the battery from your laptop. The battery can usually be detached at the bottom of the laptop, where a lock may have to be turned with the help of a coin, or by means of a sliding handle. Leave the battery out for 10 seconds, click it back into the laptop and restart your computer. Plug the laptop's adapter back into the power outlet after booting up and wait 10 seconds before checking to see if it worked.
 - Not all laptops have a battery that you can easily access. If there is no obvious compartment for the battery, start your computer without removing the battery.
 Let the computer cool down. If the battery feels very hot, excess heat can affect the charging process. Turn off the computer and let it cool for several minutes. If you haven't cleaned your laptop's fans recently, use compressed air to clear the fans from dust from a corner in short bursts.
 - Do not blow directly into the exhaust of the fans, only at an angle, otherwise you could damage the fan.
- If you dare to take your laptop apart, you can use the compressed air to blow away the dust in the case immediately. Find a manual for unscrewing your laptop model before you start, and work on a large and clean surface. This will most likely make you out of warranty.
 Boot your laptop without a battery. Turn off the computer, remove the battery and connect the computer to the power supply. If the computer does not turn on, you probably need a new cord. If the laptop does start up in this capacity, then the charging problem is likely due to the batteries themselves, or the way your computer communicates with the battery. The methods below may solve the problem, or your battery is dead and will need to be replaced.
 - If your battery cannot be removed, skip this step and try the methods below before having the laptop repaired.
 Replace the charger. Sometimes the adapter no longer works properly, or despite trying hard to fix a loose plug. If possible, borrow a charger from someone else, or ask a technician at a computer store to test your charger. If your charger is defective, get a new one from a computer or electronics store.
Part 2 of 3: Settings and drivers (Windows)
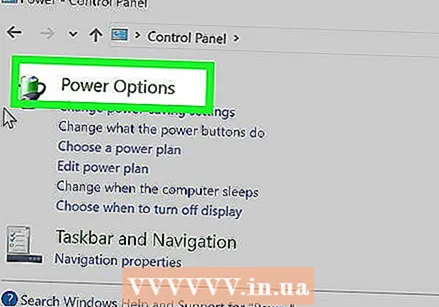 Check the power management settings. Go to Start → Control Panel → Power Options. It may be that the setting for "low battery level" is set too high, causing your computer to turn off instead of charging. The easiest way to deal with this is to reset them to the default settings. If this didn't solve the problem, continue with the information below
  Open Device Manager. First, open "Device Manager". You can find these very easily in Windows using the search function, or via Start → Control Panel → System and Security → Device Manager.
  Look at the settings for the Batteries. When the list is loaded, expand "Batteries".
  Update driver software. Right-click on "Microsoft ACPI-Compliant Control Method Battery," and select "Update Driver Software." Follow the instructions that appear.
  Restart the computer. Shut down and restart the computer for the driver to activate. If the laptop still won't charge, repeat the step "Update driver" for each entry in the Battery section, and restart your computer a second time.
  Remove and install the driver. If you are still unable to charge your laptop, right-click on "Microsoft ACPI-Compliant Control Method Battery" and select "Uninstall." When the process is complete, click the button on the toolbar that says Scan for hardware changes. Alternatively, you can open the "Action" tab and select "Scan for hardware changes". Restart your computer after the driver is reinstalled.
 - This step requires that you have an internet connection on your laptop.
Part 3 of 3: Settings and drivers (Mac)
 Check your power management settings. Open System Preferences from the Dock in the Applications folder. Click on Energy Saver and check both "Battery" and "Power Adapter". In rare cases, a low sleep setting can make it look like there's a problem with charging. In most cases you will have to try the additional steps below.
  Reset the System Management Controller. Use one of these methods to reset the SMC, which controls battery management and battery status light:
 - Laptops with a battery that cannot be removed: Turn off the computer. Plug it into the socket. Simultaneously press the shift control option keys on the left and the laptop's power button. Release the keys simultaneously and turn your computer back on.
- Laptops with a removable battery: Turn off the computer and unplug it. Remove the battery. Press and hold the power button for 5 seconds. Replace the battery and plug it back into the wall socket, after which you restart the computer.
Tips
- Check the recommendations of the manufacturer of your laptop regarding the voltage of your power supply. An adapter with the wrong voltage can damage your battery (and laptop).
Warnings
- Some laptops do not have batteries that you can replace. If your laptop is still within the warranty period, do not try to remove the battery yourself; this will invalidate the warranty.


