Author:
Tamara Smith
Date Of Creation:
28 January 2021
Update Date:
1 July 2024
Content
- To step
- Method 1 of 2: Connecting the controller to an Xbox 360
- Method 2 of 2: Connecting the controller to a PC
- Tips
The wireless Xbox 360 controller ensures that you can play your favorite games from anywhere in the room. However, you have to set up the controller first. In addition to the Xbox, the controller can also be used on the computer. Read this guide to find out how.
To step
Method 1 of 2: Connecting the controller to an Xbox 360
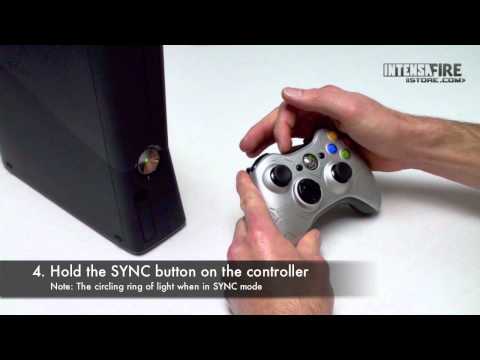
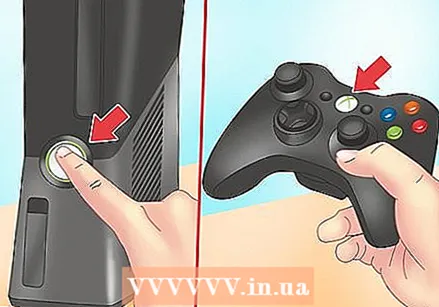 Turn on the Xbox and the controller. To turn on the controller, press and hold the “Guide” button. The “Guide” button is the center button on the controller and has an Xbox logo.
  Press the “connection” button on the Xbox. On the original Xbox 360 you will find the “connection” button next to the memory card slot. On the 360 S you will find the button next to the USB ports. The 360 E's “connection” button is located next to the front panel.
 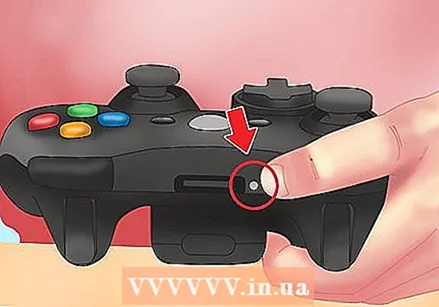 Press the “connection” button on the wireless controller. This is located on top of the controller, next to the connection port. You have 20 seconds from the moment you pressed the button on the console to press the button on the controller.
 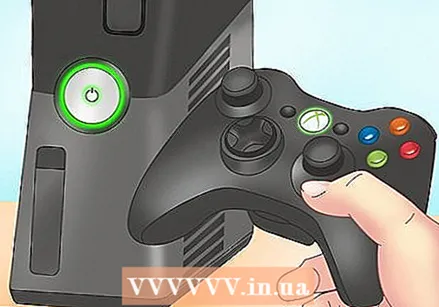 Wait for the controller light and the console light to blink in sync. This indicates that the controller has been successfully connected to the console. You can now use the controller.
Method 2 of 2: Connecting the controller to a PC
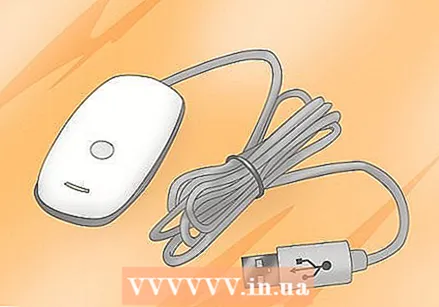 Purchase an Xbox 360 USB Wireless Receiver. Before you can connect the wireless controller to a computer, you need to install a receiver. Although several companies produce such receivers, the Receiver from Microsoft is the preferred option among most people.
 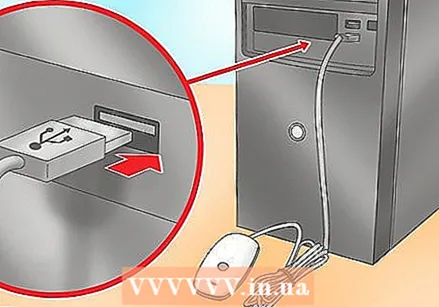 Plug in the wireless receiver. In Windows 7 and 8, the drivers should install automatically. If they don't, you can install the drivers from the supplied CD-ROM. Microsoft's recipients should install themselves automatically. If you have a receiver from another brand, follow the steps below:
 - Download the latest “Xbox 360 Controller” driver from the Microsoft site.
- Install the driver when the download is complete.
- Open “Device Manager” on the computer. You can find “Device Manager” in the “Control Panel”. In Windows 8, you can also press "Windows Button + X" to get into "Device Manager".
- Look for “Unknown Device” among “Other Devices”. Right click on it.
- In the menu that unfolds, click on "Update drivers ..."
- Select “Browse this computer for driver software”.
- Click on “Let me choose from a list of…”
- Scroll down and choose from the list of hardware types for “Xbox 360 Peripherals”
- Choose the latest version of “Xbox 360 Controller for Windows”
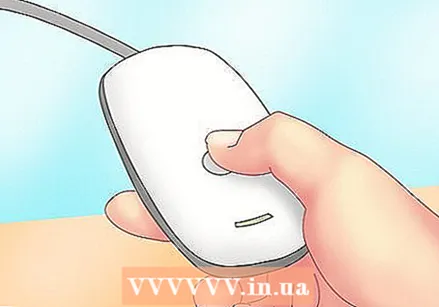 Press the “Connect” button on the receiver, then the “Connect” button on the top of the controller. This will pair the controller and receiver.
 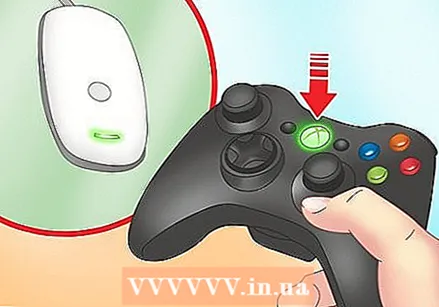 Press and hold the “Guide” button on the controller. The “Guide” button is the button in the center of the controller with the Xbox logo. When the controller is successfully connected you will see a green light on the controller and the receiver.
  Configure the controller. Whether you can actually use the controller depends on the game you are playing. Each game has different configuration options. You may need an additional program, such as Xpadder, to assign the correct actions to certain buttons.
Tips
- Make sure the controller is supplied with batteries!


