Author:
Charles Brown
Date Of Creation:
9 February 2021
Update Date:
1 May 2024

Content
- To step
- Method 1 of 3: On a computer with Windows
- Method 2 of 3: On a Mac
- Method 3 of 3: Access the font in Word
- Tips
- Warnings
In this article, you'll learn how to install a font on a computer with Windows or a Mac so that you can use it in Microsoft Word.
To step
Method 1 of 3: On a computer with Windows
 Download the font from a reliable website. Fonts often transmit viruses, so only download fonts from trustworthy sources, and avoid sources that come as a so-called EXE file. Fonts are often packaged as a ZIP file, or as a TTF or OTF file. Some popular font websites include:
 - dafont.com
- fontspace.com
- fontsquirrel.com
- 1001freefonts.com
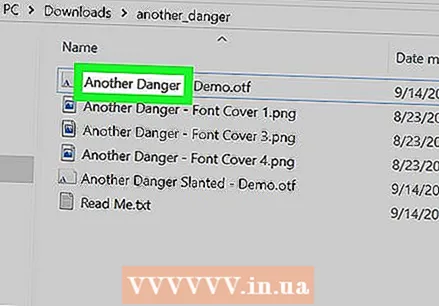
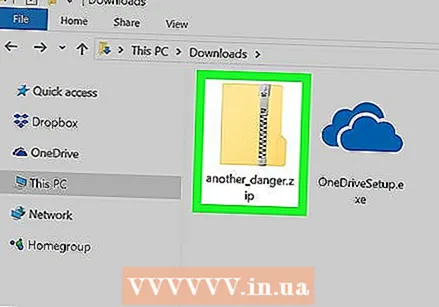 Extract the font file if necessary. If you downloaded the font as a ZIP file, click twice Unpacking at the top of the window, click Unpack everything then click Unpacking at the bottom of the window.
 - Skip this step if you downloaded the font as a TTF or OTF file, not as a ZIP file.
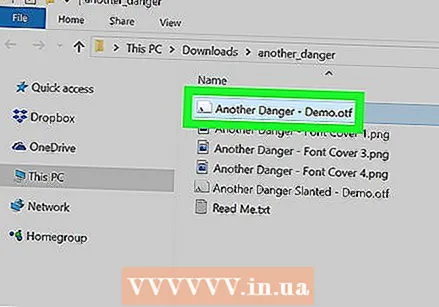 Click twice on the font file. That way you open the font in a preview window.
 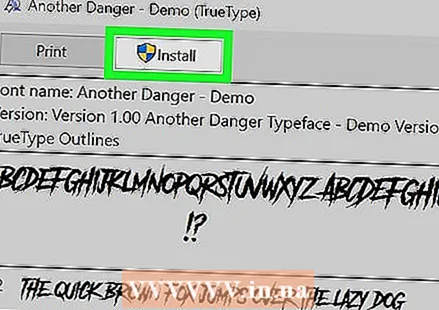 click on to install. This button is at the top of the preview window.
  click on Yes when asked. Since you need permission from the administrator to install a font, you may be asked to confirm this step.
 - If you are not working from an administrator account, you will not be able to install the font.
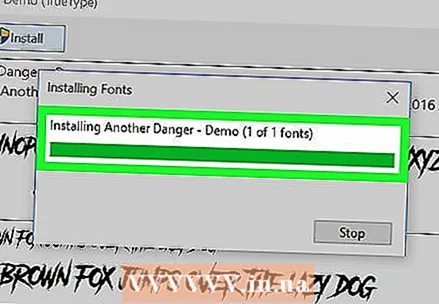 Wait while the font is installed. This usually doesn't take more than a few seconds. Once the font is installed on your computer, you will be able to access it from any program that uses system font, including Microsoft Word.
Method 2 of 3: On a Mac
 Download a font. There are many websites with fonts in various sizes that you can download for free (for use at home). MacOS supports both OTF and TTF font files, which are two of the most commonly used fonts. Some of the most popular font websites are:
 - dafont.com
- fontspace.com
- fontsquirrel.com
- 1001freefonts.com
 Extract the font file if necessary. Since you will download most font files as a ZIP file, you must first unzip the file by clicking it twice and wait for the extracted file to open.
 - Skip this step if you are downloading the font as a TTF or OTF file, instead of a ZIP file.
 Click twice on the font file. A preview window will then be opened.
 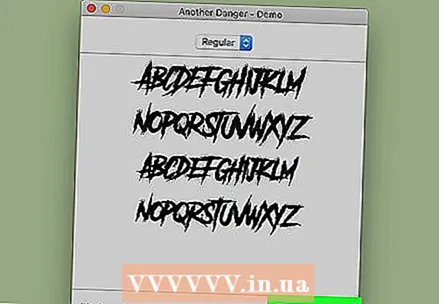 click on Install font. You can find this button at the top of the preview window. That way, the font for all word processing programs will be installed on your Mac, so you can use it within Microsoft Word.
Method 3 of 3: Access the font in Word
 Note the name of the font you have installed. The fonts in Word are in alphabetical order, so in order to find it, it is important to know the first letters of your new font.
  Open Microsoft Word. To do this, click on the icon in the shape of a white "W" on a dark blue background.
 - If you already had Microsoft Word open, close it and reopen the program. If you don't, the new font may not be visible in Word until you restart the program.
 click on New document. You can find this option in the top left corner of the homepage. Doing so opens a new Word document.
 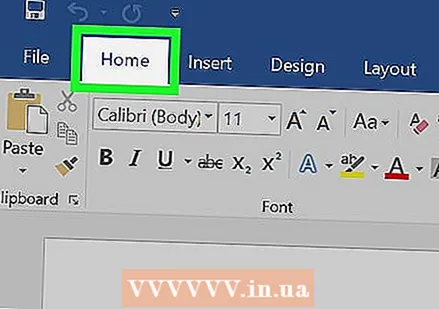 click on Home. You can find this tab at the top of the Word window.
 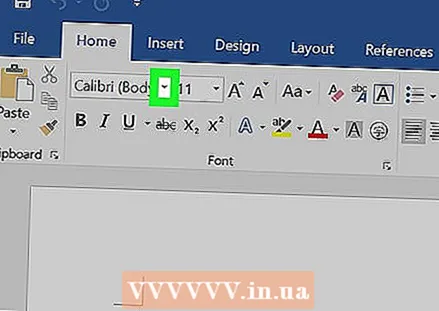 Open the "Font" drop-down menu. click on
  Find the new font. Scroll through the drop-down menu until you see the name of the new font.
  Try out the font. Click on the font name, then type something to try out the font. You may need to adjust the font size to make it look normal.
Tips
- Once you install the font, it will be available in all programs in Microsoft Office.
- If you want to send a Word file to someone else, save it as a PDF file, so that you can be sure that the font you use comes across properly. You can save the document as a PDF file by clicking "Save As" (on a computer with Windows) or "Format" in the "Save" drop-down box (on a Mac) and then PDF to select.
Warnings
- Certain symbols are not available in all fonts.


