Author:
Joan Hall
Date Of Creation:
26 July 2021
Update Date:
10 May 2024

Content
Electric motors are relatively simple mechanical devices, but rewinding a DC coil on a motor is such a precise thing that should only be done by those with experience in mechanical and electrical repairs. A mistake or poorly performed rewinding work will damage the motor. At this point, your only task is to buy a new motor or take it to a professional repair shop. Given the variety of motors and types of windings, this state of affairs about rewinding is common. If you don’t understand the terminology, you should not tackle your motor; once you start removing the original coils, there is no turning back.
Steps
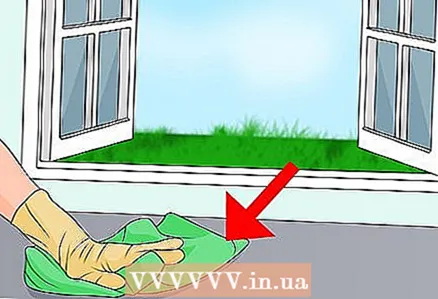 1 Clean your work surface and make sure it is free of dirt and dust.
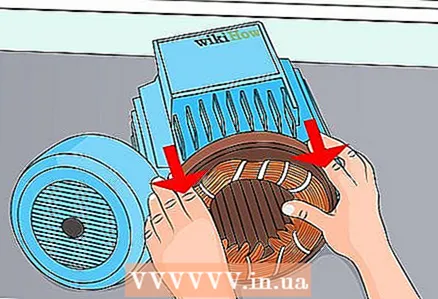 2 Slide the motor housing to expose the bonnet, stator, and windings.
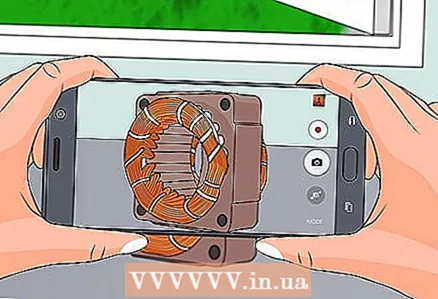 3 Document your current configuration by taking notes or photographs. You can even videotape your deconstruction so that you can accurately recreate the original winding and splicing pattern.
 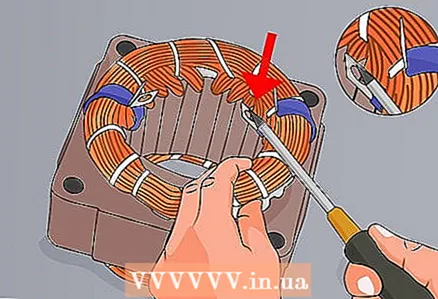 4 Grasp the wire by the tabs on the brush of the pad. Bend the tabs gently (the smaller the better) and completely remove the wire from the tabs before cutting the coil.
 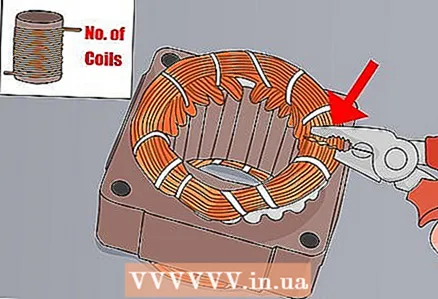 5 Cut the winding coils from the armature and stator. The easiest way to cut this is at the top of the coils at the top of the armature or stator. Count the number of windings in each coil so that you can restore the motor to its original configuration.
  6 Check the insulation that leads to areas of stator laminate steel prior to rewinding the motor. If that's okay, you can put it back in place before rewinding. You can replace burnt or damaged insulation using similar material or tape.
  7 Rewind the Armature or stator using the same gauge and type of magnetic wire that was on the original motor. If you are more experienced, you can improve the quality of the wire by replacing the polyurethane coated nylon wire with the original coated wire.
 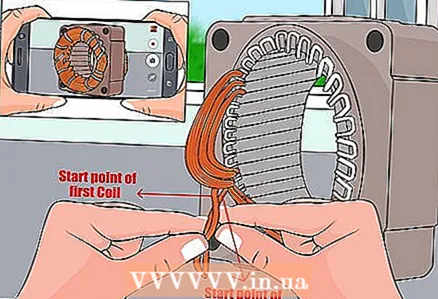 8 Recreate the exact winding pattern and the number of coils around each winding. Be especially careful that each coil is tightly and in the right place for productive work.
 - When starting your first winding, leave the end of the first winding free, but long enough to reach the first tip. The next winding will be attached to the same location.
- Crimp the rest of the windings downward to guide the wire to the desired location. You make the windings using one long wire, so don't cut anything while doing the job.
- Before crimping the wire down under the tab, use a sharp knife or sandpaper to remove the insulation from the wire where it touches the tab. Make sure you move as much insulation as necessary to create good contact.
 9 Connect the end of the previous winding and the wire you left in the first winding to the tab where you started.
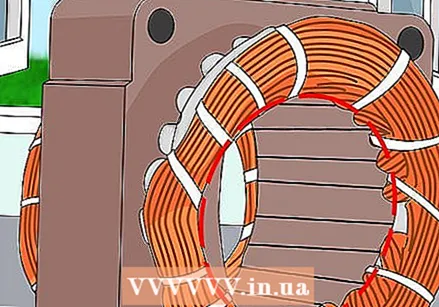 10 Check to make sure none of the wires connecting the tabs are touching.
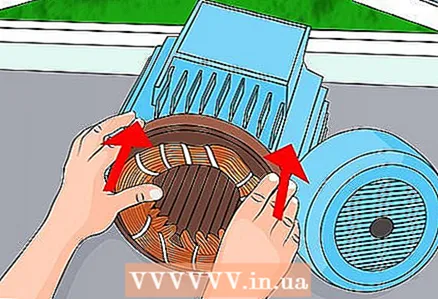 11 Reassemble the motor housing.
Tips
- Practice on old or inexpensive motors before starting on expensive motors.
- The stator type squirrel cage rotor is generally a little more complex. If you are rewinding one rotor squirrel cage stators, especially those with coils that are visible through the center of the stator, resembling a circle of rope, then it is better to find a piece of wood that is the same size as the inside of the original coil, or you can also use a Dremel that or stick to the correct size and wrap the coils on this stick. Then, when the work on the coil is complete, remove it with a stick, wrap the long sides with a type of motor insulation that is like a tape that rolls up into a roll resembling a roll of tape, insert one long side into the stator slot, leaving the other side free for a while. repeat the process making sure the winding is done correctly so that you can insert the coils according to the required polarities, once all the coils are inside, rotate them and add the other long end to the slots on the stator, wind the ends of the coils together and then you can go ... To make the process easier, you must wrap the coils so that the coil is flat enough to pass through the thickness.
- A / C motors are best suited for beginners as all wiring and windings are concentrated in the stator. On all A / C stators, or 2, 4, 6, 8 poles, etc., every other coil is wound in a different direction. For example, if you wrap one post clockwise and move on to the next, then you wrap it counterclockwise. So you wind the next one clockwise and the next one counterclockwise, and so on.
Warnings
- Do not, under any circumstances, wrap new wire over exposed stator / armature steel. Coils must be insulated from the steel laminate at all times. Most manufacturers sell motor insulation in large sheets that can be cut and reshaped with scissors. Engine insulation can also be found wrapped in tape. But keep in mind; it must be specially designed for use by an electric motor. Regular duct tape, duct tape, tarp tapes, etc., will not work with an electric motor as they will wear out and ultimately present an electric shock hazard. Finished grommets must expand at least one eighth of an inch above the top and bottom of the stator and must completely wrap around the wiring between all steel fittings. Without insulation, the pressure of the wire against the stator / armature can break the insulating varnish on the wire, jeopardizing the electrical conduit of the braid, ultimately negatively affect the risk of electric shock and cause short circuits. Wiring in uninsulated fittings can pose an even greater risk of electric shock / since centrifugal forces that occur while the fittings are spinning can cause bare wire to rub, resulting in severe erosion and loss of varnish insulation.
- Before removing the windings, you must understand exactly how the brushes, windings and armatures interact, otherwise you will not be able to complete the winding successfully.
- Only magnetic wire is used in the motor winding. Any other type of wire (floral, arts and crafts, dangling wires, etc.) will not produce any rotation in the motor and may cause electric shock and even send you to the emergency room. In addition, "no" under any pretext and never do not try to use nichrome wire to wind the motor! Nichrome wire is a type of wire used as a heating element in electric heaters, and if you try to start a motor winding using nichrome wire, it will simply heat it up when you plug it in, it can burn the insulation and cause instant fire. In addition, the enormous heat generated by windings made of nichrome wire can deform or even partially melt the stator, and possibly even the housing, shaft and rotor.
- Be sure to use the same wire gauge that was originally used. The caliber is too heavy and the engine will rotate slowly or not at all. If your sensor is too thin, overheating can occur, and possibly even a fire. And if you used wire that was too thin, you might end up in the smoke that comes from the new windings almost immediately after you plug it in. Before you start winding the electric motor, it is highly advisable to make a cross-section of the wire so that you can measure the gauge of the wire used in the original windings.


