Author:
John Stephens
Date Of Creation:
28 January 2021
Update Date:
16 May 2024
Content
This wikiHow teaches you how to create a mobile car in Minecraft. While it is not possible to change the direction of the vehicle, you can build a vehicle that moves forward on its own. This method works on all versions of Minecraft.
Steps
Start a new game in Minecraft's Creative mode. Although you can technically make a car in Survival mode on Minecraft, it's difficult due to the scarcity of necessary resources. Creative mode allows players to make cars without worrying about lack of resources.

Open the Creative menu by:- On the computer - Press E.
- On the mobile version - Click the icon ⋯
- On the console version - Press the button X (Xbox) or button square (PlayStation).

Put raw materials for car manufacturing in warehouse. Move the following items from the inventory to the item bar:- Slime block
- Piston
- Sticky piston
- Red stone block
Find a flat place. The Minecraft car model just goes straight ahead until it hits something and will no longer run. Also, there must always be at least one mass of air below it for a vehicle to move.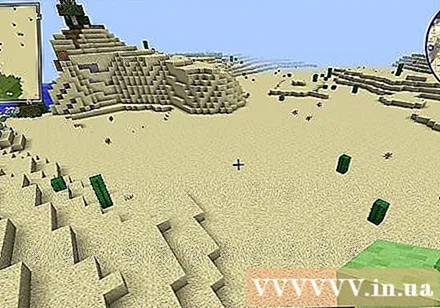
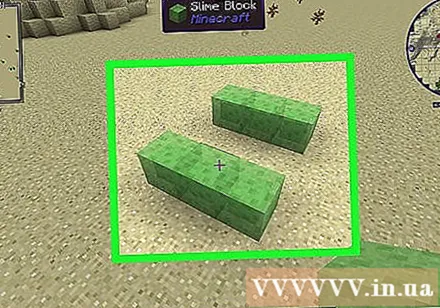
Create two rows of slime three parallel blocks long. These two rows must be exactly two blocks apart.
Connect two rows. Place a total of two slime blocks between the rows of slime. You should now have a capital "i" shape, this is a gathering area to prepare the car.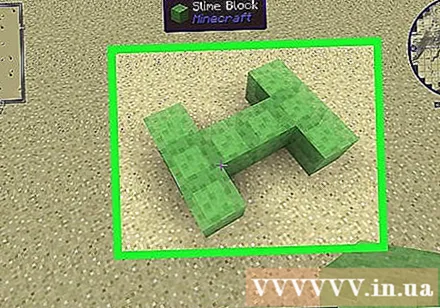
Create bodywork. Add a layer of slime above the set area, then break the eight I-shaped blocks below. This will give you an I-shaped set area suspended in the air.
Place a piston at the rear end of the vehicle. The piston should lie towards the rear center block. The easiest way to do this is to look at the rear end, break the rear center slime, place two blocks (stacked on top of each other) on the ground as a scaffold, place the pistons, break the scaffolding and replace the slime block on the block that you broke.
- The piston located at the end of the vehicle is the rear end.
Place the sticky piston. Break both blocks in the center, look back at the front of the car and put two sticky pistons. You may need to break the back slime and replace it again after the second sticky piston has been placed.
Move to the front of the car. You need to replace the piston that is closest to the front of the car with the piston that is normally facing the front of the car.
Replace the front stick piston with the forward piston. Now, from front to back you will have:
- A row of slime
- A forward piston
- One piston sticks to the back
- A row of slime parallel to the first row
- A piston is usually forward
Place the first red block on the front center slime.
Place the red stone blocks behind. Place one block of red rock on the back center slime, the other right in front of the block just above the sticky piston.
"Sit" in the car. Find an area with no red rocks in the vehicle and get in.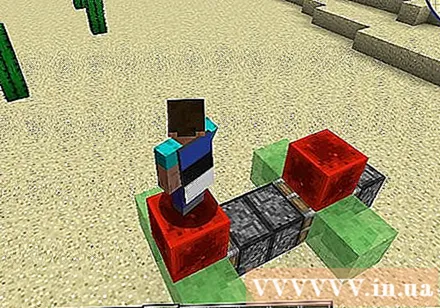
Break the red rock of the sticky piston. The car will start moving forward. You can stop the vehicle by placing another red stone on top of the sticky piston, or by placing any block in front of the vehicle. advertisement
Advice
- You can decorate the car if you like, but make sure you do not place any blocks below the car or above the pistons.
- Building a tall vehicle will help you go a long way.
Warning
- This vehicle will be stuck at any time if there is a block taking up space under the vehicle. For optimal results, you should build the car on the super flat world.


