Author:
Sara Rhodes
Date Of Creation:
12 February 2021
Update Date:
1 July 2024

Content
- Steps
- Part 1 of 3: Prepare your hair
- Part 2 of 3: Weaving African braids
- Part 3 of 3: Taking care of your pigtails
- Warnings
- What do you need
Afro-braids are bohemian chic, and braiding them in the salon is quite expensive. It also takes a lot of time and patience, but in principle, you can do it yourself at home. Further - everything you need to know for this.
Steps
Part 1 of 3: Prepare your hair
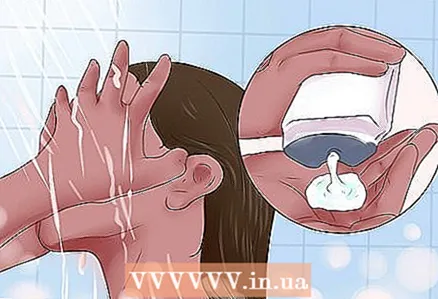 1 Wash your hair with a cleansing shampoo. Tangled and messy hair will be difficult to braid into a straight braid, but it will be even more difficult to braid when the time comes. A cleansing shampoo is more effective at clearing dirt than most standard shampoos.
 - This is especially important if your hair has absorbed products such as wax, oil, and chlorine. The build-up of these substances can make your hair look brittle, like straw, and worsen the general condition.
- If your hair is dry and you are worried that this shampoo will dry it out further, then you can use a standard shampoo.
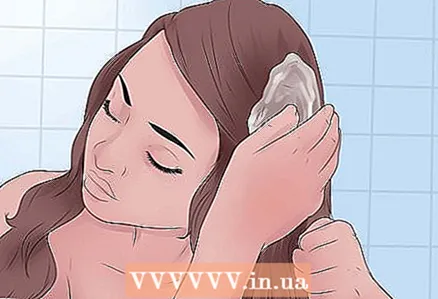 2 Apply conditioner or a light detangler. You need to remove moisture from your hair, so conditioner is a good idea. An easy-tangle conditioner or a moisturizing spray is even better, as they will make your hair smoother and easier to braid without even having to tie it.
 - If you want to lower the pH of your conditioner, you can dilute it with distilled water, aloe juice, apple cider vinegar, almond oil, or castor oil. Water-based substances, including juice and vinegar, are mixed one-to-one with your conditioner. And one part of the oil should be added to three parts of the conditioner.
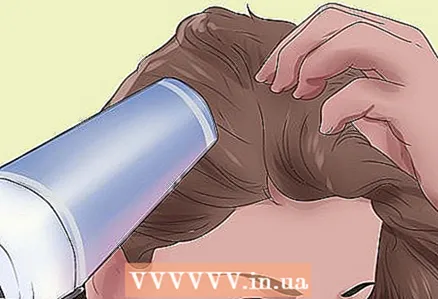 3 Dry your hair. Before you start braiding your braids, make sure your hair is dry enough. Do it the way you like best: blow dry them, or leave them to dry on their own.
 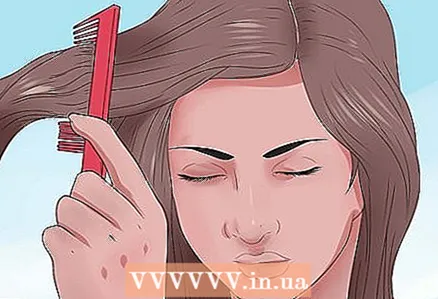 4 Dry your hair. Before you start braiding your braids, make sure your hair is dry enough. Do it the way you like: blow dry them, or leave them to dry on their own.
 - Hair should be absolutely combed from root to tip. Otherwise, your hair will become even more tangled and split as you try to unravel your braids. Due to the braiding process, your hair can become brittle and weak.
Part 2 of 3: Weaving African braids
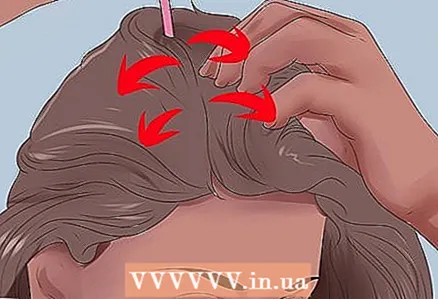 1 Divide your hair into four sections. You have to create four square pieces: front-left, front-right, back-left, and back-right.Leave one part that you will be working with, and secure the other three parts with large hairpins.
 - The pieces do not need to be “square” by themselves, but they need to be evenly spaced and have clear edges.
- If you cannot part your hair with your fingers, then use a wide comb. Avoid using fine-toothed combs, they will only tangle your hair more.
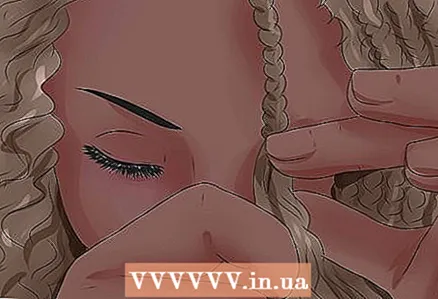
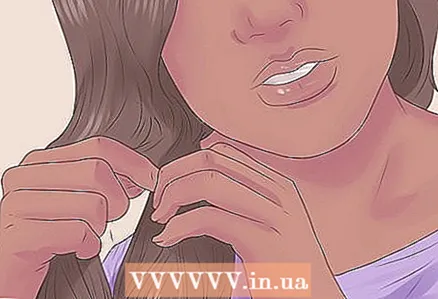 2 Take a small section from the first section of your hair. Traditional African braids are pretty shallow, so grab a suitable section of hair between your thumb and forefinger.
 - Most people find it easiest to start at the front of your non-dominant side, but the choice is yours. Likewise, we recommend that you, for convenience, start with a section of hair from the front.
- Also make sure that all future strands will be the same size. Otherwise, your braids will be uneven.
 3 Weave in synthetic hair if desired. You can make African braids from your own natural hair as well as from artificial hair. And yet, if you've chosen artificial ones, then it's time to weave them.
 - Remove a lock of synthetic hair from the bag. You can stretch it to make it longer and give it a more natural look, or trim it to the desired length if you like.
- Fold this strand in half to form a u-shape, or horseshoe shape.
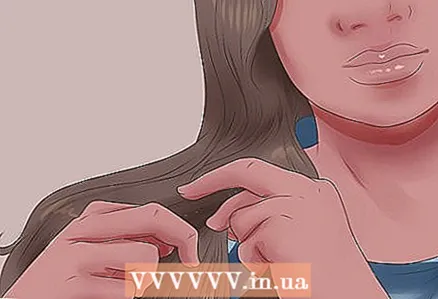
- Divide some of your natural hair into three sections. Grab a little more hair in the center than on the right and left.
- Place a synthetic section in the middle between your real hair. The tip of the synthetic hair should be overlapped on the left and right with your hair.
- Make one braid with your hair this way. Cross the left side under the middle. Then, take the right side under the middle and thus complete the weaving.
- Now secure your synthetic hair. Part your hair so that there are three strands of equal length and thickness.
 4 Braid the entire first section of your hair. You need to divide it into three parts in the same way as you did with the braid. Continuing in this way, you will have straight, neat braids that will be easy to unravel.
 - Continue braiding, bringing the left strand to the middle and then the right strand to the middle.
- Braid this part completely.
- Add more fake hair if needed. If the length of synthetic hair is not enough for you, then you can add it in the process, weave it right in, as you notice that the braid has become thinner. When adding new hair, use the same braiding technique as in the beginning.
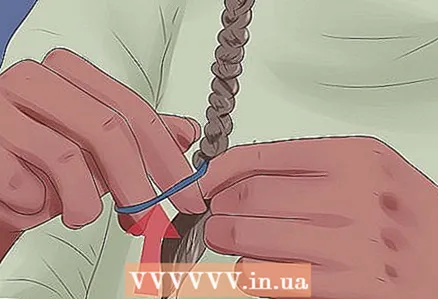 5 Decide if you want to tie your hair or not. These braids are tight enough by themselves, they will not unravel. But if you want to protect yourself, then secure each pigtail with an elastic band at the end. This is especially worth doing if you have fine, sleek hair.
 - Although, note that rubber bands cause split ends and damage to your hair, so try to avoid them whenever possible.
- You can also "seal" the ends of synthetic or natural hair simply by dipping them in boiling water. After that, your braids will loosen up.
 6 Repeat this for the rest of the hair. So far, you've only finished one braid. Weave the rest in the same way, and repeat this action until the whole head is braided.
 - Make sure that each strand of fake hair is the same length as your braids. Otherwise, you run the risk of braiding pigtails of different lengths.
- Set aside enough time. This is a fairly long process, but you can make it even longer if you hurry and you have to redo everything.
Part 3 of 3: Taking care of your pigtails
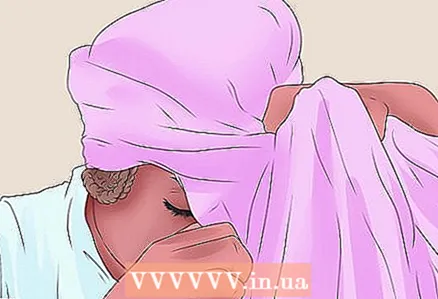 1 Wear a silk or satin scarf at night. This is not necessary, but this will help the pigtails to shag and frizz less.
 - Tie the scarf around your head, collecting the braids.If your braids are longer than the scarf, you can secure them on top before tying the scarf, effectively rolling it up while you sleep or just leaving the ends.
- Alternatively, you can sleep on a satin pillow to keep the braids from shaggy less.
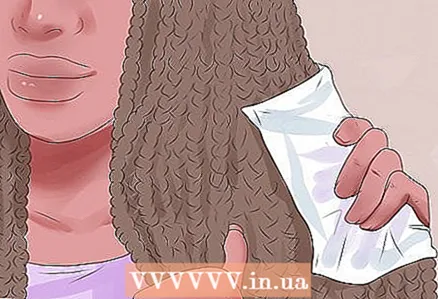 2 Wipe your braids with witch hazel 2-3 times a week. Apply witch hazel to a damp cloth and wipe down the braids one at a time. This will keep them clean without having to wet them in the shower or tap. African braids become very heavy if wet, and when dry, they begin to frizz.
 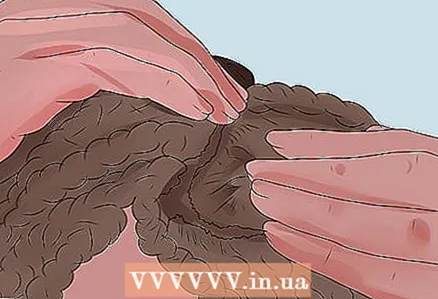 3 Wash your hair with shampoo and water to avoid itching. Part the braids to expose the scalp and pin them up. Wash your hair one section at a time, being careful not to get your braids wet.
 - It is best to wash your scalp 3-4 times a week rather than every day.
 4 Massage your scalp with natural oils. Keep your scalp hydrated by massaging with natural, organic oils twice a week. Coconut oil, almond oil, and shea butter are best used.
 - Part the braids to reach the scalp. Using a cotton ball, or cotton pad, or a clean finger, apply a generous drop of oil to the parting areas. Try to apply the oil to your scalp as much as possible without getting on your braids.
 5 Unbraid your braids in two months. They usually last 6-8 weeks, but even if they still look good after this time, keep in mind that you still better unravel them, as they damage your hair.
 - If you wear braids for too long, chances are that they will simply come off, or at least damage your hair for a long time.
- Plus, you already lose hair on a daily basis. Your braided hair is constantly pulling on healthy hair and tangling it.
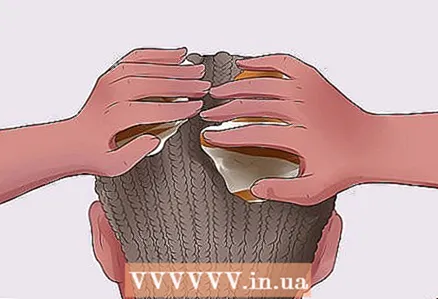
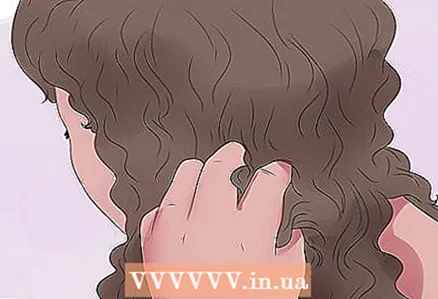 6 Loosen the strands with your fingers. In order to unravel your braids, it will also take a lot of time, as well as braiding, but if you did it carefully, and they did not get tangled, then the pressure of your fingers will be enough for you.
 - Do not use a comb with fine teeth. Because the gaps between the prongs are so narrow that your hair can easily get tangled and you end up accidentally tying knots at the ends. If they break, it will lead to split ends.
Warnings
- This hairstyle can take hours to complete, so plan ahead.
- Do not do this hairstyle often, it can lead to alopecia - a fancy term that refers to thinning or breakage of hair along the growth line.
- Do not braid your braids too tight, as this may cause them to come off.
What do you need
- A cleansing shampoo.
- Conditioner or light brush.
- Hair dryer (optional).
- Wide comb.
- Large hairpin.
- Artificial hair (optional).
- Hair ties (optional).
- Boiled water (optional).
- Hamamelis.
- Cotton wool.
- Satin or silk scarf.
- Natural oils.
- Regular shampoo.


")
