Author:
William Ramirez
Date Of Creation:
15 September 2021
Update Date:
1 July 2024

Content
- Steps
- Method 1 of 2: Write to a Windows formatted (NTFS) disk without reformatting
- Method 2 of 2: Reformatting a Windows formatted disk (NTFS) for use on macOS
- Warnings
Writing information to an external macOS hard drive is not as easy as it might seem at first glance. Depending on what filesystem the drive is currently formatted in and whether you want to reformat it, you have several options. If your disk is already formatted for macOS, you can already write information to it. However, if the drive is formatted in NTFS - this file system is designed to work with computers running Windows - you have two options, which we will discuss below. Follow a few simple steps to write information to your external drive.
Steps
Method 1 of 2: Write to a Windows formatted (NTFS) disk without reformatting
 1 Connect your drive. Using a cable (usually USB), connect your external hard drive to your Mac.
 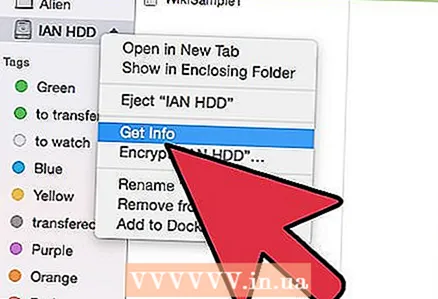 2 Check the file system of the disk. Make sure your external hard drive is NTFS formatted. To do this, right-click on the external drive and select Properties from the context menu.
  3 Make sure the drive is NTFS formatted. In Properties, click on the downward-facing triangle to the left of General. A drop-down menu will open. The "Format" field will indicate the file system of the disk, that is, like this: Format: NTFS.
  4 Install third party software. MacOS does not support writing to NTFS formatted drives. To write information to such discs, you need a third-party application or patch.
 - You can use NTFS-3G, a free open source NTFS file system driver.
- NTFS-3G developers also have a separate, paid and more stable version of the above driver - Tuxera NTFS.
 5 Reboot your computer. During driver installation, you will be prompted to restart your computer. Do this to complete the installation process.
 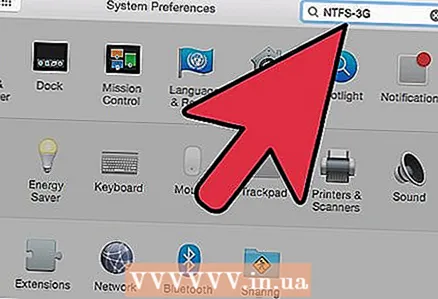 6 Make sure the installation was successful. After restarting your Mac, an icon labeled “NTFS-3G” should appear in System Preferences. It may be different if you have installed Tuxera.
  7 Make a trial recording. Copy the file from your computer to your external hard drive. If there are no errors during the copying process, you can now write files to an external hard drive formatted in NTFS.
Method 2 of 2: Reformatting a Windows formatted disk (NTFS) for use on macOS
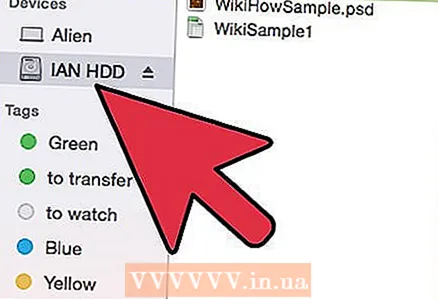 1 Connect an external drive. Using a cable (usually USB), connect your external hard drive to your Mac.
  2 Check the file system of the disk. Make sure your external hard drive is NTFS formatted. To do this, right-click on the external drive and select Properties from the context menu.
  3 Make sure the drive is NTFS formatted. In Properties, click on the downward-facing triangle to the left of General. A drop-down menu will open. The "Format" field will indicate the file system of the disk, that is, like this: Format: NTFS... If the drive is formatted with a file system compatible with macOS, the problem with writing to it may be due to a faulty cable.
 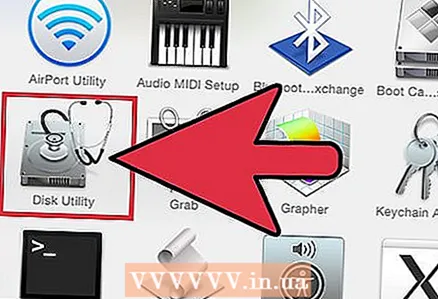 4 Start Disk Utility. Navigate to the Applications folder and then to Utilities. Find the Disk Utility app and open it.
  5 From the utility menu, select Clean. Erasing a disk or volume permanently deletes all of its files - be sure to back up any data you want to keep.
  6 Select the format you want. With Disk Utility, you can format your external hard drive to various file systems. From the drop-down menu labeled "Format" select the file system of your choice. It all depends on how and for what you will use the external hard drive. The most common formats are:
 - FAT: Supports both macOS and Windows, but the maximum file size that can be written to such a disc is only 4GB.
- exFAT: Supports newer versions of Mac OS X (10.6.5+) and Windows (Vista +). Can handle large files. This is the best option for cross-platform compatibility..
- Mac OS Extended: Supports macOS only. Incompatible with Windows computers. This is the best option if you intend to use the external hard drive exclusively with Mac computers.
- NTFS (Standard File System for the Windows NT Family of Operating Systems): Supports Windows; macOS recording can be added using the steps in the previous method. This is the best option if you intend to use the external hard drive exclusively with Windows computers.
 7 Click the "Clear" button. Disk Utility will begin reformatting the disk. This process will take a few minutes.
  8 Burn files to disk. After reformatting, try copying some files to an external hard drive. You can now write files to your disk from your macOS computer.
Warnings
- Be sure to back up all files before reformatting the drive, as any files left on the external drive will be deleted.


