Author:
Joan Hall
Date Of Creation:
5 July 2021
Update Date:
1 July 2024
Content
- Ingredients
- Steps
- Method 1 of 4: Roast the corn with leaves
- Method 2 of 4: Bake in foil
- Method 3 of 4: Roasting whole corn
- Method 4 of 4: Roasting the corn chunks in the oven
- What do you need
- We bake in the leaves
- We bake in foil
- Fry whole in the oven
- Fry in the oven in the form of pieces
If it's too cold outside to grill, and you're tired of the taste of boiled corn, try cooking it in the oven. Bake the ears or saute with or without leaves.
Ingredients
4 servings
- 4 cobs of corn
- 60 ml (4 tablespoons) butter or olive oil
- Salt, to taste (optional)
- Ground black pepper, to taste (optional)
- Chopped fresh parsley, to taste (optional)
Steps
Method 1 of 4: Roast the corn with leaves
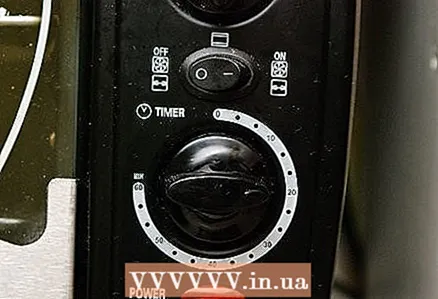
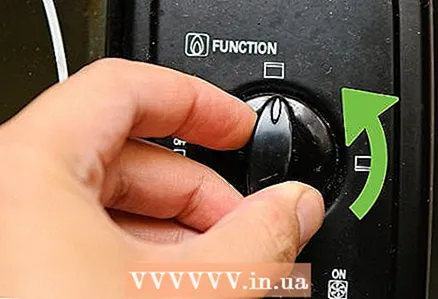
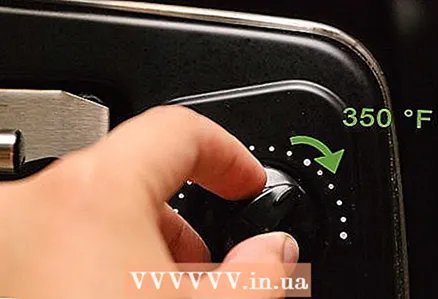 1 Preheat oven to 180 ° C. Center one of the inner grilles.
 - You don't need a baking sheet to cook corn. Place the ears directly on the wire rack. Also, do not cover them with aluminum foil.
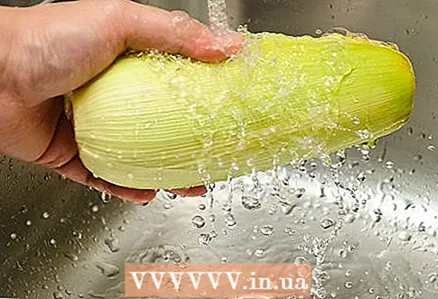 2 Rinse the corn. First, place the ear under a stream of cool water and rinse the leaves. Scrub it with your fingers to remove any dirt.
 - "Don't" remove the leaves from the corn.
- If there are stigmas or loose leaves at the ends of the cob, take kitchen scissors and cut them off.
 3 Cook the corn for 30 minutes. Place the cobs in a single row on the center rack. Bake until tender.
 - You can place another grate on top as long as it does not touch the corn. Or move it below.
- Arrange the corn in one row. If it does not fit, lengthen the cooking time. You should also make sure that the cobs in the oven do not touch the upper heating element.
- Check for doneness by squeezing the edges of the cob. The ears should be tight but soft enough when pressed.
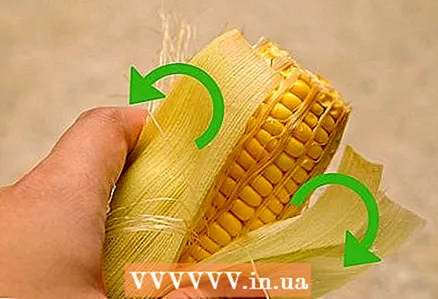
 4 Remove the leaves from the corn. Remove the cooked ears from the oven and let cool for a few minutes. Then gently peel each ear.
 - Try to hold the base with an oven mitt when removing the leaves. The steam is very hot from the corn, so don't bring it too close to your face.
- For convenience, leave the leaves around the base of each ear, or remove them entirely. It all depends on your personal preference.
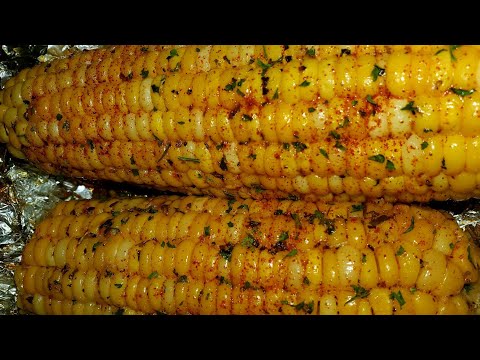
 5 Enjoy. You can brush the cobs with melted butter or olive oil, or season them with salt, pepper, and chopped parsley to taste. Serve while hot.
Method 2 of 4: Bake in foil
 1 Preheat oven to 200 ° C. Place one of the grates in the middle.
 - Prepare four sheets of aluminum foil at the same time. Each should be 1.5 times the width of an ear of corn.
- Above the main grill, one more, additional one can be located. You don't have to take it out. The main thing is that it does not touch the corn cobs. Otherwise, it is better to move it to the lower tier.
 2 Remove the leaves from each ear of corn. Cut off the stem at the base.
 - Rinse the corn under cool running water while gently scraping the stigmas with your fingers. Then dry it off with a clean paper towel.
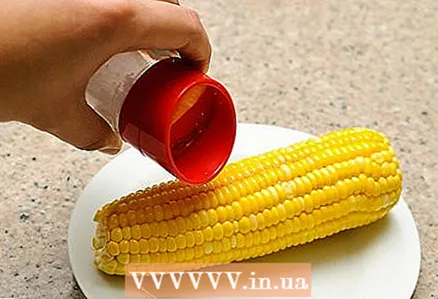
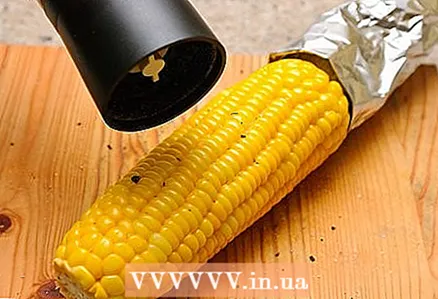
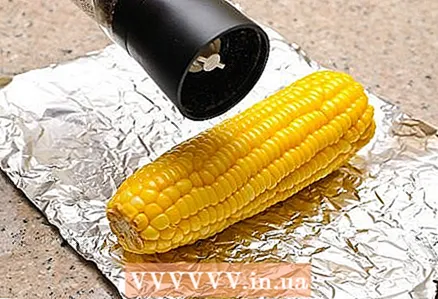 3 Add seasoning. Place the corn cobs in turn on a separate sheet of aluminum foil. Brush them with butter or olive oil, then add salt, pepper and chopped parsley to taste.
 - The easiest way to spread the butter evenly is to melt it before you start cooking. But this is not at all necessary, because the butter melts so well during baking.
- Sprinkle the seasoning on all sides of the corn cob, spreading it evenly over the surface.
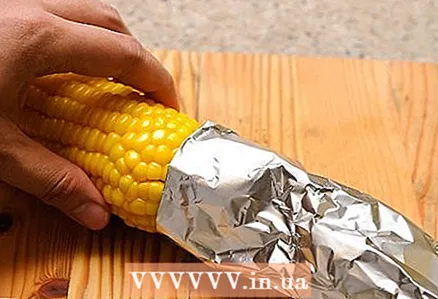
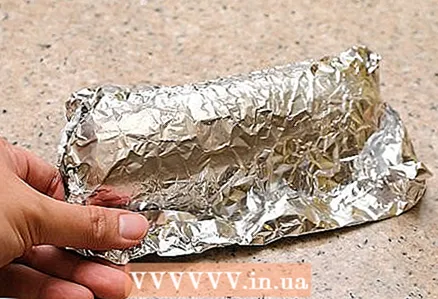 4 Seal the foil. Wrap the corn loosely in it, cover the ears, and tuck the edges.
 - Place the foil wrapped corn on a dry baking sheet. You don't need to cover it. It is advisable to stack the corn in one row, not in a heap.
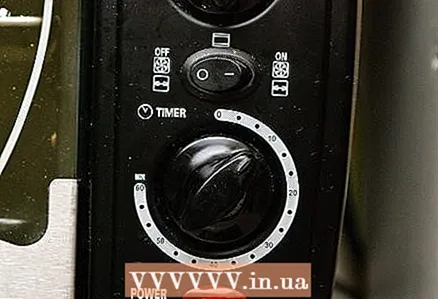
 5 Bake for 20-30 minutes. Place the corn in the preheated oven and cook until completely baked, tender and crispy.
 - After 10 minutes, turn the baking sheet to bake the corn evenly.
- Check the ears for readiness after 20 minutes by gently squeezing the edges of the foil. Put on an oven mitt to avoid scalding your hands. Finished corn is usually quite soft, but not sticky to the touch and will not break apart.
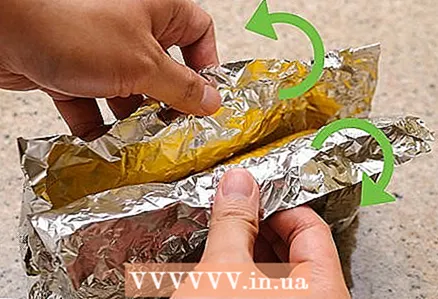 6 Unroll the foil carefully. Remove the cooked corn from the oven. Let it cool for a few seconds, then carefully remove the foil from the cob.
 - Hot steam comes out from under the foil. Do not tilt your face and shoulders over the corn, or you may burn yourself.
- Unwrap the corn and pierce one of the kernels with your fingernail or fork. Juice will flow out when the dish is ready. If it doesn't, wrap the corn loosely in foil and place it back in the oven for a few more minutes.
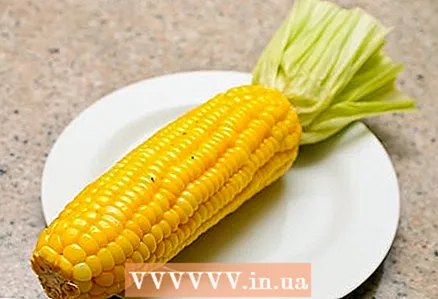
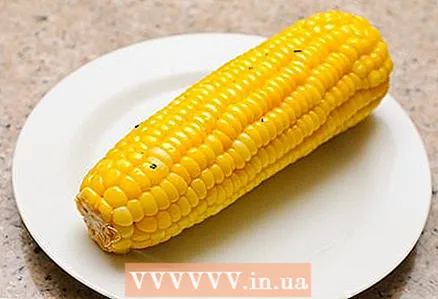 7 Serve the baked corn. Enjoy the dish while it is still hot. It's much tastier and more enjoyable this way.
Method 3 of 4: Roasting whole corn
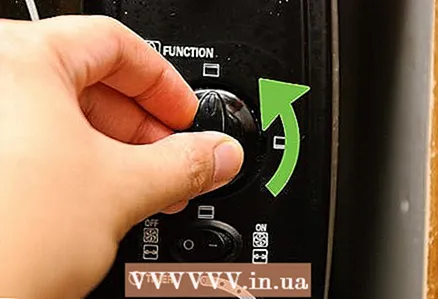 1 Heat the oven. Turn on top heat and wait 5-10 minutes.
 - In inexpensive ovens, there is no way to choose different modes, in others, you can cook on the upper and lower heating elements. Turn on the "top" mode, if possible.
- Place the grate 15 centimeters below the top heating element. This is the part of the oven where the “top” heater works as efficiently as possible.
 2 Peel off the leaves and wrap the foil over the corn. Peel them back to reveal the ear, but do not remove. Cut off a portion of each sheet with scissors. Leave 10 centimeters in length and wrap with aluminum foil.
 - Remove all stigmas.
- It is important to wrap the leaves with foil. After all, if this is not done, then they will quickly burn in the oven and may even flare up.
- If desired, you can cook the cobs completely without leaves and stems.
 3 Brush the corn and sprinkle with seasoning. Arrange the ears in a single row on a baking sheet and drizzle with olive oil. Season with salt and pepper to taste.
 - You can cover the baking sheet with aluminum foil, but this is not necessary.
- It is better to use olive oil for frying. It does not foam and shoot as much as the creamy one.
 4 Bake the corn for 10-15 minutes. Place the ears on the preheated oven rack. Watch them carefully and turn over as soon as the beans are browned on one side.
 - Turn the corn 3-5 minutes after starting cooking, and then two more times after exactly the same amount of time. Even roasting ensures a delicate taste.
- The foil can be removed from the leaves in the last 2 minutes of frying. This will protect them and prevent them from burning.
 5 Enjoy. Remove the corn from the oven and sprinkle with chopped parsley. Serve while the ears are hot.
Method 4 of 4: Roasting the corn chunks in the oven
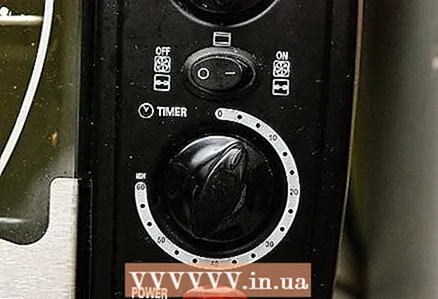
 1 Heat the oven. Turn on maximum power and wait at least 5 minutes.
 - If the oven has multiple modes, turn on the high power mode. If not, just reheat to the desired temperature.
- The grill should be 15 centimeters below the top heating element.
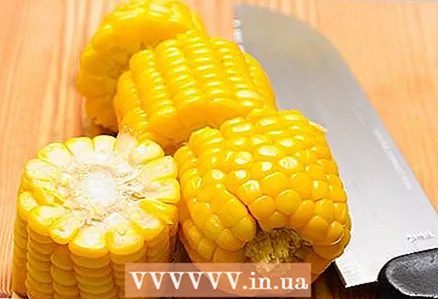 2 Cut each ear into four pieces. Remove all leaves from the corn and discard stigmas. Use a knife to cut each ear into four equal pieces.
 - You can break the cobs with your hands if the corn is thin enough. But it will be so difficult to get the same size pieces.
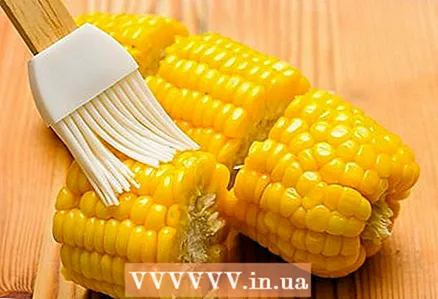 3 Brush the corn with vegetable oil and sprinkle with seasoning. Spread the slices on a large baking sheet already covered with aluminum foil. Lightly brush them with olive oil or melted butter and sprinkle with salt and pepper (optional).
 - It is safest to use olive oil for the oven. It doesn't foam and splashes as much as the creamy one. Corn chunks cook relatively quickly, so any of them will do.
 4 Fry in the oven for 6-10 minutes. Flip once. Place corn under the heated oven element. Cook for 3-5 minutes, or until a few of the beans are noticeably darker, then turn the ears over. Continue in this manner to brown the other side of the corn as well.
 - Brush the other side of the corn with extra olive oil or butter before placing it back in the oven. Do this carefully to avoid splashing.
 5 Enjoy. Remove the corncob pieces from the oven and let cool slightly. Sprinkle with freshly chopped parsley and serve hot.
What do you need
We bake in the leaves
- Potholders
- Smearing brush
We bake in foil
- Aluminium foil
- Smearing brush
- Paper towels
- Potholders
Fry whole in the oven
- Smearing brush
- Aluminium foil
- Baking tray
- Forceps
- Potholders
Fry in the oven in the form of pieces
- Knife
- Baking tray
- Aluminium foil
- Smearing brush
- Forceps
- Potholders


