Author:
Virginia Floyd
Date Of Creation:
13 August 2021
Update Date:
1 July 2024

Content
- Steps
- Method 1 of 3: Patch up a plastic gas tank with epoxy glue
- Method 2 of 3: Patch up a plastic gas tank with a welder
- Method 3 of 3: Patch up the plastic gas tank with a soldering iron
- Tips
- Warnings
- What do you need
Plastic tanks are in high demand in the world of motorcycle racing and ATV enthusiasts. A plastic fuel tank can weigh less than half the weight of a metal gas tank and can be easily shaped to fit configuration. Seamless gas tanks rarely leak and are impervious to rust and corrosion that affect metal tanks. If the plastic fuel tank does maintain small holes or tears, there are some fairly simple ways to make repairs.
Steps
Method 1 of 3: Patch up a plastic gas tank with epoxy glue
 1 Drain the gasoline tank and let it dry. Sand around the hole or crack, and clean the area with a rag and saturated alcohol.
 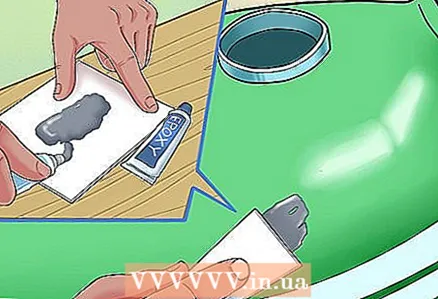 2 Mix 2 types of epoxy together and apply around the entire perimeter of the hole. Cut a patch out of the fiberglass large enough to cover and close the hole.
 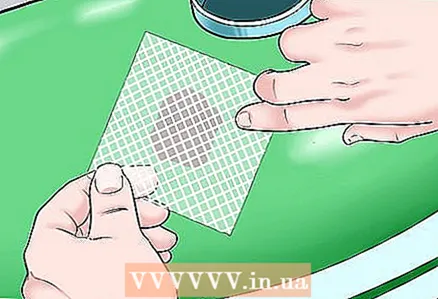 3 Place a fiberglass patch over the hole and seal it with epoxy. Use more epoxy glue on and around the patches, pressing firmly to saturate the patch.
 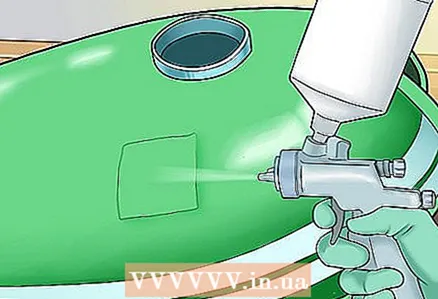 4 Allow to dry, lightly add sand to the patch, and spray paint if desired.
Method 2 of 3: Patch up a plastic gas tank with a welder
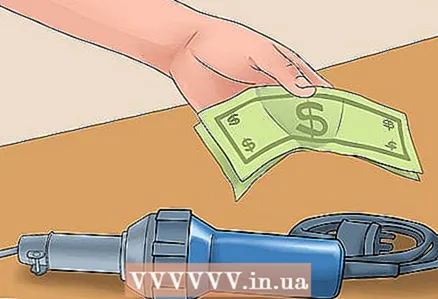 1 Buy or rent a welding machine. Tell the salesperson what you will do with it to ensure you get the right rods.
 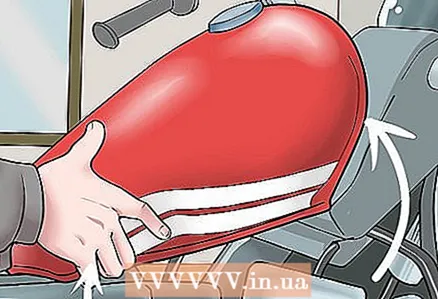 2 Remove the gas tank from the vehicle, and install it in a safe welding location. Drain the gasoline tank and let it dry both inside and out. Wear safety goggles, a welding helmet and welding gloves.
 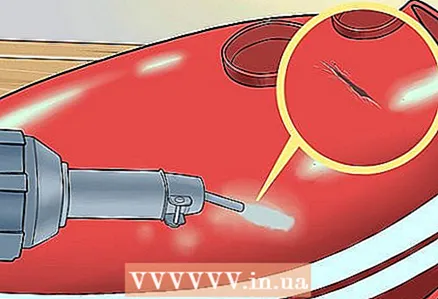 3 Fill cracks or holes with plastic welding wire specially made for this. Start at the edge and run the roller around the hole. Then begin to cross the hole, allowing the rod to fill the hole completely.
 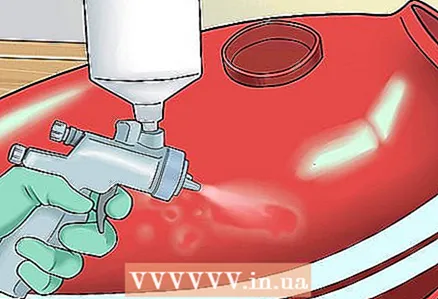 4 Set up the welding machine, add sand and, if desired, paint it with spray paint.
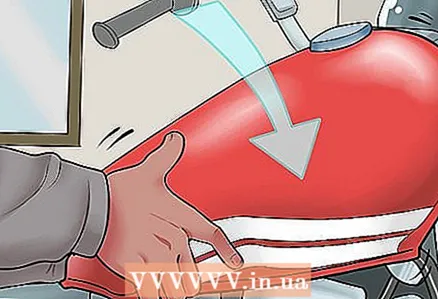 5 Replace the repaired plastic fuel tank on the vehicle.
Method 3 of 3: Patch up the plastic gas tank with a soldering iron
 1 Drain the gasoline tank and clean it with soapy water. Lightly sand the perimeter of the area to be repaired.
 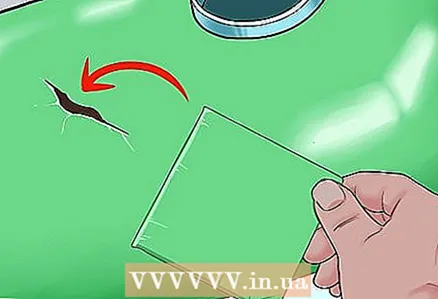 2 Cut a plastic patch made of a similar material into the gas tank, slightly larger than the hole to be repaired.
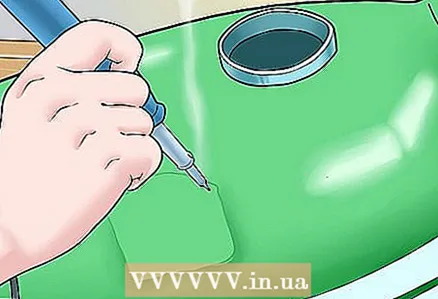 3 Heat the electric soldering iron, and drag it along the edge of the crack, creating a trench. Move the soldering iron from side to side to push the plastic bottom into the trench. While the plastic is still soft from soldering, place a plastic patch over the area. Continue moving the soldering iron across the area to flatten the plastic and weld them together.
 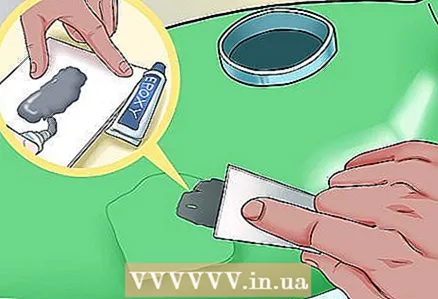 4 Let it cool and dry. Mix 2 types of epoxy glue and cover the entire patch area. If desired, add sand and spray the finish with plastic paint.
Tips
- Use epoxy glue - the easiest way to seal a plastic fuel tank, but it won't last long.
- When using a plastic welder for the first time, practice before attempting to weld a plastic gas tank.A rental store should be able to work with you so that you don't have any problems.
Warnings
- Plastic welding machines are safe near gasoline fumes as they have a very high flash point. However, use common sense and do not use it near open flames.
What do you need
- Plastic patches
- 2 types of epoxy glue
- Fiberglass patch
- sandpaper
- Textile
- Alcohol
- Plastic paints
- Plastic Welding Machine
- Welding wire
- Welding Helmet
- Welding gloves
- Eye protection
- Soldering iron


