Author:
Mark Sanchez
Date Of Creation:
27 January 2021
Update Date:
2 July 2024

Content
After a while, Microsoft Word starts to work differently from the way it did after it was installed. Default settings such as styles, fonts, toolbars have been changed, requiring additional time to re-format text or troubleshoot. In this and other cases, you can reinstall Word. But before you jump into such drastic steps, try this guide to restore default settings in Microsoft Word on Windows and macOS.
Steps
 1 Open the "Tools" menu and select "Settings" and then go to the "Options" tab.
 2 Check the box next to "Reset menu and toolbar settings". This will restore menus and toolbars to their default settings. If you want to reset all settings, go to the next steps.
Method 1 of 2: Windows
 1 Click Start> Run. The Run dialog box will open.
  2 In this window, enter "regedit" (without quotes). Click OK to launch Registry Editor.
 - If you are using Word 2010, highlight HKEY_CURRENT_USER / Software / Microsoft / Office / 14.0 / Word keychoice>.
- If you are using Word 2007 highlight HKEY_CURRENT_USER / Software / Microsoft / Office / 12.0 / Word keychoice>.
- If you are using Word 2003, highlight HKEY_CURRENT_USER / Software / Microsoft / Office / 11.0 / Word keychoice>.
- If you are using Word 2002, highlight HKEY_CURRENT_USER / Software / Microsoft / Office / 10.0 / Word keychoice>.
- If you are using Word 2000, highlight HKEY_CURRENT_USER / Software / Microsoft / Office / 9.0 / Word keychoice>.
 3 Press the Delete key. In the window asking you to confirm deletion of the registry entry, click "Yes".
 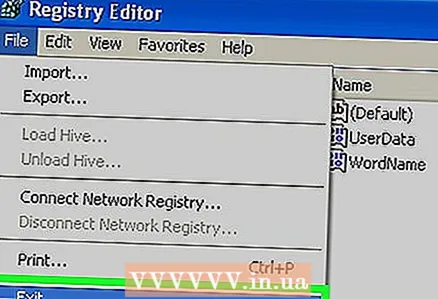 4 Close Registry Editor.
 5 Restart Microsoft Word. All settings should be restored to default.
Method 2 of 2: macOS
 1 Close all Microsoft Office applications.
 2 In Finder, go to the ~ / Library / Preferences folder (substitute your user account name for ~).
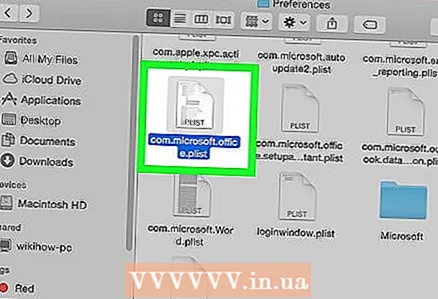 3 Drag Microsoft Word files to your desktop. These files can be different - it all depends on the version of Microsoft Word.
 - In Word 2008 select:
~ / Library / Preferences / com.microsoft.Word.plist
~ / Library / Preferences / com.microsoft.office.plist
~ / Library / Preferences / Microsoft / Office 2008 / Office Font Cache - In Word 2004 select:
~ / Library / Preferences / Microsoft / com.microsoft.Word.prefs.plist
~ / Library / Preferences / Microsoft / com.microsoft.Office.prefs.plist
~ / Library / Preferences / Microsoft / Office Font Cache - In Word X select:
~ / Library / Preferences / Microsoft / Word Settings
~ / Library / Preferences / Microsoft / Microsoft Component Preferences
~ / Library / Preferences / Microsoft / Microsoft Office Settings
~ / Library / Preferences / Microsoft / Carbon Registration Database
~ / Library / Preferences / Microsoft / Office Font Cache
- In Word 2008 select:
 4 Microsoft Word settings should be successfully reset. If everything works correctly, you can delete the files that you dragged to the desktop.
Tips
- Remember: even after you have completed all the above steps, there will still be a few settings that can only be reset by completely reinstalling the program. For example, this concerns the company name that the user enters when installing Word.
- Remember: do not reset Microsoft Word settings while the program is running. Word saves information about the current configuration when you exit the program. If you make changes while the program is running, then when you exit the program, it will overwrite the changes.
- Additional tips and troubleshooting information can be found here: http://support.microsoft.com/kb/822005 (for Windows).


")
