Author:
Laura McKinney
Date Of Creation:
9 August 2021
Update Date:
1 July 2024
Content
Providing download links for files via your website is a common need and there are many ways to do this. Sites that offer web creation tools like GoDaddy, WordPress and Weebly often have the feature to upload files as soon as they create a link. If you are building your website from scratch, you can create multiple download links using simple HTML code for the files hosted on your server.
Steps
Method 1 of 5: Use HTML
Create HTML page if not already. You will add a download link to the HTML web page. If you haven't already, you can create a simple HTML page to test the download link. See the article Creating a simple web page with HTML for detailed information.
Open the folder on the server for both the site and the file. The easiest way to link a file is to place it in the same directory as the page's HTML file. Use the Control Panel file manager or the file browser in your FTP program to navigate to the folder containing the HTML file you will add the link to.- Your FTP client should be preconfigured to connect to the web server since you have uploaded your site on it previously. If not, you can learn by yourself how to use FTP to configure your FTP client and connect to your server.
- If your website has an online Control Panel, you are allowed to access the files on your server directly through the web administration interface. You also have the same permission when logging in to your site as an administrator. Once in Control Panel, choose "File Manager".
- If you created your website using a web creation tool like WordPress, Weebly, or Wix, you can see the detailed instructions for each of the methods below.
Upload the file you want to link. You are allowed to upload quite a lot of file types, from PDF to ZIP. Note that some servers will limit the file sizes allowed to upload, and large files can eat up your bandwidth pretty quickly. Some browsers even block potentially harmful files such as EXE or DLL so that visitors to your website cannot download.- To upload files using an FTP program, drag the file into the folder in the FTP window you want to upload. The upload will begin immediately. The upload speed will usually be much slower than the download speed, so it may take a while for the file to upload successfully.
- If you're using the virtual Control Panel file manager, you'll need to click the "Upload" button at the top of the screen. Search for the file on the computer you want to upload. You will have to wait a long time to upload large files to your server.
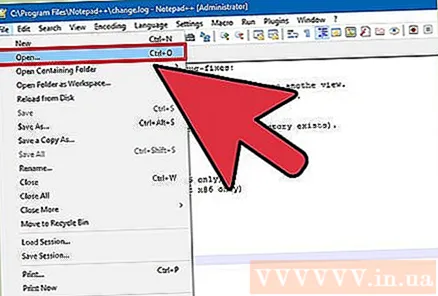
Open the web page for which you want to add the link in the code editor. Once the file is uploaded, you'll need to add a link to it on your website. Open the HTML file to which you want to add the link. You can double-click on it in the Control Panel file manager to open it with the built-in page editor. If you're using FTP, right-click on the HTML file on your server then click "Open With" to open it in a text or code editor.
Search for the location on the page where you want to add the link. Place your cursor in the position in the line of code where you want to insert the download link. This could be in the body of the paragraph, at the bottom of the page, or anywhere else.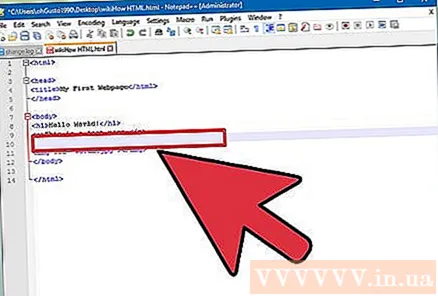
Add the code for the link. Type the line HTML5 code below for your download link. The download will begin as soon as the user clicks the link. If the file is downloaded in the same folder as the HTML file, simply use the name and extension. If the file is in a different directory, you need to add the directory structure.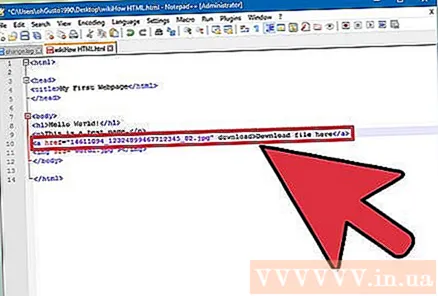
- Properties download doesn't work in Safari, Internet Explorer, or Opera Mini. Users of these browsers have to open the file in a new page and save it manually.
Create a download button instead of a link. You are allowed to use text replacement images to create download links. That node image must be available on your web server.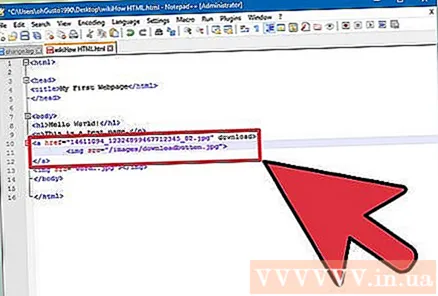
Rename the downloaded file. If define (define) attribute downloadYou can rename the file when someone downloads it. This makes it easier for users to recognize the files they download from you.
Save your changes to an HTML file. Once you're satisfied with your line of code, you need to save your changes to the HTML file and upload it again if necessary. You should be able to see the new download button right on your website. advertisement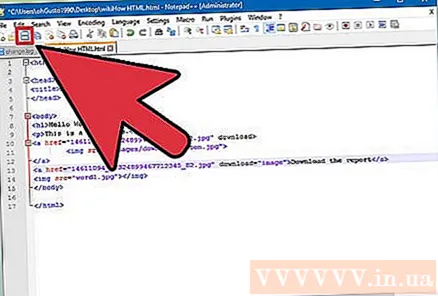
Method 2 of 5: Using WordPress
Open your page in the WordPress editor. If you use WordPress to manage and publish your website, you can use built-in tools to add download links to any of your pages. Log in to the main WordPress interface with the admin account.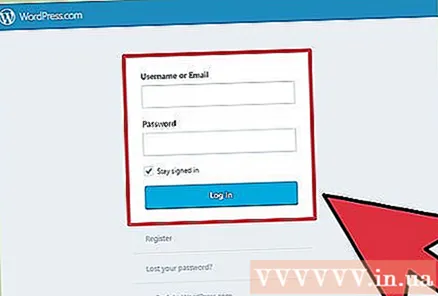
Place your cursor where you want the link to appear. You are allowed to place links in the middle of a paragraph or create a new line for it.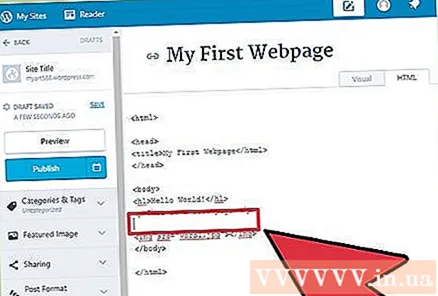
Click the "Add Media" button. You'll find this button above the posting tools at the top of the page.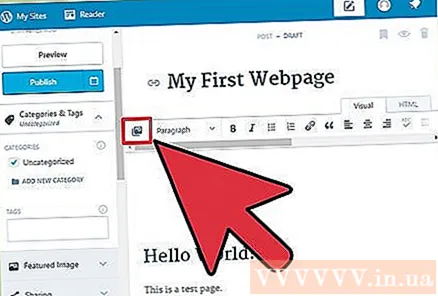
Click "Upload Files" then drag the file onto the window. You have the right to upload many different files, but WordPress may limit the size depending on your account type.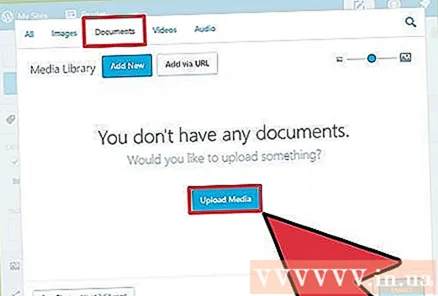
- It can take a while to finish uploading files because for most connections the upload speed is always slower than the download speed.
Add a description for the file. You can type a description at the bottom of the file in the Add Media window. This will be the text displayed as a download link.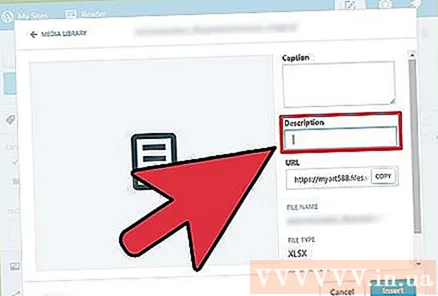
Click the "Insert into post / page" button. This step inserts the download link into the cursor position. Note that the link will lead to the attachment page rather than the actual file. This is a limitation of the WordPress software. advertisement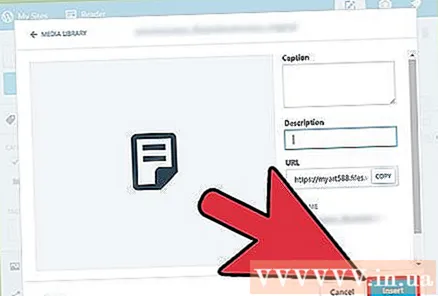
Method 3 of 5: Use Weebly
Open your website in the Weebly editor. Log in to the Weebly site and open your website with the Weebly editor.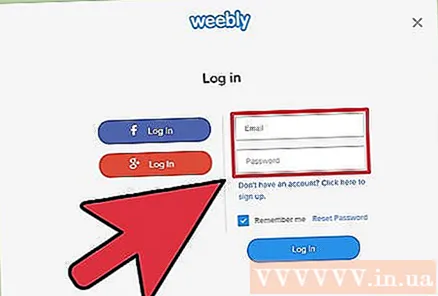
Select the text or object that you want to turn into the link. You can either highlight text in the text field or select an image on the page you want to turn into a download link for your file.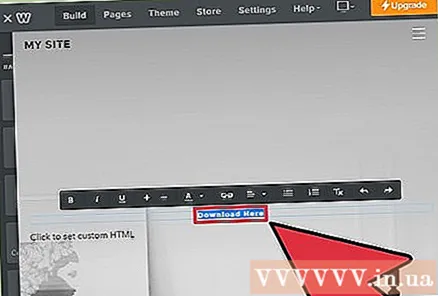
Click the "Link" button. When the text is selected it will look like the chainlink is at the top of the text editor. After selecting an image, click "Link" in the Image Control Panel.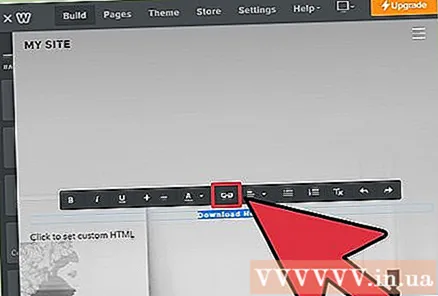
Select "File" then click "upload a file". This step opens the file browser.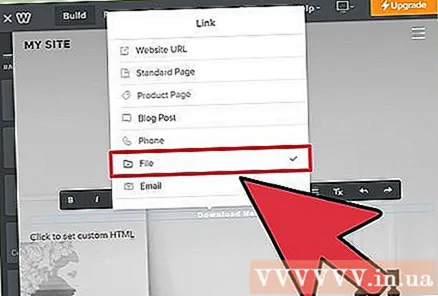
Select the file for which you want to create the download link. After you make your selection, the file will start uploading.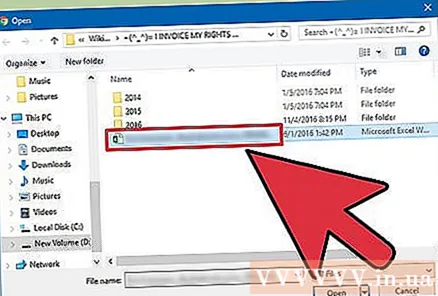
- Regular users are only allowed to download files 5 MB or less. Premium users have a file size limit of 100 MB.
Post your page to see the new link. Once the file is uploaded, the link is ready to use. Click the Publish button to apply your changes to the page immediately. Your visitors will now be able to click the link and download the file. advertisement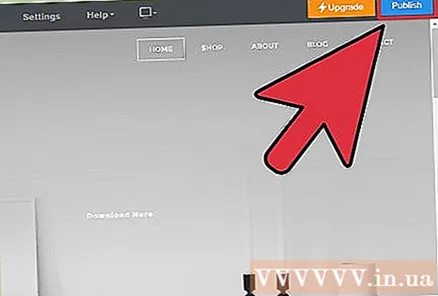
Method 4 of 5: Use Wix
Open your website in the Wix editor. If you use Wix to create and manage your site, log in to the Wix website and load your website in the page editor.
Select the text or image that you want to convert into the link. You are allowed to create links from text or images on your page.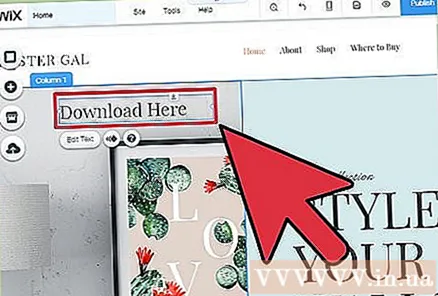
Turn your choice into a link. The steps for text and images are a little different: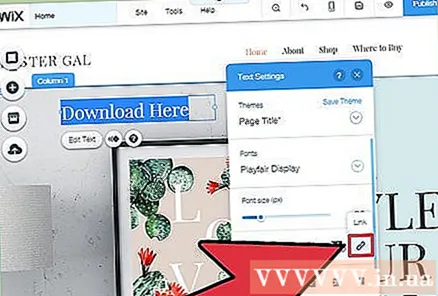
- Text - Click the Link button in the Text Settings window. This button looks like a link. You will open the link menu.
- For images - Select "A link open" from the "When image is clicked" menu in the Image Settings window. Click "Add a link" in the "What does the link do?" Section. This step opens the link menu.
Select "Document" from the list of link options. This step allows you to upload many different text files.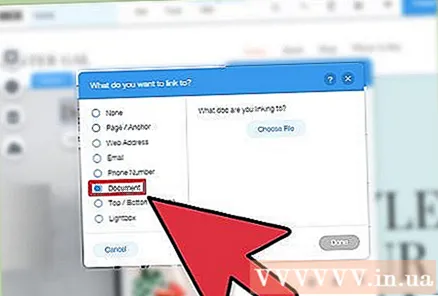
Click the "Choose File" button. This step will open the file uploader.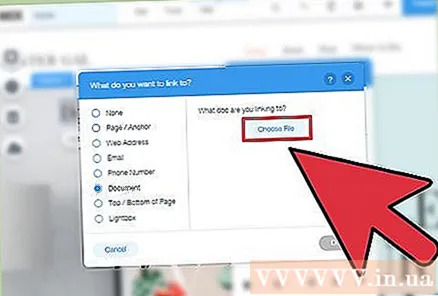
Drag the file you want to upload to the window. You are only allowed to upload DOC, PDF, PPT, XLS, ODT files (and some other secondary formats). What this means is that you are basically restricted from uploading text. The file size limit is 15 MB.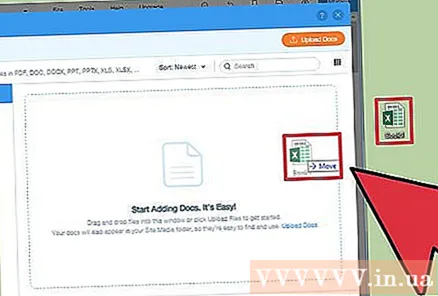
Post your page. After you upload the file, your link is ready. Click the "Publish" button in the upper right corner to save your changes and post them on the site. advertisement
Method 5 of 5: Use GoDaddy
Open your page in the GoDaddy editor. If you used the GoDaddy site builder, log in to the GoDaddy website and open your website in the editor.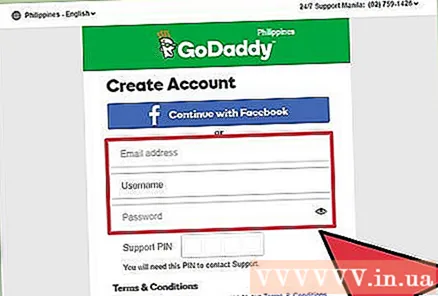
Select the object or text that you want to convert to the link. You can convert any object on your page into a link, as well as any text from a text box. If you want to create download button, click on the option "Button" from the left menu to insert.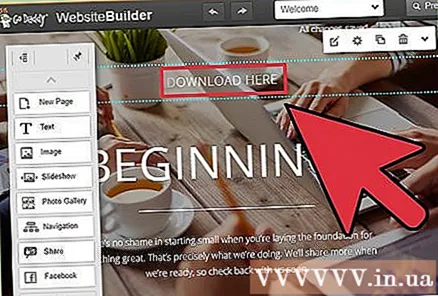
Create link from selected text or object. If you select an object, click the Settings button to open the menu. If you have text selected, click the "Link" button in the text formatting tool that looks like a link.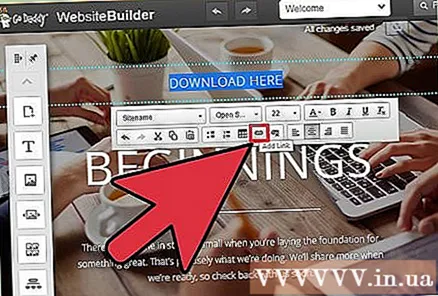
Click the red arrow below "Link (URL)" and make your choice "Upload". This step allows you to choose which files you want to upload to your website.
Click the "Browse" button and find the file you want to upload. Files have a size limit of 30 MB. You are not allowed to upload HTML, PHP, EXE, DLL and many other potentially harmful file types.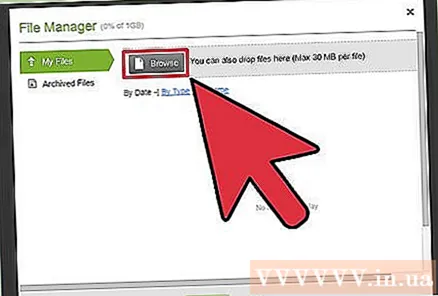
Click "Insert" when the file is uploaded. You will see a check mark next to the file in the window when it has successfully uploaded.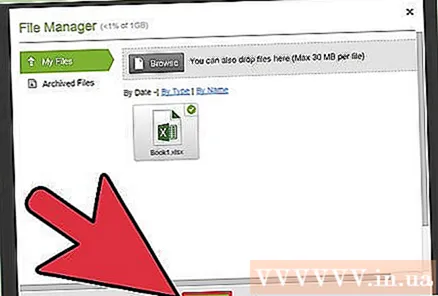
Click "Save" to create the link. Clicking "Save" will assign the file to the text link or object you have created.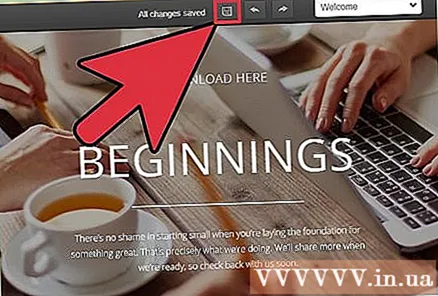
Click "Publish" to save your changes to your site. This causes the new link to be posted, and anyone who visits your site will be able to download the linked file. advertisement