Author:
Ellen Moore
Date Of Creation:
16 January 2021
Update Date:
1 July 2024
Content
- Steps
- Method 1 of 4: Preparation
- Method 2 of 4: Encouraging Rapid Germination
- Method 3 of 4: Landing
- Method 4 of 4: Grooming and Harvesting
- Tips
- What do you need
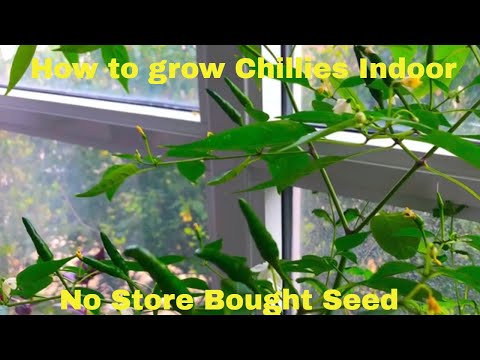
Container growers looking to both spice things up and avid chili drinkers should consider growing their own chili. Even if you don't have room to plant your peppers outdoors, many varieties can be grown in pots indoors. In fact, it is much easier for beginners to grow chili peppers indoors than outdoors, as growing chili peppers indoors allows for better control of watering, heat, and light - three key ingredients for a successful chili crop.
Steps
Method 1 of 4: Preparation
 1 Choose a variety of chili peppers. Dwarf ornamental peppers are best suited for indoor cultivation, as many large varieties do not have enough room to grow roots in indoor containers.
  2 Choose a plastic pot, not a clay pot. Clays such as terracotta can draw moisture from the soil, especially in the warm, light conditions needed to grow chili peppers. These peppers need a lot of moisture to grow and are dehydrated in a clay pot.
  3 Choose a pot with a drainage hole. Although chili peppers grow well in huge volumes of water, the drainage hole prevents too much excess water from collecting and watering or rotting the roots.
 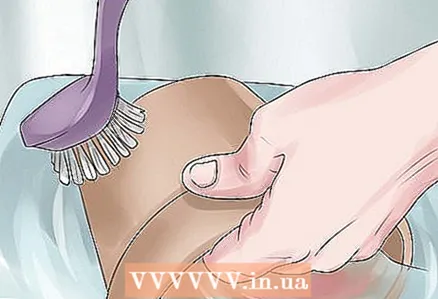 4 Sterilize the pot before use. Many containers, especially those previously used, contain hidden bacteria and insect eggs that can sabotage new plant life. Wash the container with hot water and soap to eliminate most threats.
  5 Buy potting soil. Garden soil often contains bacteria that can damage pepper seeds, preventing germination or inhibiting growth. A multipurpose compost mix purchased from your local garden store should do the trick, but the higher the quality of the soil you use, the better your chances of successfully growing your plants.
 - Improve the quality of the soil by mixing a little vermiculite with the mixture.
Method 2 of 4: Encouraging Rapid Germination
 1 Place a handful of chili seeds between sheets of damp paper towels. The seeds should be in a flat, one layer so that the moisture is evenly distributed.
 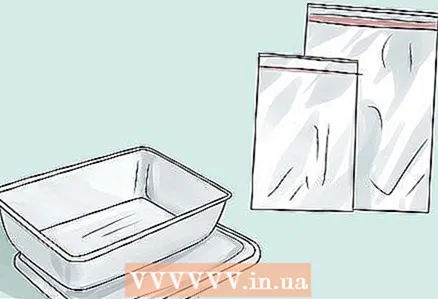 2 Cover seeds and paper towels tightly in the container. A plastic container with a tight lid or a large plastic bag works best.
  3 Keep seeds in a warm, ventilated cabinet. Both heat and moisture are required for germination.
  4 Check the seeds in 2-5 days. If they are swollen, then they are ready to plant. Some seeds may even have tiny sprouts.
Method 3 of 4: Landing
 1 Fill a pot with potting soil. Leave about 2.5 cm of empty space between the top of the soil and the rim of the pot.
  2 Plant the seeds in a pot. The seeds should be planted 5 cm apart.
  3 Sprinkle the compost over the seeds. 0.5 centimeters of compost covering the seeds is enough to provide minimal protection.
 4 Sprinkle the seeds with water. Spray the seeds with water as often as necessary to keep the soil moist. Water is essential for chili peppers, especially in the early stages of planting.
 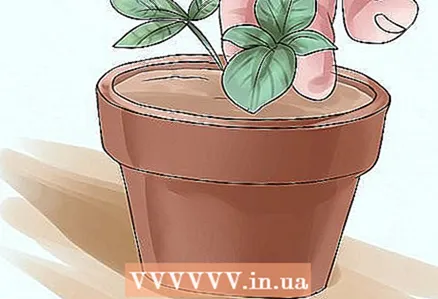 5 Watch the seedling container. Depending on the type of chili you choose, the first sprout may appear above the soil surface in 1-6 weeks.
Method 4 of 4: Grooming and Harvesting
 1 Keep chili peppers near a sunny window. A west or south window can provide better light and more warmth. Chili peppers grow well in full sun, so place your plants as close to a window as possible to maximize your exposure to the sun.
  2 Invest in fluorescent lights for growth. If you are unable to provide your chili peppers with sufficient natural light indoors, place them under growing lamps. The bulbs should be placed about 15 cm above the plants, and the peppers need 14-16 hours of light each day to get enough warmth and light.
  3 Provide daily air circulation, but keep the peppers free from drafts. Open a window or turn on the fan at low power for several hours every day. Ideally, the air should remain at room temperature. However, constant hot or cold drafts can inhibit growth, so keep peppers away from air conditioners and heaters.
  4 Soak the pepper thoroughly after it has sprouted above the soil surface. When the soil surface is barely dry to the touch, give the chili more water. Water the plant until excess water begins to drain from the container drain.
  5 Encourage growth by giving your plants a vegetable fertilizer monthly. Use a balanced 15-15-15 fertilizer containing nitrogen, phosphorus and potassium.
 - The three numbers on the fertilizer package refer to the percentage of nitrogen, phosphorus and potassium that the fertilizer contains. 15-15-15 fertilizer has equal parts of all three elements, which means that foliage, root system, flowers, and pepper fruits have received an equal dose of top dressing. Nitrogen improves foliage, potassium improves flowering and overall plant strength, and phosphorus improves roots and fruits.
 6 Collect the peppers one at a time. Note the standard size and color — red, orange, yellow, or green — for the chili varieties you have chosen to plant. Once the pepper reaches these specifications, use pruning shears or scissors to cut the stem directly above the pepper. Chili peppers need 90 days after germination to produce fruits that are ready for harvest.
Tips
- You can also plant chili seeds directly in the soil without germinating them. However, it will take longer for the seeds to germinate, which means you will have to wait longer before the peppers are ready to be harvested.
- Be aware that the proper jar size may vary depending on the varietal variety of chili you are planting. In most cases, an 18- to 25-centimeter pot should work, but some larger varieties may need an even larger container to ensure effective root development.
- Invest in a heat spreader if you want to ensure proper germination. While the wet paper towel method above works in most cases, with a heat spreader you will have an even better chance of success.
- If growing from seed doesn't appeal to you, just buy chili seedlings from a nursery or garden store and transplant them in large enough containers to grow a more mature plant.
- You can use regular water for your plants, but you can leave it on for 10 minutes before watering the plant.
What do you need
- Chilli seeds
- Plastic pot
- Soil mix
- Paper towels
- Sprinkler
- Watering can
- Fluorescent Grow Lights
- Fan
- Fertilizer


