Author:
Ellen Moore
Date Of Creation:
12 January 2021
Update Date:
1 July 2024
Content
- Steps
- Part 1 of 3: How to Remove NVIDIA Drivers
- Part 2 of 3: How to Delete NVIDIA Folders
- Part 3 of 3: How to Delete NVIDIA Registry Entries (Advanced Users Only)
- Tips
- Warnings
NVIDIA provides drivers for Windows computers with the appropriate graphics cards. Use Control Panel to install a third-party graphics card or simply uninstall NVIDIA drivers. You can also manually delete hidden NVIDIA folders and associated registry entries.
Steps
Part 1 of 3: How to Remove NVIDIA Drivers
 1 Open the control panel. For this:
 - Open the start menu in the lower left corner.
- Enter Control Panel.
- Click "Control Panel" in the search results.
 2 Click on Removing a program. This option is in the Programs section. A list of all installed programs will be displayed.
 - In Windows 8, right-click the Start menu and select Programs and Features from the menu.
 3 Scroll down and tap NVIDIA video driver. On the Programs and Features page, programs are sorted alphabetically. The NVIDIA video driver is the main component.
  4 Click on Delete / change. This is the second option above the list of programs. The NVIDIA uninstaller will open
  5 Click on Delete. The NVIDIA component will be removed.
 - During uninstallation, the screen will turn off several times - this is normal.
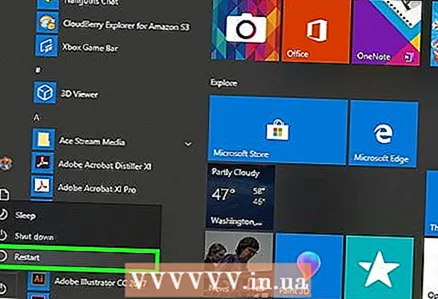 6 Click on Reboot now. Do this to restart your computer.
  7 Open the control panel. For this:
 - Open the start menu in the lower left corner.
- Enter Control Panel.
- Click "Control Panel" in the search results.
 8 Click on Removing a program. This option is in the Programs section. A list of "Programs and Features" appears.
  9 Remove the remaining NVIDIA components. There may be additional NVIDIA components on the computer, such as NVIDIA GeForce Experience, NVIDIA PhysX System Software, NVIDIA 3D Vision Controller, and so on. Select one of these components and click Uninstall / Change. Follow the instructions on the screen to remove the component. Repeat this process for each NVIDIA component in the Programs and Features list.
 - Restart your computer if necessary.
Part 2 of 3: How to Delete NVIDIA Folders
 1 Open an Explorer window
  . Click the yellow folder icon with a blue clip on the taskbar at the bottom of the screen.
  2 Go to the tab View. You will find it in the menu bar at the top of the screen.
  3 Check the box
  at "Hidden Items". All hidden files and folders will be displayed, including folders with registry keys.
  4 Click on This computer. This option is on the menu bar and is marked with a monitor icon. All disks connected to the computer will be displayed in the window that opens.
  5 Select your local Windows drive. It is marked with a hard drive icon with the Windows logo. This is most likely the C: drive. It may be called "OS (C :)", "Local Disk (C :)", "System (C :)" or the name of your computer.
  6 Click on the "NVIDIA" folder in the root folder. Now press the key Deleteto delete the folder.
 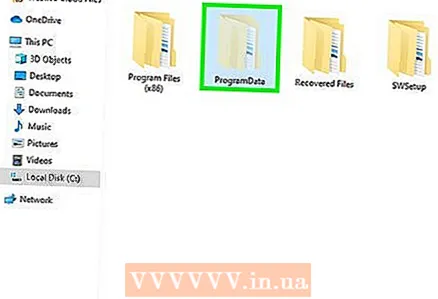 7 Open the "ProgramData" folder. This is one of the hidden folders on the system drive (Windows drive).
  8 Delete all NVIDIA folders. Find all the "NVIDIA" or "NVIDIA Corporation" folders under the "ProgramData" folder and click to highlight them. Now press the Delete key.
  9 Click the left arrow button to return to the system drive (C:). It's at the top of the Explorer window.
  10 Open the Program Files folder. You will find it on the system drive (C :).
 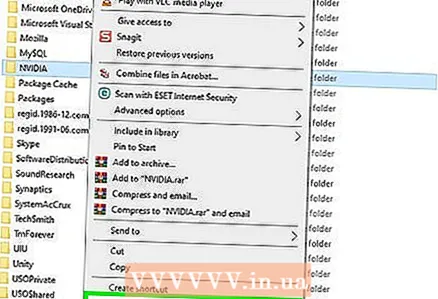 11 Delete all NVIDIA folders. Highlight the NVIDIA or NVIDIA Corporation folders in the Program Files folder, and then press the Delete key. Now go back to the system drive (C :).
  12 Open the Program Files (x86) folder. If you are running a 64-bit version of Windows, there must be a Program Files (x86) folder on your computer. Click on it to open it. You will find this folder on the system drive (C :).
  13 Delete all NVIDIA folders. Highlight the NVIDIA or NVIDIA Corporation folders in the Program Files (x86) folder, and then press the Delete key. Now go back to the system drive (C :).
  14 Open the "Users" folder and click on the folder with your name. You will find the Users folder on your system drive. In it you will find the folders of all Windows users on the computer. Click on the folder with your name.
  15 Open the "AppData" folder. You will find it in the Users folder.
  16 Open the "Local" folder. It is located in the "AppData" folder.
 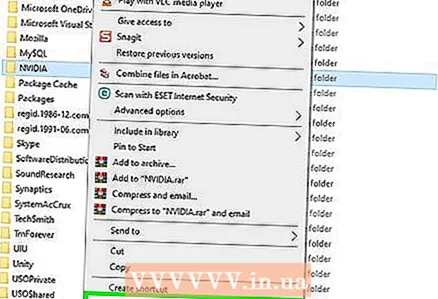 17 Delete all NVIDIA folders. Select any "NVIDIA" or "NVIDIA Corporation" folder and press the Delete key.
  18 Click the left arrow button to return to the AppData folder. It's at the top of the Explorer window.
  19 Open the "Roaming" folder. You will find it in the "AppData" folder.
  20 Delete all NVIDIA folders. Select any "NVIDIA" or "NVIDIA Corporation" folder and press the Delete key.
Part 3 of 3: How to Delete NVIDIA Registry Entries (Advanced Users Only)
 1 Open the start menu
  . Click on the Windows logo button on the taskbar.
  2 Enter regedit. "Regedit" appears at the top of the Start menu.
 - A warning: if you delete the correct registry entry, you can break the system. Therefore, proceed at your own peril and risk.
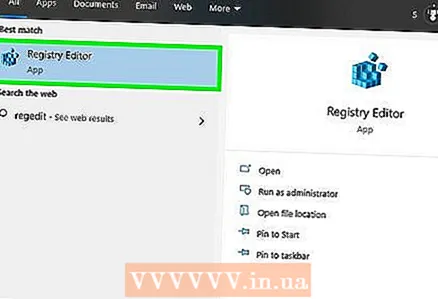 3 Click on regedit. The Registry Editor window will open.
 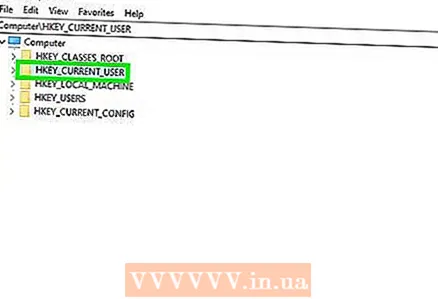 4 Click on the arrow next to the "HKEY_CURRENT_USER" folder. The arrow is to the left of the folder in the left pane. All folders under the "HKEY_CURRENT_USER" folder are displayed.
  5 Click on the arrow next to the "Software" folder. It is located under the "HKEY_CURRENT_USER" folder in the left pane.
  6 Delete all NVIDIA folders. Find the "NVIDIA" or "NVIDIA Corporation" folders in the left pane. Click on them and then press the Delete key.
  7 Click on the arrow to the left of the "HKEY_USERS" folder. This folder contains additional registry folders, including the ".DEFAULT" folder and several other folders with numeric names.
  8 Click on the arrow to the left of the ".DEFAULT" folder. This is the first folder under the "HKEY_USERS" folder in the left pane.
  9 Click on the arrow next to the "Software" folder. This folder is located in the ".DEFAULT" folder.
  10 Delete all NVIDIA folders. Find the "NVIDIA" or "NVIDIA Corporation" folders in the left pane. Click on them and then press the Delete key.
  11 Repeat the above steps for other folders in the "KEY_USERS" folder. That is, click on the arrow to the left of the folder, and then on the arrow next to the "Software" folder. Now delete any "NVIDIA" or "NVIDIA Corporation" folders.
  12 Restart your computer after deleting all "Nvidia" folders. This will get rid of all NVIDIA registry entries.
Tips
- Before removing the Nvidia drivers, create a system restore point. Do this just in case you accidentally delete a desired registry entry, which leads to a system crash. In this case, restore the system to get it to the point before removing the drivers.
Warnings
- In the Registry Editor, do not change the values of the registry keys, as this may damage programs or the entire system. If you accidentally changed the key value, follow these steps to restore your system, or reinstall Windows to fix system problems.


