Author:
Florence Bailey
Date Of Creation:
27 March 2021
Update Date:
1 July 2024

Content
- Steps
- Method 1 of 3: Preparation
- Method 2 of 3: Landing
- Method 3 of 3: Grooming
- Tips
- What do you need
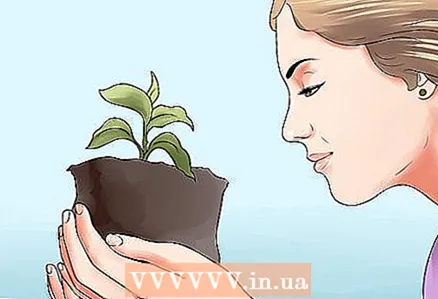
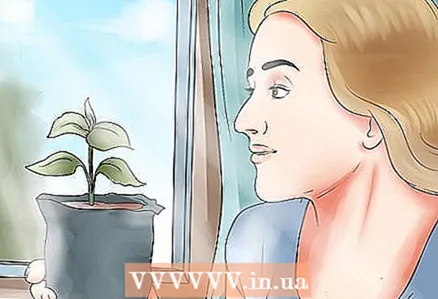
Clematis, or clematis, is a long, bushy plant that needs a lot of space. Because of this, many novice gardeners are wary of growing it in pots. Indoor clematis need more attention and care than garden clematis, but if you find a pot big enough for this climbing and flowering plant, the right soil and support, your clematis can grow at home for several years.
Steps
Method 1 of 3: Preparation
 1 Choose a type of clematis that grows slowly. Fast growing varieties (eg Montana) require a lot of root space, and it is difficult to provide such conditions indoors. Pay attention to large-petaled clematis, Redera, Carnabi and others.
 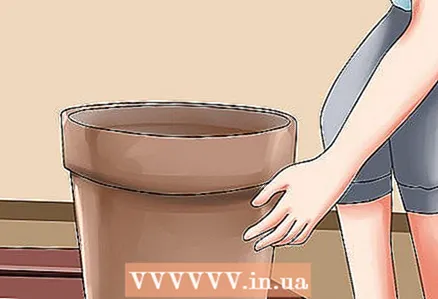 2 Take a large pot. Usually, clematis need a container of at least 45 centimeters in diameter. Even small clematis can grow up to 180 centimeters in height, so this plant will have large roots that need a lot of space.
 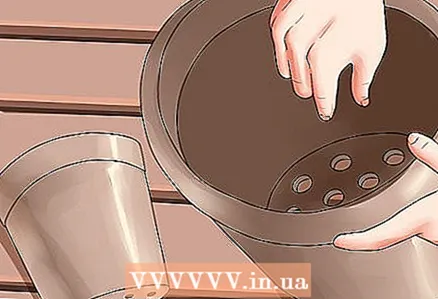 3 Make sure the pot will drain water well. Clematis roots should be kept in cool, moist soil, but excess water will be a problem, especially in cold weather. If the pot does not have at least three holes, drill the missing ones yourself.
 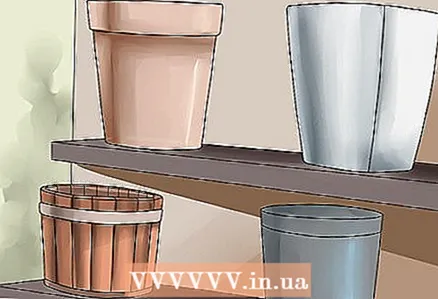 4 Pay attention to what the pot is made of. All materials have their pros and cons.
 - Ceramic pots allow you to drain out unnecessary water, but they are very heavy and can crack indoors in winter.
- Concrete or natural stone pots can withstand high temperatures, but they are even heavier than ceramics.
- Plastic pots don't let water through as well, but they are lightweight and last a long time.
- Containers made from specially treated wood have the best qualities in terms of strength, weight and water permeability, especially if the inner surface is covered with foil, which allows the wood to last longer.
 5 Plan to plant clematis in late summer or early fall. This will give the plant the amount of time it needs to prepare for hibernation. By the summer of next year, flowers will already appear on it.
Method 2 of 3: Landing
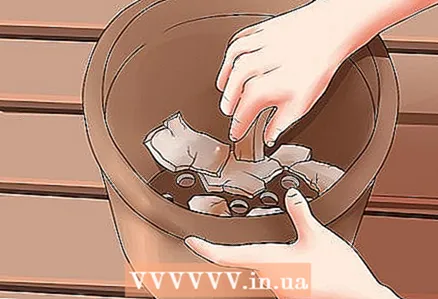 1 Place the pieces of pottery in the bottom of the pot. Stones and gravel can also be used. This material will prevent the drainage holes at the bottom from clogging up with soil, that is, it will contribute to the correct outflow of water.
 - You can usually buy all of these at a garden store, but if you fail, you can collect stones from the street or smash an old ceramic pot. If you choose to collect rocks outdoors, you will need to sterilize them by placing them in warm soapy water or in a solution of one part bleach and four parts water.
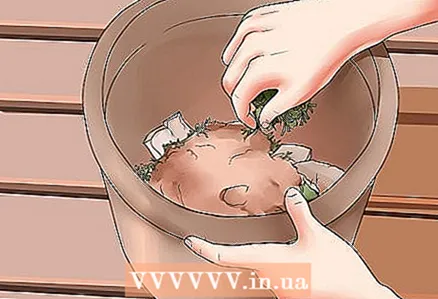 2 Place a layer of nutrient-rich turf in the pot. You can dig a small amount of turf from under the grass, put it in an empty container, fill it with water and leave it for a couple of days. Place the turf upside down on the pottery shards. Rotten garden manure can also be used. Both turf and manure can be purchased at garden stores. Whichever you choose, these substances should not come into contact with the root ball of clemantis, as bacteria and insect eggs can live in them, which pose a danger to the growing plant.
 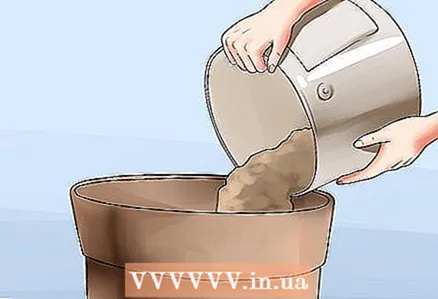 3 Fill the pot with soil. It is best to use clay soil because it retains moisture well. In addition, the soil must contain a lot of nutrients, so buy special soil from the store.
 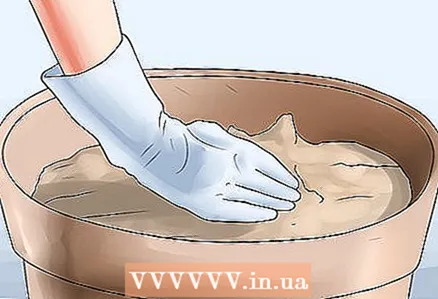 4 Compact the soil. Clemantis roots can grow in dense soil, and the tighter you tamp the soil, the slower the water will flow down. It is best to do so that no more than five centimeters remain from the soil to the top of the pot.
 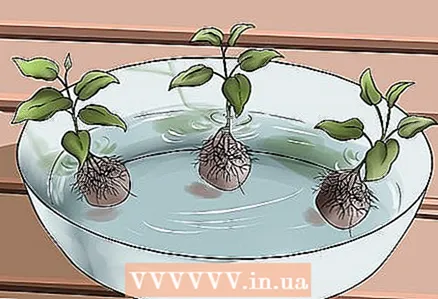 5 Dip the clematis roots into the water. Fill a bucket with warm water and leave the plant in it for 10-20 minutes. Pour 4 liters of water for every 2.5 centimeters of root ball diameter. This must be done before planting so that the roots are completely saturated with water.
 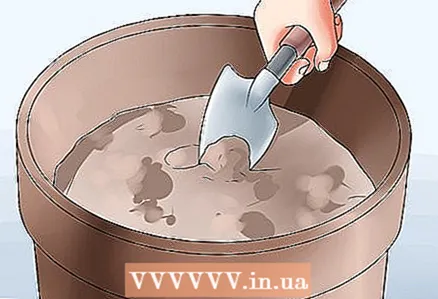 6 Dig a small root hole with a garden trowel. When the hole is large enough for the roots, dig another 5 centimeters of soil. Roots need a little extra free space to take root.
 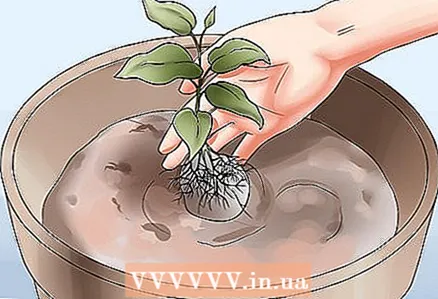 7 Dip the roots into the hole. Make sure there is 5 centimeters of soil left above the roots.
 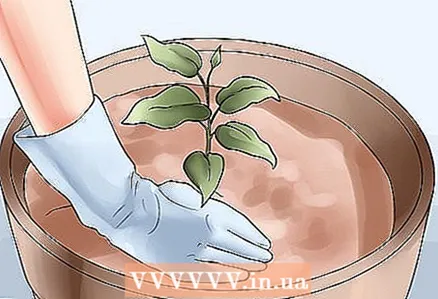 8 Fill the hole with earth. Tamp the soil around the roots and anchor the plant tightly.
  9 Water the soil. There should be no puddle in the pot, but the soil should be completely saturated with water.
Method 3 of 3: Grooming
 1 Check every day to see if there is enough moisture in the soil. Dip your finger two centimeters into the soil, and if the soil is too dry, pour plenty of water over it.
 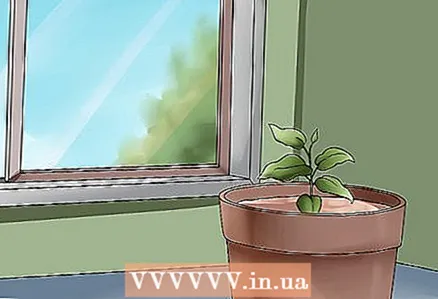 2 Place the pot in a place that won't be sunny all day. Clematis need only six hours of direct sunlight a day, and they thrive best when their roots are in the shade. It is recommended to put the plant near the west or east window or in a shady place on the balcony - there will be enough light for it.
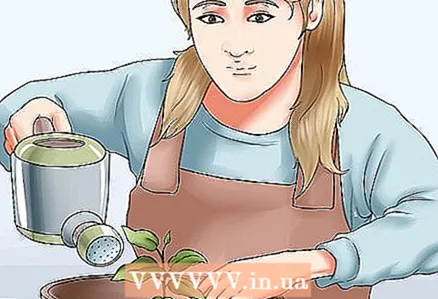
 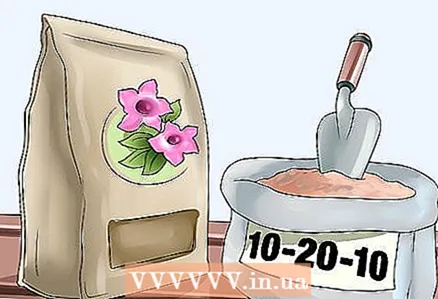 3 In the spring, fertilize the plant with good quality compost or granular fertilizer (e.g. 10-20-10). The amount of fertilizer will depend on the type of fertilizer. Fertilizer for roses applied at intervals of 1 or 2 months will provide clematis with sufficient nutrients. You can also add potassium-rich fertilizer 2-3 times a month. Excess fertilization can lead to the formation of harmful salts in the soil, so keep the plant healthy at all times.
 - The designation "10-20-10" describes the ratio of nitrogen, phosphorus and potassium. Nitrogen is responsible for the formation of foliage, phosphorus strengthens the roots, and potassium allows the plant to bloom. In fertilizers, nitrogen and potassium should be in approximately equal amounts, and phosphorus should be slightly more.
 4 Install clematis supports. As soon as the plant begins to climb up, place a bamboo or any other trellis at a slight angle to the pot and as close to the edge as possible, being careful not to touch the roots. As the stem grows, wrap it around the supports with twine or thread. The correct upright position will allow clematis to grow up and to the sides, which means there will be more foliage and flowers.
  5 Prune the plant properly. There are three types of clematis, and each requires a different approach.
 - For clematis that grows early, all dead and weak stems should be removed as soon as the plant blooms.
- For clematis, which blooms in mid or late summer for the first or subsequent time, the dead stems should be cut off when the plant becomes too bushy.
- If clematis blooms in mid to late summer in the first summer after planting, remove all old stems, leaving only the youngest.
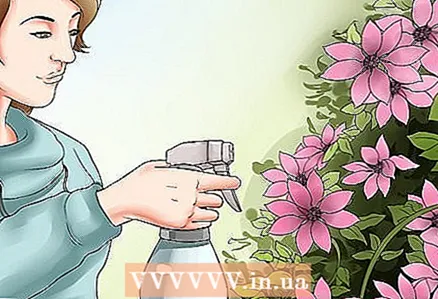 6 Check for fungus on the plant. Clematis often withers and dots appear on the leaves. Damaged stems should be cut off, and the whole plant should be treated with an antifungal agent.
Tips
- Clematis are very sensitive to freezing and defrosting. If you plan to keep the plant outdoors during the winter, you should cover the soil with mulch after freezing conditions. The soil and roots can live in frost, but constant freezing and thawing, and then freezing again, will destroy the plant.
What do you need
- Large pot or other container (45 centimeters in diameter)
- Pottery fragments or stones
- Compost
- Trowel
- Clematis
- Watering can
- Fungus remedy
- Gardening scissors
- Bamboo, plastic or metal grill


